
The easiest Halloween wood projects for beginners are 2x4 pumpkins, wooden ghosts, plywood tombstones and simple porch signs. Each one needs only straight cuts (or a few easy jigsaw curves), some paint and an afternoon. Most can be built from a single 8 ft 2x4 or the plywood offcuts you already have, and they come out year after year.
Below are ten projects ranked from easiest to most involved, with build tips for each and a weekend schedule so everything is painted and dry before trick-or-treaters arrive. New to the tools? Start with our woodworking for beginners roadmap.
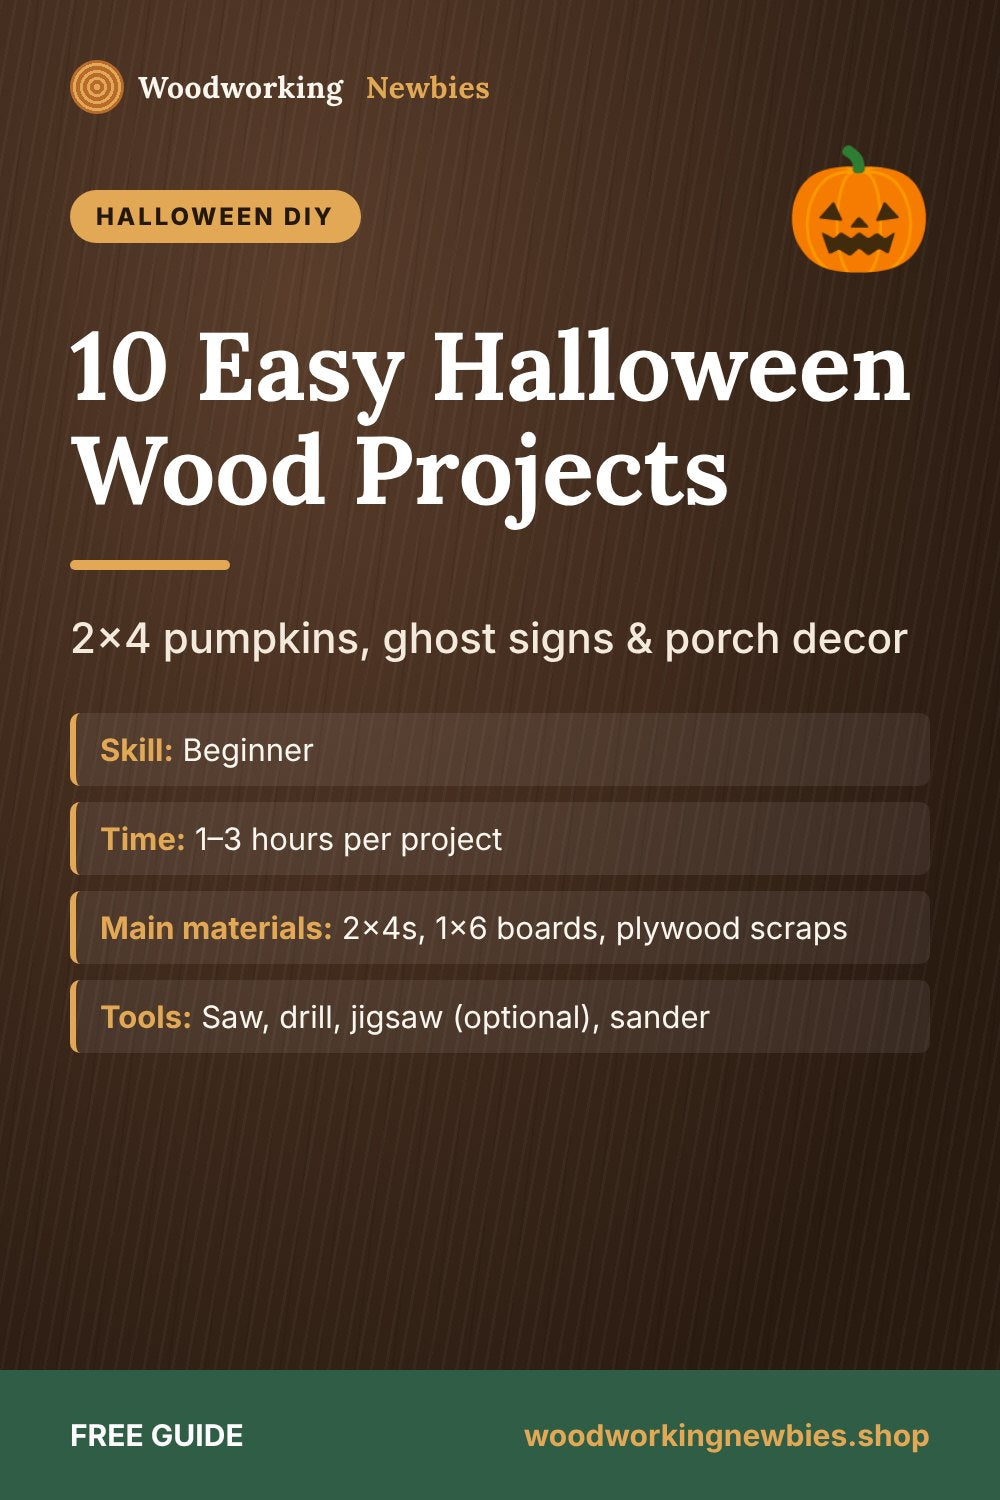
At a glance
- Skill
- Beginner
- Time
- 1–3 hours per project
- Main materials
- 2x4s, 1x6 boards, plywood scraps
- Tools
- Saw, drill, jigsaw (optional), sander
- Finish
- Exterior paint or outdoor clear coat
Beginner shortcut
Want measured plans for seasonal decor, signs and yard projects? The TedsWoodworking plan library includes home decor and outdoor projects, each with a cut list and step-by-step diagrams.
1. 2x4 pumpkins (the classic)
Cut a 2x4 into three pieces (for example 6, 8 and 10 inches), paint them orange, and add a short stem from a scrap of 2x2 or a branch. Group the three together on the porch steps. Tip: paint the stems before you attach them, and drill a small pilot hole so the stem screws in without splitting the 2x4.
2. Wooden ghosts
Draw a simple ghost outline on a 1x8 or 1x10 board, cut it with a jigsaw, sand the edges and paint it white with black eyes. Make a family of three in different heights. Tip: trace a printed template so all three look like they belong together.
3. Plywood tombstones
Cut 1/2 in or 3/4 in plywood into rounded tombstone shapes, paint them gray, and stencil a funny epitaph. Screw a 12 in stake to the back so they stand in the lawn. Use exterior paint so they survive rain.
4. "Trick or Treat" porch leaner sign
A tall 1x8 or 1x10 board, about 4 ft long, painted with vertical lettering. Make it reversible: Halloween on one side, a fall or Christmas message on the other. That's three seasons from one build.
5. 2x4 jack-o'-lantern blocks
Short 2x4 or 4x4 blocks painted orange with black jack-o'-lantern faces. Stack them like building blocks on a mantel. Kids love helping with the faces.
6. Wooden candy bowl stand
A small box or stand that lifts the candy bowl to waist height by the front door. It's a simple four-legged stand from 2x2s with a plywood top, and it doubles as a plant stand the rest of the year.
Seasonal builds
Plans for every holiday, all year round
Halloween this month, Thanksgiving next, then Christmas. TedsWoodworking has 16,000+ plans, including home decor, signs and yard projects, so you always know what to build next.
- Decor, signs, planters and outdoor projects
- Cut lists and materials lists with every plan
- Beginner-friendly step-by-step diagrams
- One-time $67, 60-day money-back guarantee
Wondering if it's worth it? Read our honest TedsWoodworking review.
7. Black cat silhouettes
Jigsaw a sitting-cat shape from 1/2 in plywood, paint it flat black, and add yellow eyes. Mount it on a small base or attach it to a fence.
8. Pallet-style "Boo" sign
Three or four short boards screwed to two cleats on the back make a rustic panel. Paint or stencil "BOO" across it. If you use real pallets, look for the "HT" (heat-treated) stamp and avoid pallets marked "MB".
9. Witch hat porch post
A 4x4 post (or two 2x4s screwed together) with a plywood witch-hat shape on top and a painted face. It's a fun one to build with kids.
10. Halloween countdown block calendar
Two wooden cubes with numbers on each face let you show any day from 01 to 31. Add a third block with "Days until Halloween". You can reuse the cubes for any countdown, including Christmas.
Weekend build schedule
| When | What to do |
|---|---|
| Saturday morning | Buy lumber, cut every piece, sand edges |
| Saturday afternoon | Prime everything (primer dries fast) |
| Sunday morning | Paint base colors, two thin coats |
| Sunday afternoon | Add faces, lettering and stems; apply clear coat if outdoors |
Tips for outdoor Halloween decor
- Prime first. Bare pine soaks up paint; primer gives brighter colors in one or two coats.
- Use exterior paint for anything that sits outside, and seal the bottom edges where water collects.
- Stencils beat freehand. Print letters and faces, then trace them with carbon paper.
- Store them dry. Wrap pieces in old sheets so they last for years.
Got leftover 2x4s? Try our DIY 2x4 Christmas tree plan next, and see our list of projects that sell at craft fairs if you'd like to make a few extras.
Plan your next seasonal project
Find decor, yard and gift projects with exact cut lists inside TedsWoodworking. One payment, lifetime access and a 60-day refund.
One-time payment · Lifetime access · 60-day money-back guarantee
Save this for later
Pin this guide to your woodworking board on Pinterest so it is ready when you head to the shop.
FAQ
What wood is best for Halloween decorations?
Pine 2x4s and 1x boards are cheap and easy to cut. Plywood is best for flat cut-out shapes like ghosts, cats and tombstones, because it doesn't split.
What paint should I use for outdoor wood decorations?
Exterior latex paint over a primer, plus a clear outdoor sealer if the piece sits in the rain.
Can kids help with these projects?
Yes. Adults should do the cutting, but painting faces, stems and lettering is perfect for kids.


