
You can start woodworking with no experience, no garage and no big budget. What you need is a short list of tools, a safe place to cut, a few straight boards and a simple plan that tells you exactly what to cut and in what order. Everything else, like fancy joints and big machines, can wait.
This guide is the roadmap we wish we'd had on day one. It walks you through the mindset, the safety basics, the starter tools, the wood, and the first five projects that teach you the skills every other build depends on. If you only read one page on this site, make it this one.
Step 1: Start with the right mindset
Most beginners quit for one of two reasons: they buy too many tools before they know what they need, or they pick a first project that is too hard. Avoid both and you're already ahead.
- Your first projects will have gaps and wobbles. That's normal. Every woodworker has a shelf of "learning pieces".
- Skills beat tools. Measuring accurately and cutting straight matter more than owning an expensive saw.
- Follow a plan, at least at first. A good plan gives you a cut list and a materials list, so you buy the right boards once instead of guessing and wasting lumber.
That last point is where most beginners lose money. Free plans online are often missing measurements or skip steps, and you only find out halfway through the build.
Beginner shortcut
If you'd rather skip the guesswork, TedsWoodworking is a library of over 16,000 woodworking plans, and each plan comes with a cut list, a materials list and step-by-step diagrams. According to the sales page, most of the plans are aimed at beginners.
Step 2: Learn the safety basics before you cut anything
Woodworking is safe when you respect a few simple rules. Make these habits from your very first cut:
- Wear safety glasses every time a tool is running. Not just for "big" cuts.
- Protect your hearing. Circular saws, routers and table saws are loud enough to damage hearing over time. Foam earplugs or earmuffs are cheap.
- Wear a dust mask when sanding or cutting MDF and plywood. Fine dust is the hazard you can't see.
- No loose clothing, gloves or jewelry near spinning blades. Gloves feel safer but can get pulled into a blade.
- Clamp your work. Never hold a small piece in your hand while you cut it.
- Read the tool manual. Every tool has its own guards and quirks, and the manual is the fastest way to learn them.
Step 3: Find a place to work (even without a garage)
You don't need a dedicated shop. Plenty of woodworkers start on a driveway, a patio, a balcony or a corner of a spare room. What matters:
- A flat, sturdy surface. Two sawhorses and a sheet of plywood make a great first work table. Later, a simple workbench is a perfect first "real" project (see our 2x4 workbench plans).
- Good light. Shadows hide pencil lines. A cheap LED work light helps a lot.
- Ventilation for sanding and finishing.
- Neighbors in mind. In an apartment, lean on hand tools and quieter tools, and save loud cuts for daytime or have your lumber store cut boards to size.
Step 4: Buy only the tools you need right now
Here's a starter kit that will build almost every beginner project on this site. You can add to it one project at a time.
| Tool | Why you need it |
|---|---|
| Tape measure (25 ft / 7.5 m) | Every project starts with accurate measuring. |
| Speed square or combination square | Marks square lines and checks corners. |
| Circular saw or a good hand saw | Cuts boards to length. A circular saw is faster; a hand saw is quiet. |
| Cordless drill/driver | Drills holes and drives screws, the main way beginners join wood. |
| Clamps (at least 4) | Hold parts while glue dries and while you cut. You can never have too many. |
| Random orbital sander | Smooths surfaces quickly and evenly. |
| Safety glasses, ear and dust protection | Non-negotiable. |
A pocket hole jig is a great "sixth tool" because it lets you make strong, hidden screw joints with just a drill. We cover every item, plus what to buy later, in our guide to essential woodworking tools for beginners.
Step 5: Understand the wood you're buying
Walk into a home center and the lumber aisle can feel confusing. Three facts clear most of it up:
- Board names aren't real sizes. A "2x4" actually measures about 1-1/2 × 3-1/2 inches (38 × 89 mm). A "1x6" is about 3/4 × 5-1/2 inches. Plans usually list the name, while cut lists use the actual size.
- Softwood is the beginner's friend. Pine, fir and spruce are affordable, easy to cut and forgiving. Save oak, maple and walnut for later.
- Pick straight boards. Sight down each board like a rifle barrel. Skip boards that twist, bow or have big cracks and loose knots.
Plywood is also excellent for beginners. It's stable, flat and comes in big sheets, and most stores will make a few straight cuts for you so it fits in your car.
Step 6: Learn to read a plan
A plan is a recipe. The materials list is your shopping list, the cut list tells you every part and its exact size, and the diagrams show how the parts fit together. Learning to read one takes ten minutes and saves hours. Our step-by-step guide on how to read woodworking plans explains every part, including the abbreviations that confuse most beginners.
Step 7: Build these five first projects, in this order
Each project below adds one new skill on top of the last. By the end you'll have measured, cut, drilled, screwed, glued, sanded and finished, which covers most of what woodworking is.
- A simple box or crate. Teaches square cuts and butt joints with screws.
- A wall shelf. Teaches finding studs, leveling and a clean finish.
- A small step stool. Teaches angles, stability and gluing up.
- A 2x4 workbench. Your first big build, and you'll use it for every project after. Follow our free 2x4 workbench plan with a full cut list.
- Garage or shed shelves. Teaches repeating parts accurately and building to carry weight. See our DIY wood garage shelves plan.
Once you've built these, look at wood joints for beginners to move beyond screws, and try a few woodworking gifts for family and friends.
Beginner pick
Want a plan for every project you'll ever want to build?
TedsWoodworking is a one-time $67 membership to a library of 16,000+ plans across furniture, outdoor, storage, sheds, toys and workshop builds.
- Cut lists and materials lists, so you buy the right lumber once
- Step-by-step instructions with diagrams from several angles
- Plans sorted by category and difficulty
- Lifetime access and a 60-day money-back guarantee through ClickBank
Read the full details on the TedsWoodworking website.
Step 8: Finish your projects properly
A good finish turns a "homemade" project into something you're proud of. For beginners:
- Sand in steps: start at 80 or 120 grit to remove marks, then 180, then 220. Don't skip grits.
- Wipe off the dust with a dry cloth or vacuum before finishing.
- Start with wipe-on finishes. Wipe-on polyurethane or Danish oil is hard to mess up, unlike brushing thick coats.
- Test on a scrap of the same wood first, especially with stain.
Common beginner mistakes (and how to avoid them)
- Measuring once. Measure twice, mark clearly with a sharp pencil, and cut on the waste side of the line.
- Forgetting the saw blade's width. The blade removes about 1/8 inch (3 mm). Over several cuts on one board, that adds up.
- Buying all the lumber before checking the cut list. Plan your cuts first so you buy the fewest boards.
- Rushing glue-ups. Dry-fit every part before you glue, and keep clamps ready.
- Starting with a big dream project. Build small first. The dining table can come in month three.
Ready to pick your first real project?
Browse thousands of beginner plans with exact cut lists inside TedsWoodworking. It's a one-time payment, and the 60-day refund means you can try it without much risk. Not sure yet? Read our honest TedsWoodworking review first.
One-time payment · Lifetime access · 60-day money-back guarantee
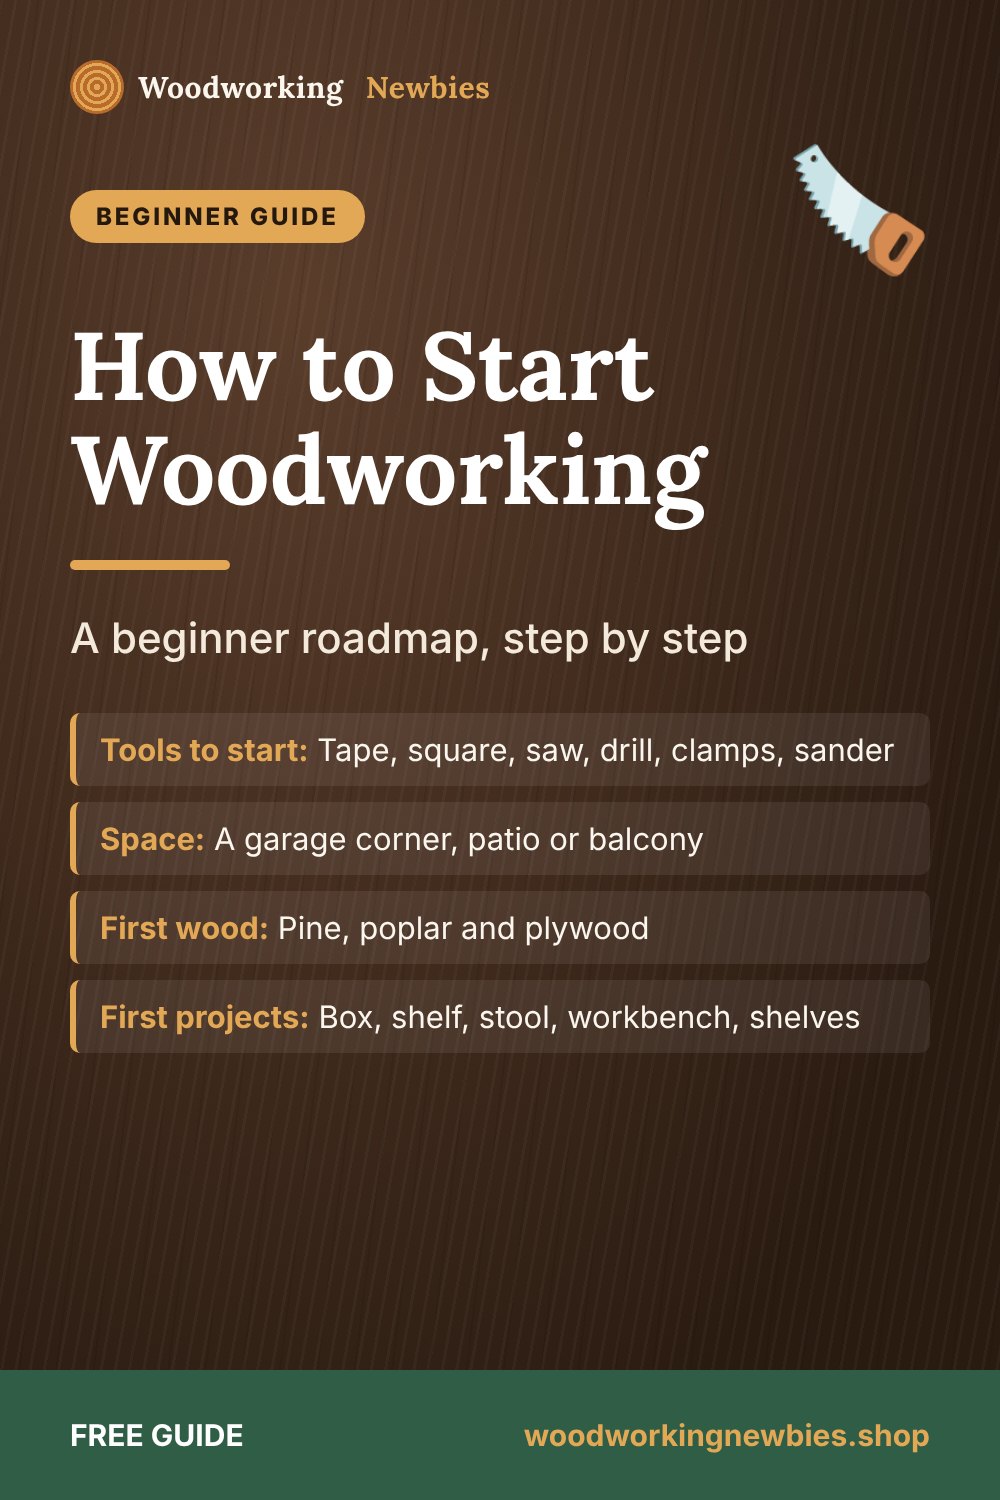
Save this for later
Pin this guide to your woodworking board on Pinterest so it is ready when you head to the shop.
FAQ
Can I teach myself woodworking?
Yes. Most hobby woodworkers are self-taught. Start with simple projects, follow detailed plans, and learn one new skill per project. Videos help a lot with techniques like setting up a saw.
How much does it cost to start woodworking?
It depends on what you already own. A basic kit of a tape measure, square, saw, drill, clamps and sander covers most beginner projects. Buy tools one project at a time instead of all at once, and you'll only pay for what you use.
What is the easiest woodworking project for a beginner?
A simple box, crate or wall shelf. They need only straight cuts and screws, and they teach you to measure, cut square and assemble.
Do I need a table saw to start?
No. A circular saw with a straight guide, or even a hand saw, handles nearly every beginner project. A table saw is a great later upgrade.
How long does it take to get good at woodworking?
Most people feel comfortable after five to ten projects. Each finished project teaches you more than any amount of reading, so start building as soon as you can.


