
The best food-safe finish for a cutting board is food-grade mineral oil, followed by a coat of board butter (mineral oil blended with beeswax). Both are cheap, easy to apply, safe once wiped off, and easy to renew. Avoid film finishes like polyurethane on any surface you'll cut on, and skip cooking oils like olive or vegetable oil, which can turn rancid.
Cutting boards are a favorite handmade gift this time of year, so getting the finish right matters. Below you'll find a comparison of common finishes, a step-by-step method, and how to care for the board afterward. If you're building boards to give away, see our woodworking gifts and Christmas gift ideas.
At a glance
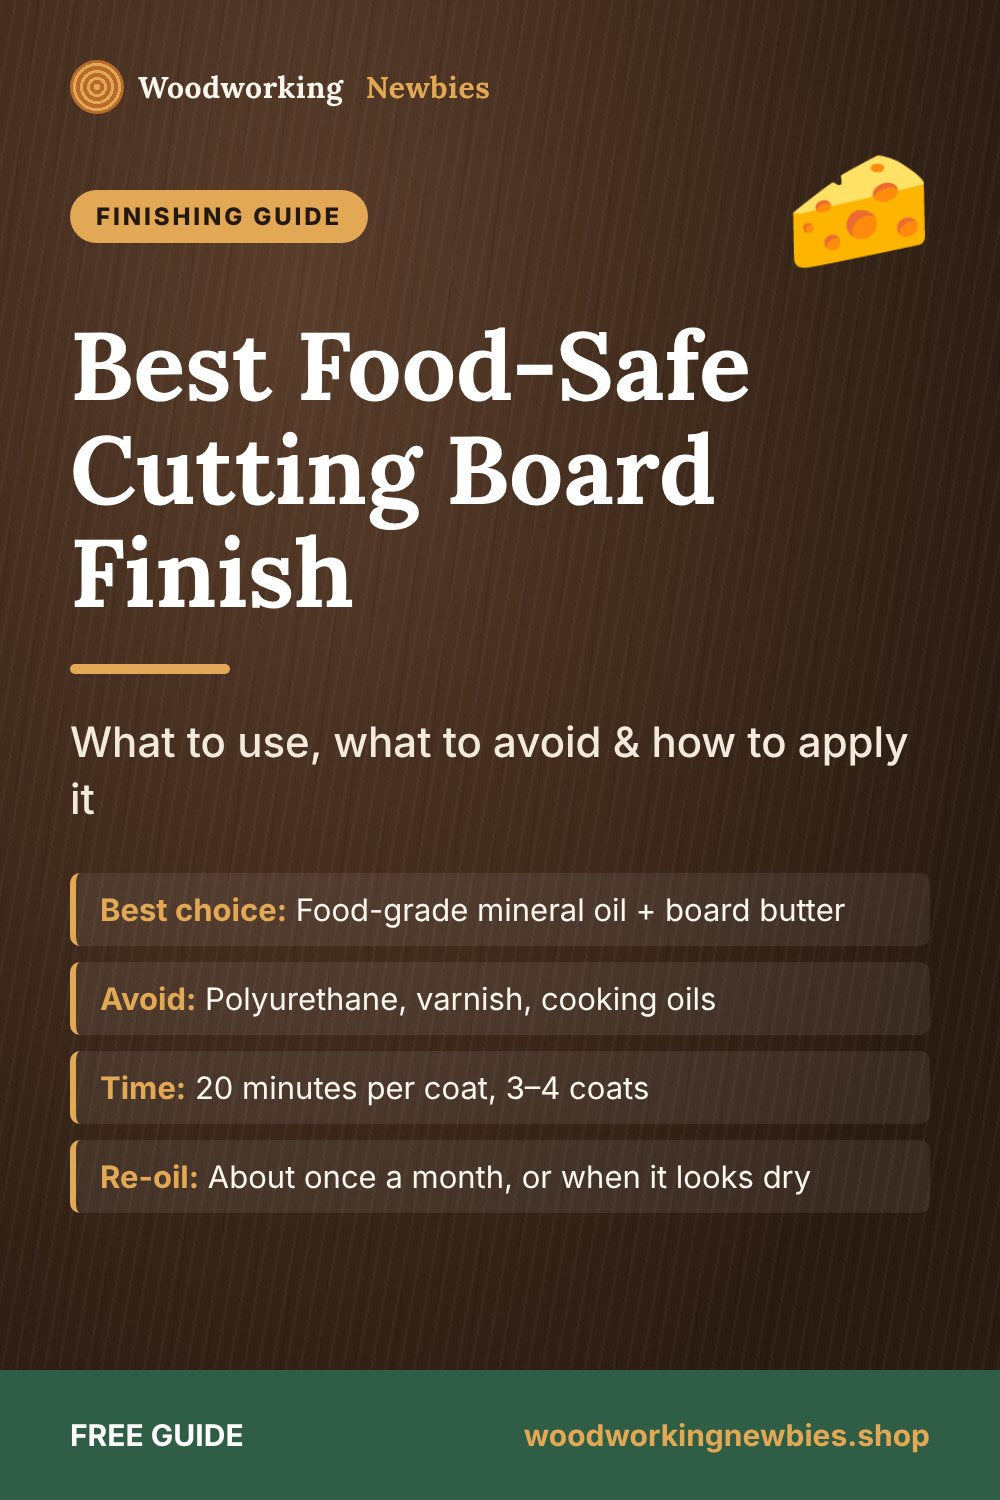
- Best choice
- Food-grade mineral oil + board butter
- Avoid
- Polyurethane, varnish, cooking oils
- Time
- 20 minutes per coat, 3–4 coats
- Re-oil
- About once a month, or when it looks dry
- Wood
- Maple, cherry, walnut (tight grain)
Beginner shortcut
Want a cutting board plan with exact sizes? The TedsWoodworking library includes kitchen projects like boards, trays and utensil holders, each with a cut list and diagrams.
Food-safe finishes compared
| Finish | Food safe? | Pros | Cons |
|---|---|---|---|
| Food-grade mineral oil | Yes | Cheap, easy, never goes rancid | Needs re-applying regularly |
| Board butter (mineral oil + beeswax) | Yes | Adds water resistance and a soft sheen | Wax wears off with use |
| Pure tung oil | Yes, once fully cured | Hardens in the wood, more durable | Takes weeks to cure; made from a nut, so be careful with allergies |
| Walnut oil | Yes | Cures slowly in the wood | A nut oil; a concern for allergies |
| Olive, vegetable or sunflower oil | Not recommended | Already in your kitchen | Can turn rancid and smell |
| Polyurethane or varnish | Not for cutting surfaces | Tough on furniture | Knives cut through the film, which then chips and peels |
Read the label: some "tung oil finish" products are actually varnish blends with driers. Look for "100% pure tung oil" if that's what you want.
What you'll need
- Food-grade mineral oil (often sold in pharmacies or as "cutting board oil")
- Board butter or beeswax (or make your own, below)
- Sandpaper: 120, 180 and 220 grit
- Clean, lint-free cotton rags
- A damp cloth
Step-by-step: how to finish a cutting board
Step 1: Sand smooth
Sand the whole board with 120, then 180, then 220 grit. Round the edges slightly so they don't chip.
Step 2: Raise the grain
Wipe the board with a damp cloth and let it dry for an hour. The fibers will stand up and feel fuzzy. Sand lightly with 220 grit again. This stops the board from going rough after its first wash.
Step 3: Flood on the oil
Pour on a generous amount of mineral oil and spread it over every surface, including the edges and the underside. Warming the bottle in a bowl of hot water helps it soak in.
Step 4: Wait, then wipe
Let it soak for 20 minutes to an hour, then wipe off everything that hasn't soaked in.
Step 5: Repeat
Apply another coat every few hours, or once a day, until the wood stops absorbing oil. Usually three or four coats is enough for a new board.
Step 6: Add board butter
Rub on a thin layer of board butter, let it sit for 20 minutes, then buff it with a clean cloth. This gives a silky feel and extra water resistance.
Kitchen projects
From cutting boards to a full kitchen set
Once you can finish a board, you can build serving trays, spice racks and utensil holders. TedsWoodworking includes kitchen and dining plans for all of them.
- Kitchen, dining and gift projects
- Cut lists and materials lists with every plan
- Step-by-step diagrams for beginners
- One-time $67, 60-day money-back guarantee
Read our honest TedsWoodworking review for the pros and cons.
How to make your own board butter
- Melt 1 part beeswax (by weight) with about 4 parts food-grade mineral oil in a jar set in a pan of hot water.
- Stir until fully melted and combined.
- Pour into a clean tin or jar and let it set. Add more oil for a softer butter, more wax for a firmer one.
Never heat wax directly on a burner; it's flammable.
Caring for a finished cutting board
- Wash by hand with warm, soapy water and dry right away.
- Never put it in the dishwasher or leave it soaking.
- Dry it standing on its edge so air reaches both sides.
- Re-oil when the wood looks pale or dry, roughly once a month.
- Remove light stains and smells with coarse salt and half a lemon, then re-oil.
Giving a board as a gift? Include a small card with these care steps.
Best woods for cutting boards
Hard, tight-grained woods hold up best: maple, cherry, walnut and beech. Open-grain woods like red oak have pores that can trap moisture. Learn more in our guide to the best wood for beginner woodworking projects.
Build your next kitchen project
Find cutting boards, trays and kitchen organizers with exact cut lists inside TedsWoodworking. One payment, lifetime access and a 60-day refund.
One-time payment · Lifetime access · 60-day money-back guarantee
Save this for later
Pin this guide to your woodworking board on Pinterest so it is ready when you head to the shop.
FAQ
What oil is safe for cutting boards?
Food-grade mineral oil is the most common choice. Pure tung oil and walnut oil also work, but they're nut-based, so think about allergies.
Can I use olive oil on a cutting board?
It's not recommended. Cooking oils can go rancid in the wood and start to smell.
How often should I oil a cutting board?
Several coats when it's new, then about once a month, or whenever the wood looks dry.
Is polyurethane safe for cutting boards?
Not for cutting surfaces. Knives cut through the film, and it chips. Save polyurethane for serving trays and furniture.


