
To measure and mark wood accurately, measure from a square end, make a small V at the exact length, then use a square held tight against a straight edge to draw the cut line through the point of the V. Put an X on the waste side, and cut on that side of the line so the saw blade's width comes out of the scrap.
Most "my project doesn't fit" problems start before the saw comes on. A sharp line in the right place fixes them. If you are still building your basic kit, see our list of essential woodworking tools for beginners. If tape fractions still confuse you, first read how to read a tape measure.
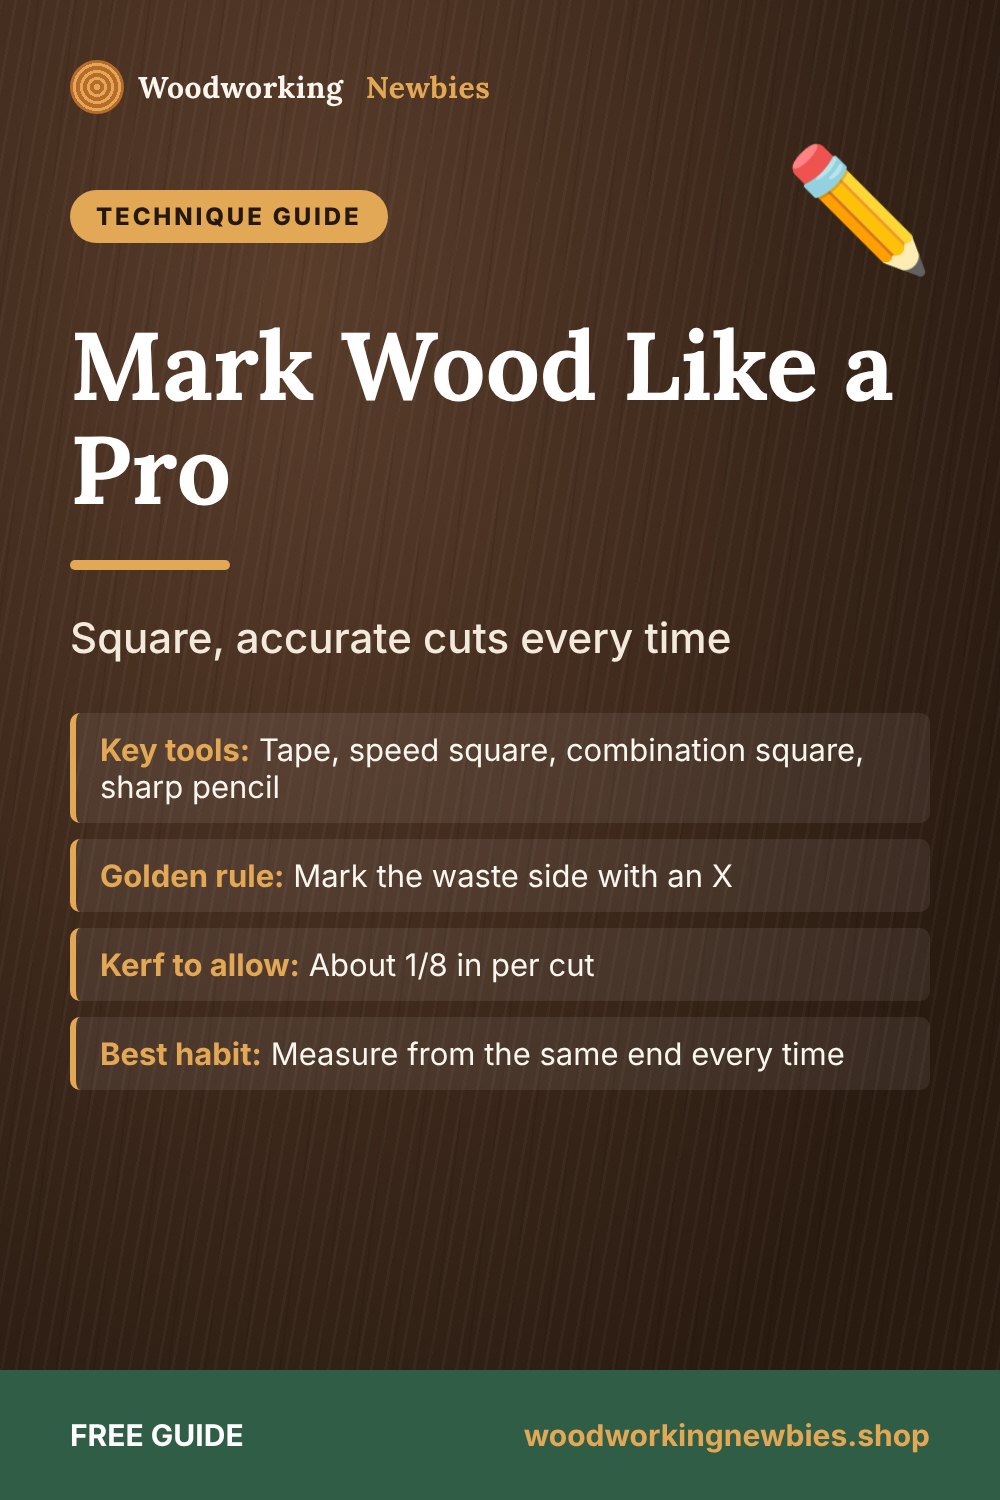
At a glance
- Key tools
- Tape, speed square, combination square, sharp pencil
- Golden rule
- Mark the waste side with an X
- Kerf to allow
- About 1/8 in per cut
- Best habit
- Measure from the same end every time
- Time to learn
- One practice session
Beginner shortcut
Accurate marking pays off most when the plan is accurate too. Plans in the TedsWoodworking library give exact part sizes and diagrams for each step.
The marking tools you actually need
| Tool | Best for | Beginner tip |
|---|---|---|
| Tape measure | Lengths over about 12 in | Use one tape for the whole project |
| Speed square | Fast 90 and 45 degree lines on 2x4s and boards | Hold the lip tight against the board edge |
| Combination square | Square lines, repeat measurements, marking depths | Lock the ruler to set a distance and mark many parts the same |
| Mechanical pencil (0.5 mm) or sharp carpenter's pencil | Thin, clear lines | A thick line can hide 1/16 in of error |
| Marking knife | Very precise joinery lines | Optional at first; great for hand-cut joints |
| Straightedge or level | Long lines on plywood | Clamp it down so it cannot slide |
How to measure and mark wood accurately: step by step
Step 1: Square up one end first
Do not trust the factory end of a board. It is often rough, split or slightly out of square. Cut 1/2 in to 1 in off one end with a square cut and measure from that fresh end. This is your reference end.
Step 2: Hook the tape and measure
Hook the tape on the square end and pull it flat along the board. Keep it on the face or edge, not drooping over the side. Read the length straight down, not at an angle.
Step 3: Make a V-mark, not a dash
Draw a small "V" (some people call it a crow's foot) with the point exactly at the measurement. A dash can be read from either end. The point of a V is one exact spot.
Step 4: Square the line across
Put your pencil point in the bottom of the V. Slide the square up to touch the pencil, press the square's lip firmly against the edge of the board, and draw the line across. Pull the pencil toward you along the square, tilted slightly so the lead touches the corner of the blade.
Step 5: Mark the waste side with an X
Draw an X on the side of the line you will throw away (or the next part). This tells you which side of the line to cut on.
Step 6: Wrap the line if you need it
For thick stock such as 2x4s, carry the line around to the edge with the square. When the lines meet at every corner, your marks are square. If the last line does not meet the first, one of your edges is not straight, or the square slipped.
Allow for the saw kerf
A saw blade turns about 1/8 in (3 mm) of wood into dust. That gap is the kerf. If you cut right down the middle of your line, your part will be about 1/16 in short. Cut on the X side of the line, with the blade just touching the line, and your part will come out right on size.
This also matters when you lay out several parts on one board. Measure and cut one part, then measure the next part from the new fresh end. Do not mark all the lengths in a row along the board in one go, or each kerf will steal 1/8 in from the next part.
Measure once, build right
Plans with every size written out
Good marking needs good numbers. TedsWoodworking includes 16,000+ plans, each with cut lists and diagrams, so you know exactly where every line goes.
- Exact part sizes in every cut list
- Step-by-step diagrams for beginners
- Bonus beginner guides and 150 videos
- One-time $67, 60-day money-back guarantee
Curious how it works? Read is TedsWoodworking legit?
Habits that make every cut square
- Measure from the same end. When marking several parts, always hook the tape from the reference end you squared.
- Mark matching parts together. Clamp or hold table legs, shelf sides or box sides side by side, ends lined up, and draw one line across all of them. They will match even if your tape reading is a hair off.
- Use a stop block for repeats. For many identical parts, clamp a block to your saw fence at the right length and skip measuring altogether.
- Use a story stick. For built-in projects, mark key heights on a straight scrap board and transfer them directly. No numbers, no math errors.
- Measure twice, cut once. It is a cliche because it works. Check the mark, then check the X.
- Use one reference face and edge. Mark which face and edge are your "true" ones with a small pencil symbol and measure from them.
Check your square (it might be wrong)
Cheap or dropped squares can be out of true. Here is a 2-minute test:
- Hold the square against a board with a straight edge (a factory edge of plywood is good).
- Draw a line along the blade.
- Flip the square over, line the blade up with the same line, and look.
- If the blade sits on the line perfectly, your square is true. If there is a wedge-shaped gap, the error is half of that gap.
Check a big frame with the diagonals
For boxes, frames and cabinets, measure corner to corner both ways. If the two diagonals are equal, the assembly is square. If not, push the long diagonal in gently until they match, then clamp.
Common marking mistakes
| Mistake | What happens | Fix |
|---|---|---|
| Measuring from a rough factory end | Parts come out different lengths | Square one end first |
| Thick, blunt pencil lines | Up to 1/16 in of guesswork | Use a 0.5 mm pencil or knife |
| Cutting on the wrong side of the line | Part is 1/8 in short | Always mark an X on the waste |
| Square lip not tight to the edge | Angled cut | Press the lip firmly, then draw |
| Marking all parts along the board at once | Each part loses a kerf | Measure and cut one at a time |
Now that your lines are accurate, follow them with the saw. Our guide on how to cut straight with a circular saw shows the straightedge trick, and how to read woodworking plans explains how plans show the sizes you will mark.
Put your new marking skills to work
Choose a simple project with exact measurements inside TedsWoodworking, from shelves to shop storage. One payment, lifetime access, 60-day refund.
One-time payment · Lifetime access · 60-day money-back guarantee
Save this for later
Pin this guide to your woodworking board on Pinterest so it is ready when you head to the shop.
FAQ
Should I cut on the line or next to it?
Next to it, on the waste side, with the blade just touching the line. That keeps your part at full length.
What is the best square for a beginner?
A speed square for quick cuts on boards and 2x4s, plus a 12 in combination square for layout. Between them, they cover almost everything.
Pencil or marking knife?
Start with a sharp mechanical pencil. Add a marking knife when you begin cutting joints by hand.
How accurate do I need to be?
Aim for 1/16 in on most projects. Small errors add up over several parts, so careful marking matters most on boxes and cabinets.


