
A wooden centerpiece box is the easiest way to make a Thanksgiving table look finished. This free plan builds a rustic 24-inch box (61 cm) from one 6 ft 1x4 and a short piece of 1x6. There are only five parts, every cut is straight, and you can build, stain and style it in a single afternoon. After Thanksgiving it holds pine cones and candles for Christmas, then flowers in spring.
It also makes a great hostess gift if you're a guest this year. If you're brand new to woodworking, our beginner tool guide covers everything you need.
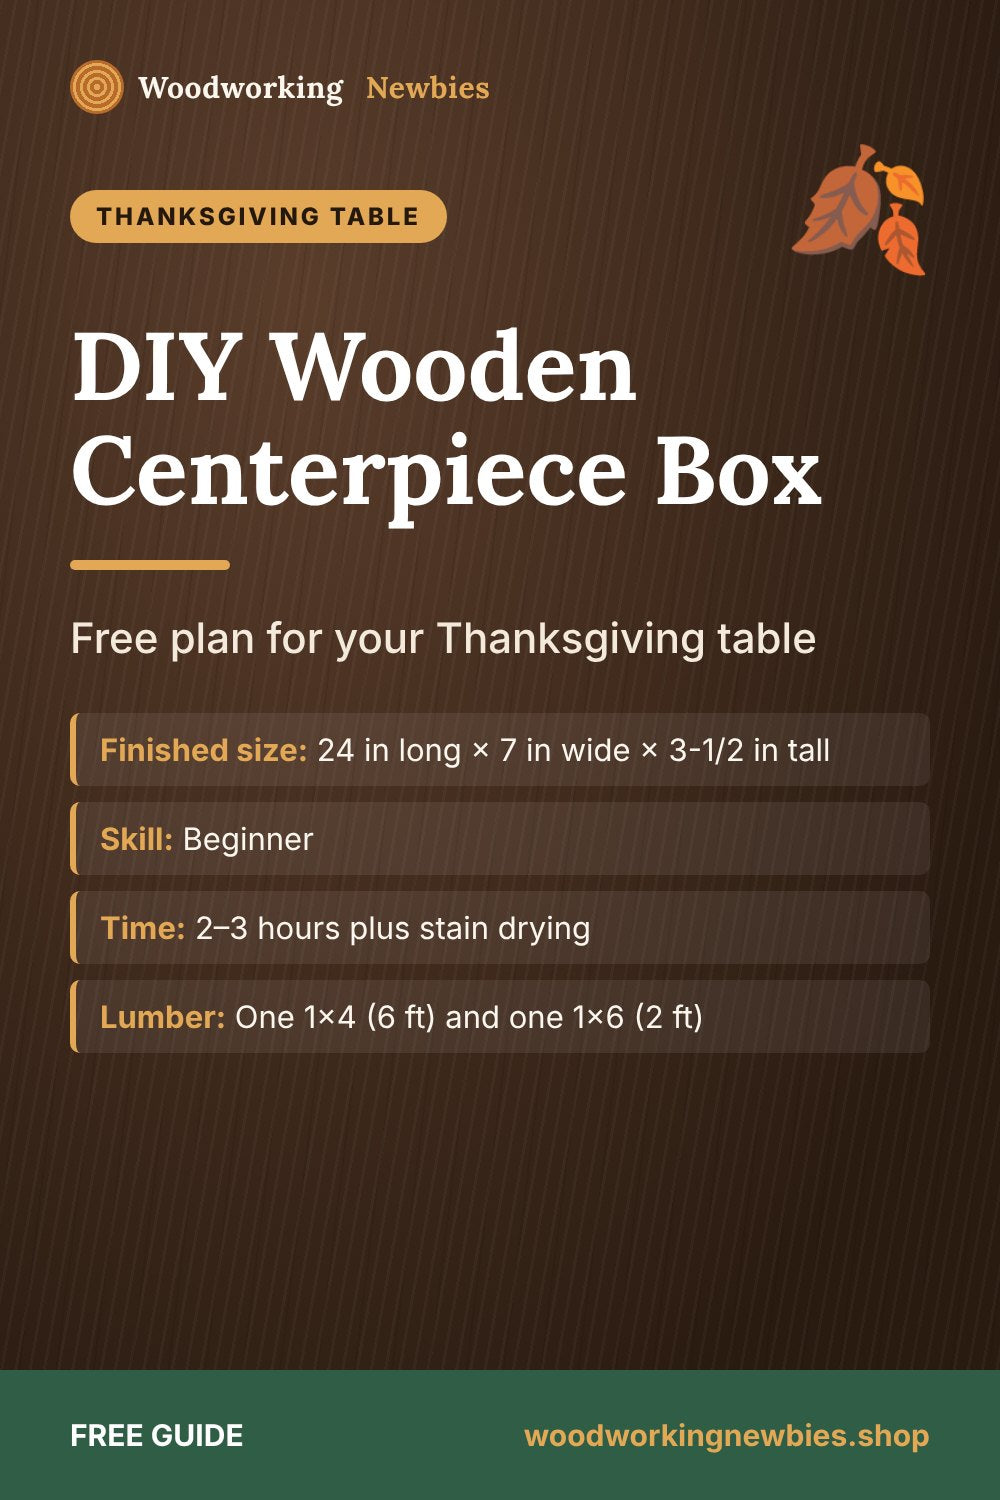
At a glance
- Finished size
- 24 in long × 7 in wide × 3-1/2 in tall
- Skill
- Beginner
- Time
- 2–3 hours plus stain drying
- Lumber
- One 1x4 (6 ft) and one 1x6 (2 ft)
- Joinery
- Glue and brad nails or screws
Beginner shortcut
Want more table and home decor projects? The TedsWoodworking library includes trays, boxes, shelves and small furniture with exact cut lists, so you can build matching pieces for the whole room.
Materials list
- 1 × 1x4 pine board, 6 ft (actual size 3/4 × 3-1/2 in)
- 1 × 1x6 pine board, 2 ft (actual size 3/4 × 5-1/2 in)
- Wood glue
- 1-1/4 in brad nails, or 1-1/4 in wood screws
- 2 handles (cabinet pulls, rope or leather straps), optional
- 120 and 180 grit sandpaper
- Stain or paint (a dark walnut stain looks great for fall)
Cut list
| Part | Qty | Board | Length |
|---|---|---|---|
| A. Long sides | 2 | 1x4 | 24 in |
| B. Ends | 2 | 1x4 | 5-1/2 in |
| C. Bottom | 1 | 1x6 | 22-1/2 in |
The whole 1x4 cut list adds up to 59 inches, so a 6 ft board leaves plenty for a test piece of stain.
Tools
- Tape measure, square and pencil
- Miter saw, circular saw or hand saw
- Drill, or a brad nailer if you have one
- Clamps
- Sander or sanding block
Step-by-step instructions
Step 1: Cut and sand the parts
Cut all five parts. Sand every face with 120 grit, then 180 grit. It's much easier to sand the parts now than inside the finished box.
Step 2: Attach the ends to the bottom
Glue one end (B) to one short edge of the bottom (C), so the end's bottom edge is flush with the bottom face of the bottom board. Nail or screw through the end into the bottom. Repeat at the other end. You now have a U shape that is 24 inches long, exactly as long as the sides.
Step 3: Attach the long sides
Glue and fasten the long sides (A) over the ends and the edges of the bottom. Keep the bottom edges flush. The box is now 24 × 7 inches outside.
Step 4: Ease the edges
Sand the top edges and corners slightly so they look soft and worn. For a farmhouse look, knock the corners with a hammer or a chain before staining.
Step 5: Stain or paint
Wipe on a pre-stain conditioner if you're staining pine, then the stain. Wipe off the extra after a few minutes. Our guide to the best wood for beginner projects explains why pine can look blotchy without conditioner.
Step 6: Add handles
Screw a cabinet pull to each end, or drill two holes in each end and knot a length of rope through them.
Build the whole set
Make a matching tray, shelf or bench next
Once you've built one box, the same skills make serving trays, wall shelves and small tables. TedsWoodworking includes plans for all of them.
- Home decor, kitchen and dining projects
- Cut lists and materials lists with each plan
- Step-by-step diagrams from several angles
- One-time $67, 60-day money-back guarantee
Read our TedsWoodworking review for the pros and cons.
How to style your centerpiece box
| Season | Fill it with |
|---|---|
| Thanksgiving | Small pumpkins, gourds, wheat stems, pillar candles in glass |
| Christmas | Pine cones, evergreen sprigs, ornaments, string lights |
| Winter | White candles in glass jars, birch logs |
| Spring and summer | Potted herbs, mason jar flowers, lemons |
Safety: always put candles in glass holders, never directly in the wood box.
Make it your own
- Longer table? Make the sides 36 in and the bottom 34-1/2 in.
- Divided box: add a 5-1/2 in divider in the middle for napkins and cutlery.
- Personalize it with a family name or the year using a stencil or wood-burning pen. This makes it a lovely gift.
Looking for more gifts to build this season? See our Christmas woodworking gifts and our step-by-step 2x4 Christmas tree plan.
Ready for your next weekend project?
Find thousands of beginner-friendly plans with exact cut lists inside TedsWoodworking: one payment, lifetime access and a 60-day refund.
One-time payment · Lifetime access · 60-day money-back guarantee
Save this for later
Pin this guide to your woodworking board on Pinterest so it is ready when you head to the shop.
FAQ
What size should a table centerpiece box be?
About a third of your table's length works well. A 24 in box suits a 6 ft table; make it 36 in for an 8 ft table.
Do I need a nail gun?
No. Glue and 1-1/4 in screws work fine. Drill pilot holes so the thin boards don't split.
How do I stop pine from looking blotchy when I stain it?
Use a pre-stain wood conditioner, or a gel stain, and always test on a scrap first.


