
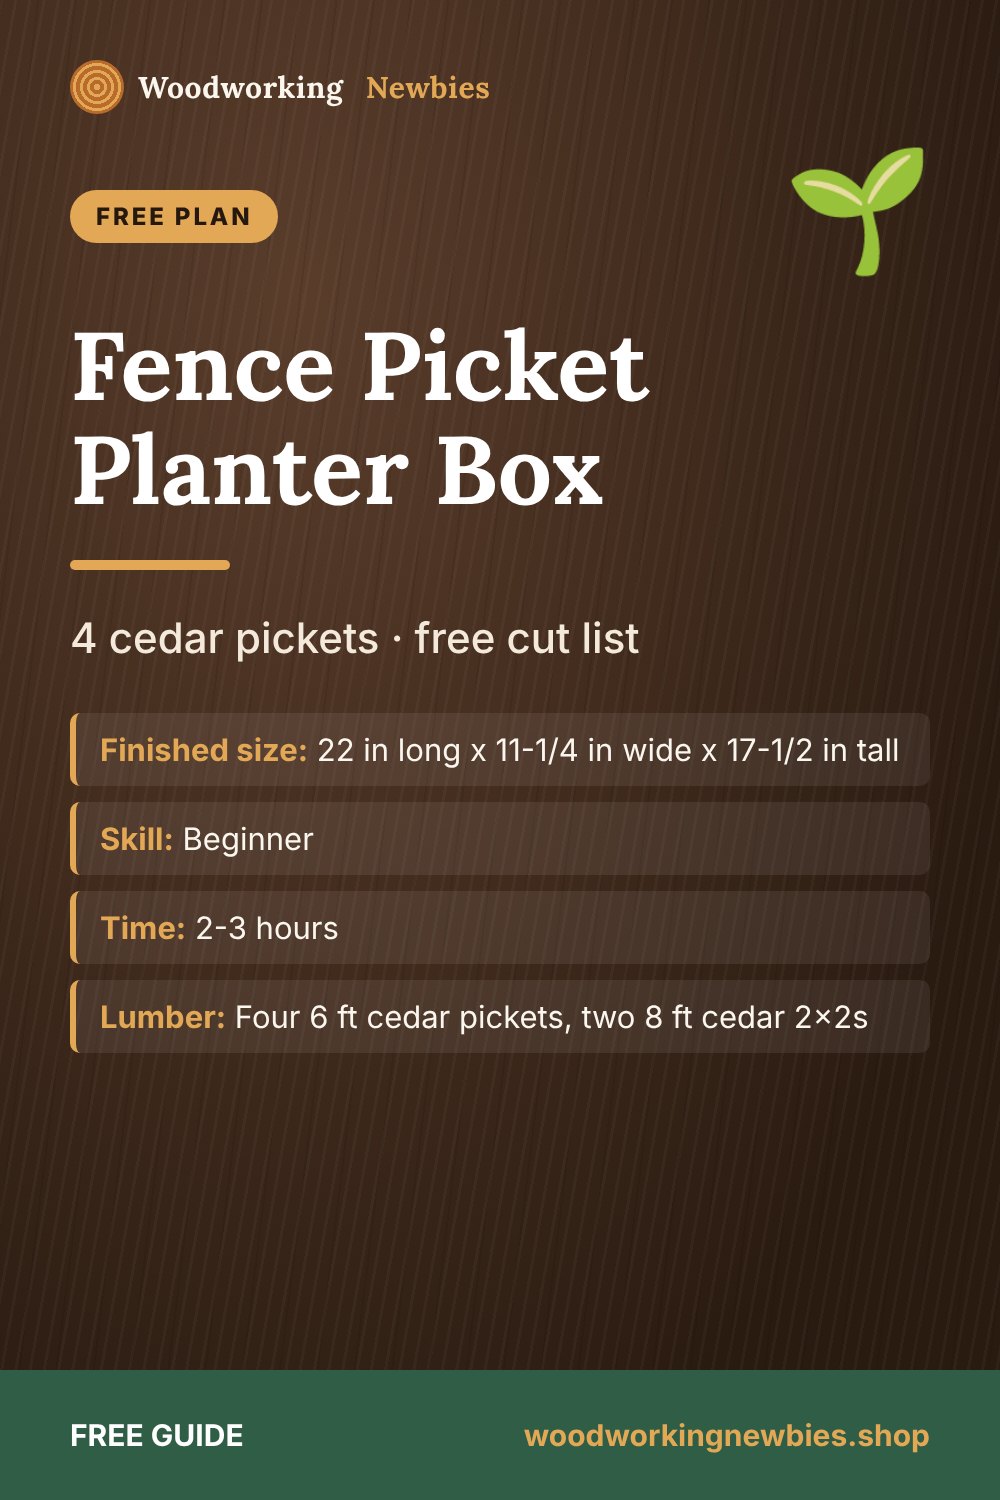
These fence picket planter box plans make a cedar planter about 22 inches long, 11-1/4 inches wide and 17-1/2 inches tall (56 x 29 x 44 cm). It uses four 6 ft cedar fence pickets, two 8 ft cedar 2x2s and exterior screws. Every cut is a straight crosscut, the corners are screwed to 2x2 posts, and a slatted bottom lets water drain.
Fence pickets are one of the cheapest ways to get cedar, which is why they are so popular for first projects. If you are just getting started, read how to start woodworking with no experience first, then build this in a single afternoon.
At a glance
- Finished size
- 22 in long x 11-1/4 in wide x 17-1/2 in tall
- Skill
- Beginner
- Time
- 2-3 hours
- Lumber
- Four 6 ft cedar pickets, two 8 ft cedar 2x2s
- Soil depth
- About 14 in
Beginner shortcut
Planning a whole garden refresh? The TedsWoodworking garden plans include planters, potting benches and trellises with full cut lists, so every piece matches.
Before you buy: check your pickets
Cedar fence pickets are typically about 5/8 in thick, 5-1/2 in wide and 6 ft long, but sizes vary by store and by batch, so check yours with a tape measure. This plan assumes 5/8 x 5-1/2 x 72 in. If your pickets are narrower, the planter will simply be a little shorter; the lengths in the cut list still work.
Most pickets have one "dog-ear" end with clipped corners. Cut that end off square first (about 3 in). The layout below leaves room for it.
Materials list
- 4 x cedar fence pickets, about 5/8 x 5-1/2 in x 6 ft
- 2 x cedar 2x2s, 8 ft (actual 1-1/2 x 1-1/2 in)
- About 70 x 1-5/8 in exterior screws
- Landscape fabric and a staple gun
- 120 grit sandpaper
- Optional: exterior oil or stain for the outside only
Cut list
| Part | Qty | Material | Length |
|---|---|---|---|
| A. Long side boards | 6 | Picket | 22 in |
| B. Short side boards | 6 | Picket | 10 in |
| C. Bottom slats | 3 | Picket | 10 in |
| D. Corner posts | 4 | 2x2 | 17-1/2 in |
| E. Long bottom cleats | 2 | 2x2 | 17-3/4 in |
| F. Short bottom cleats | 2 | 2x2 | 7 in |
How the numbers work
The long boards (A) run the full 22 in length. The short boards (B) fit between them, so the outside width is 10 + 5/8 + 5/8 = 11-1/4 in. Inside, the box is 20-3/4 x 10 in. Three rows of 5-1/2 in pickets make 16-1/2 in sides, and the posts are 1 in longer so they act as short feet.
The cleats fit between the posts: 20-3/4 - 1-1/2 - 1-1/2 = 17-3/4 in for the long ones, and 10 - 1-1/2 - 1-1/2 = 7 in for the short ones.
Cutting layout
- Pickets 1, 2 and 3: trim the dog-ear, then cut 22 + 22 + 10 + 10 = 64 in, plus kerf = about 64-1/2 in. That leaves about 7-1/2 in, enough for the dog-ear trim.
- Picket 4: three bottom slats, 10 + 10 + 10 = 30 in. About 3 ft is left over.
- 2x2 board 1: four posts and both short cleats, 17-1/2 x 4 + 7 + 7 = 84 in, plus kerf = about 84-3/4 in.
- 2x2 board 2: both long cleats, 17-3/4 + 17-3/4 = 35-1/2 in. Keep the rest for a second planter or garden stakes.
Tools
- Miter saw, or a circular saw or hand saw with a speed square
- Drill/driver with a pilot bit and a 6 in bit extension
- Tape measure, square and pencil
- Clamps
- Safety glasses and a dust mask (cedar dust irritates some people)
Step-by-step instructions
Step 1: Cut and sand
Trim the dog-ear off each picket, then cut all parts. Pickets are often rough on one face; put that face inside the planter. Lightly sand the cut ends and any splinters.
Step 2: Build the two long sides
Lay two posts (D) on your bench, parallel. Lay three long boards (A) across them, edges tight together. Position the posts so each is 5/8 in in from the board ends (that space is for the short sides) and sticks out 1 in past the bottom board. The top of each post should be flush with the top board.
Drill pilot holes about 1-3/8 in from the board ends (centered on the post), then drive two 1-5/8 in screws through each board into each post. Build the second long side the same way.
Step 3: Add the short sides
Stand both long sides up, posts facing in, 10 in apart. Lay or clamp the short boards (B) between the long boards so they cover the open faces of the posts. Line up each row with the matching row on the long sides. Screw each short board to the posts with two screws per end. Check the box is square by measuring the diagonals.
Step 4: Install the bottom cleats
Fit a long cleat (E) inside each long side, between the posts, with its bottom flush with the bottom edge of the lowest board. Clamp it, then drive three screws from the outside through the picket into the cleat. Fit the two short cleats (F) between the posts on the short sides the same way, with two screws each. The four cleats form a ring around the inside.
Step 5: Add the bottom slats
Drop the three slats (C) in from the top. They span the 10 in width and rest on the long cleats. Space them with about 1/4 in gaps between, leaving about 3/8 in at each end. Use the bit extension to drive two screws through each end of each slat into the cleats. The gaps are for drainage.
Step 6: Line it and plant
Staple landscape fabric inside, over the slats and up the sides, so soil stays in but water drains out. Do not use solid plastic, which traps water. Fill with potting mix and plant.
Garden builds
More cedar projects for your yard
Planters, raised beds, compost bins and trellises: TedsWoodworking includes 16,000+ plans with cut lists and diagrams, so you know what to buy before you go to the store.
- Garden and outdoor plans of all sizes
- Cut lists and materials lists included
- Beginner-friendly step-by-step diagrams
- $67 one-time payment, 60-day refund through ClickBank
Wondering if it is worth it? Read is TedsWoodworking legit first.
Finishing and care
Cedar naturally weathers to silver gray, so you can leave it bare. If you want to keep the warm color, apply an exterior oil or stain to the outside only and let it cure fully before planting. Keep finishes off the inside, especially for herbs and vegetables. Set the planter on pavers or bricks so the bottom gets air; the 1 in post feet already help.
Variations
| Version | How |
|---|---|
| Shorter planter | Use two rows of boards (11 in sides) and cut the posts to 12 in |
| Longer window-style box | Change parts A and E by the same amount, for example 30 in and 25-3/4 in, then add slats to fill the bottom and buy extra pickets |
| Top cap | Add a 1x4 cedar rim around the top for a finished look and a ledge for tools |
| Set of three | Build tall, medium and short versions for a stepped display |
Want a bigger garden build? Try our raised garden bed plans with legs or pair this planter with our simple 2x4 outdoor bench.
Ready for your next garden build?
Look through TedsWoodworking for potting benches, arbors and garden storage, each with a cut list and diagrams.
One-time payment · Lifetime access · 60-day money-back guarantee
Save this for later
Pin this guide to your woodworking board on Pinterest so it is ready when you head to the shop.
FAQ
How many fence pickets do I need for a planter box?
This 22 in planter uses four 6 ft pickets: three for the sides and one for the bottom slats.
Are cedar fence pickets safe for vegetables?
Untreated cedar is a common choice for vegetable planters. Check the label to make sure your pickets are not treated or coated, and line the inside with landscape fabric.
Why are my pickets a different size?
Picket sizes vary between stores and batches. Measure yours before cutting; the cut list lengths still work, and only the height changes.
How long will a fence picket planter last?
That depends on climate and how wet the soil stays. Good drainage, a fabric liner and keeping the bottom off wet ground all help it last more seasons.


