
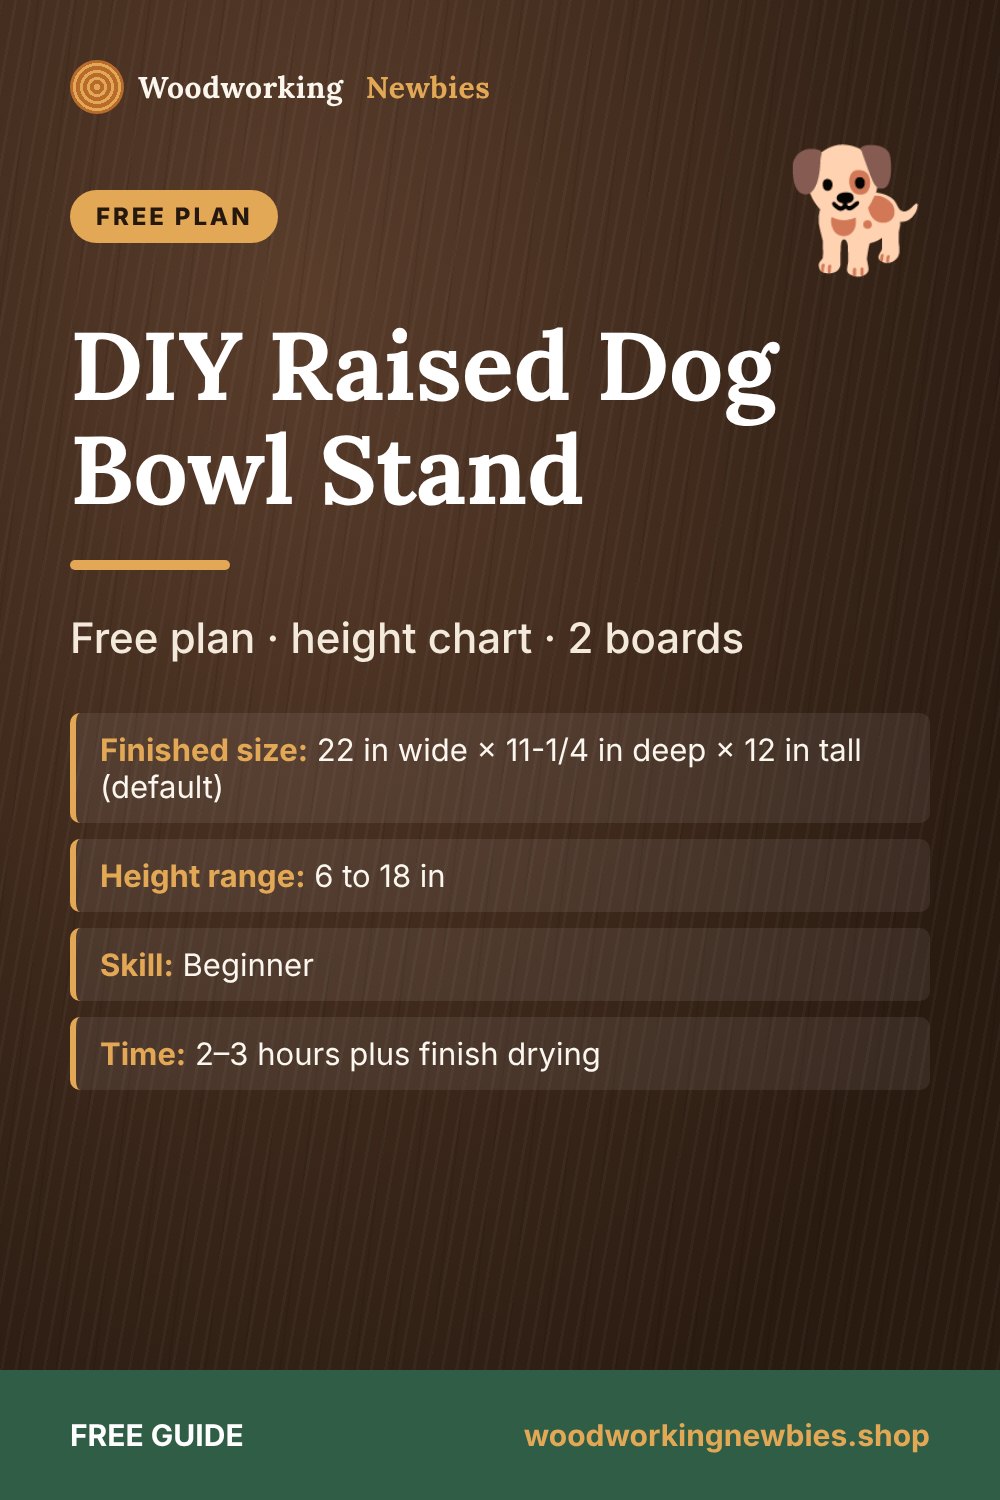
These DIY raised dog bowl stand plans make a sturdy two-bowl elevated feeder from one 1x12 board and one 1x4. The top is 22 × 11-1/4 in with two cut-outs for standard rimmed bowls, and you set the height (6 to 18 in) by changing just two parts. Measure your dog, pick a height from the chart, and cut.
If this is one of your first projects, our guide on how to start woodworking with no experience covers the basic tools and habits.
At a glance
- Finished size
- 22 in wide × 11-1/4 in deep × 12 in tall (default)
- Height range
- 6 to 18 in
- Skill
- Beginner
- Time
- 2–3 hours plus finish drying
- Lumber
- One 1x12 and one 1x4 (4 ft each for the 12 in version)
Beginner shortcut
Building for the whole pack? The TedsWoodworking plan collection includes pet projects like dog beds, crates and feeders, each with a cut list and materials list.
How tall should a raised dog bowl stand be?
A common rule of thumb is to put the top of the bowl a few inches below your dog's shoulder, so they can eat with their head slightly lowered and neck relaxed. Measure from the floor to the top of the shoulders (the withers) with your dog standing square. Then use the table below as a starting point.
| Dog size | Typical shoulder height | Stand top height (general guide) |
|---|---|---|
| Small (under about 20 lb) | 8–14 in | 4–8 in (shoulder minus 3–4 in); this plan's lowest version is 6 in |
| Medium (about 20–50 lb) | 14–20 in | 8–14 in (shoulder minus about 6 in) |
| Large (about 50–90 lb) | 20–26 in | 14–18 in (shoulder minus about 6 in) |
| Giant (over about 90 lb) | 26 in and up | Ask your vet first; 18 in is the tallest version of this plan |
This is general guidance, not veterinary advice. Some research has linked elevated bowls with a higher risk of bloat in large, deep-chested breeds, while dogs with arthritis or neck problems may find them more comfortable. If your dog has a health condition, is a large or giant breed, or has had bloat, check with your vet before you raise the bowls.
Materials list
- 1 × 1x12 board (4 ft for stands up to 12 in tall, 6 ft for 15–18 in)
- 1 × 1x4 board (4 ft, or 6 ft if you add the lower stretcher on tall versions)
- 2 stainless steel bowls with a rolled rim (measure them before cutting the holes)
- 1-1/4 in pocket screws, or 1-5/8 in wood screws if you don't have a pocket-hole jig
- Wood glue and wood filler
- 120 and 180 grit sandpaper
- Exterior paint or a water-resistant clear finish such as polyurethane
Cut list (12 in tall version)
| Part | Qty | Material | Length |
|---|---|---|---|
| A. Top | 1 | 1x12 | 22 in |
| B. End panels | 2 | 1x12 | 11-1/4 in |
| C. Front and back aprons | 2 | 1x4 | 20-1/2 in |
The aprons fit between the end panels, so their length is 22 in minus two 3/4 in panels: 22 − 1-1/2 = 20-1/2 in. The end panels set the height: end panel length = stand height − 3/4 in (the top's thickness).
Sizing chart for other heights
| Stand height | End panel length (B) | 1x12 needed (top + 2 ends + 3 cuts) | Board to buy |
|---|---|---|---|
| 6 in | 5-1/4 in | 22 + 10-1/2 + 3/8 = 32-7/8 in | 4 ft |
| 9 in | 8-1/4 in | 22 + 16-1/2 + 3/8 = 38-7/8 in | 4 ft |
| 12 in | 11-1/4 in | 22 + 22-1/2 + 3/8 = 44-7/8 in | 4 ft |
| 15 in | 14-1/4 in | 22 + 28-1/2 + 3/8 = 50-7/8 in | 6 ft |
| 18 in | 17-1/4 in | 22 + 34-1/2 + 3/8 = 56-7/8 in | 6 ft |
Cutting layout
- 1x12, 4 ft (48 in): top and both end panels for the 12 in stand: 22 + 11-1/4 + 11-1/4 = 44-1/2 in, plus three cuts (3/8 in) = 44-7/8 in. About 3 in left over.
- 1x4, 4 ft (48 in): both aprons: 20-1/2 + 20-1/2 = 41 in, plus two cuts (1/4 in) = 41-1/4 in.
- Tall versions (15–18 in): add a third 20-1/2 in lower stretcher: 61-1/2 + 3/8 = 61-7/8 in, so buy a 6 ft 1x4.
Tools
- Circular saw with a speed square (a 1x12 is too wide for most small miter saws)
- Jigsaw and a drill with a 1/2 in bit for the bowl holes
- Pocket-hole jig (optional)
- Compass or string and pencil, tape measure, square, clamps
Step-by-step instructions
Step 1: Cut the parts
Cut the top, both end panels and the aprons. Make sure both end panels are exactly the same length, or the stand will rock.
Step 2: Lay out the bowl holes
Flip a bowl over and measure its diameter just under the rim, where the bowl body meets the lip. Your hole diameter is that number plus about 1/8 in. On the top, mark two centers on a line 5-5/8 in from the long edge (halfway across the 11-1/4 in width), at 5-1/2 in and 16-1/2 in from one end. Draw the circles with a compass. This layout fits holes up to 8 in across, which leaves 3/4 in between each hole and the inside of the end panels.
Step 3: Cut the holes
Drill a 1/2 in starter hole just inside each circle. Cut along the line with a jigsaw, slowly. Test-fit the bowls; the rim should rest on the top. Sand a tight hole until the bowl drops in.
Step 4: Drill pocket holes
Drill two pocket holes at each end of both aprons (for joining them to the end panels) and three along each apron's top edge on the inside face (for the top). Add two pocket holes along the top of each end panel on the inside face. If you're new to this joint, see our guide to pocket hole joinery for beginners.
Step 5: Build the base
Stand the end panels up. Glue and clamp the front apron between them, flush with the top and front edges, and drive pocket screws. Repeat with the back apron. On tall stands, add the lower stretcher at the back, 2 in above the floor.
No pocket-hole jig? Drive two 1-5/8 in screws through each end panel into the ends of the aprons, predrilled and countersunk, then fill the holes.
Step 6: Attach the top
Set the top upside down on the bench, place the base on it upside down, and center it so the top is flush all around. Drive pocket screws up into the top. Without a jig, screw down through the top into the top edges of the aprons, 3/8 in in from the front and back edges, then fill the holes.
Step 7: Sand and seal
Round all edges, including the hole edges, with 120 then 180 grit (see the right sanding grit order). Apply exterior paint or three coats of polyurethane, since water splashes and drool will soak into bare wood. Let the finish cure for as long as the can says before your dog uses the stand.
Pet projects
Build more for your dog
Dog beds, crates, ramps and feeders: TedsWoodworking collects 16,000+ plans with materials lists, so you can plan a whole set for your best friend.
- Pet beds, crates and feeder plans
- Cut lists and materials lists included
- Step-by-step diagrams for beginners
- One-time $67 with a 60-day money-back guarantee
Wondering if it's worth it? Read our honest TedsWoodworking review.
Variations
| Version | How to change the plan |
|---|---|
| Small dog or cat | Build the 6 in version and use smaller bowls |
| Bottom shelf | Add a 3/4 in plywood shelf between the end panels for a food scoop and leash |
| Name sign | Paint or wood-burn your dog's name on the front apron |
| Three bowls | Lengthen the top to 32 in and the aprons to 30-1/2 in (buy 6 ft boards) |
Making it as a present? See our woodworking gifts to make for men.
Find your next pet project
Search thousands of step-by-step plans inside TedsWoodworking, including dog houses, beds and ramps. One payment, lifetime access, and a 60-day refund.
One-time payment · Lifetime access · 60-day money-back guarantee
Save this for later
Pin this guide to your woodworking board on Pinterest so it is ready when you head to the shop.
FAQ
How do I measure my dog for a raised bowl stand?
Have your dog stand square on a flat floor and measure from the floor to the top of the shoulders. Subtract about 6 in for medium and large dogs, or 3–4 in for small dogs, as a general starting point.
Are raised dog bowls good for every dog?
No. They can help some dogs, but some research has linked them with a higher bloat risk in large, deep-chested breeds. Check with your vet if your dog has a health condition or is a large or giant breed.
What wood is best for a dog bowl stand?
Pine is fine if it's sealed well. Poplar or oak hold up better to chewing and knocks. Avoid pressure-treated lumber for anything your dog may lick or chew.


