
Pocket hole joinery for beginners comes down to three settings and one habit. Set the jig and drill collar to the thickness of your board, use the right length of pocket screw (1-1/4 in for 3/4 in boards), and clamp the two parts flat before you drive the screw. Do that and you get a strong, flush joint in minutes, with no special skills.
If you are brand new, start with our guide on how to start woodworking with no experience. A pocket hole jig turns a drill into a furniture-making tool.
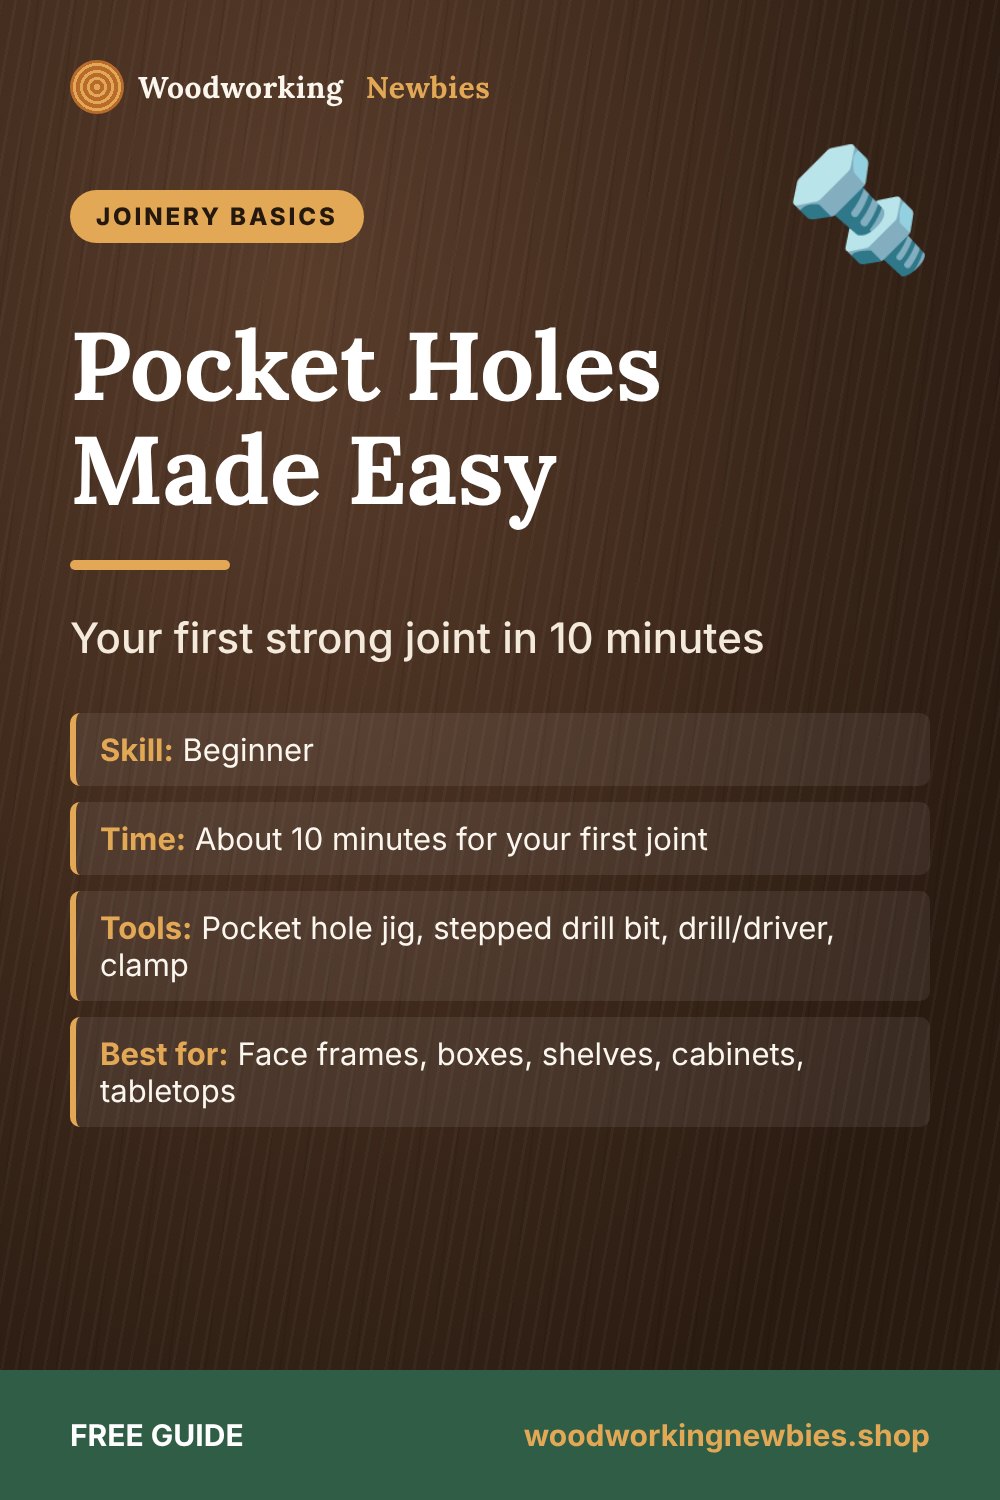
At a glance
- Skill
- Beginner
- Time
- About 10 minutes for your first joint
- Tools
- Pocket hole jig, stepped drill bit, drill/driver, clamp
- Best for
- Face frames, boxes, shelves, cabinets, tabletops
- Key rule
- Match jig, collar and screw to board thickness
Beginner shortcut
Once you can drive a pocket screw, you can build most beginner furniture. The TedsWoodworking plans come with cut lists and step-by-step diagrams, so you know exactly where each joint goes.
What is a pocket hole joint?
A pocket hole is an angled hole drilled into one board at about 15 degrees. A special self-tapping screw goes through that hole and into the second board, pulling the two together. The hole has a wide "pocket" for the screw head and a narrow pilot section for the shank, so the screw seats deep inside the wood instead of splitting it.
The holes go on the hidden face of the joint, such as the back of a face frame or the underside of a shelf. From the show side you only see a tight seam.
Why beginners love it
- No fancy fitting. You do not cut a tenon or line up dowels. You drill, clamp and drive.
- No waiting. The screws act as clamps, so you can keep building while the glue dries.
- Forgiving. If a joint goes wrong, back the screw out and try again.
What you need
- A pocket hole jig (a simple one- or two-hole jig is fine to start)
- The stepped drill bit and depth collar that come with the jig
- A drill/driver with a clutch, plus a long square-drive (No. 2) bit
- A face clamp or any clamp that can hold the two boards flush
- Pocket hole screws in the right length and thread (see the table below)
- Wood glue, safety glasses and a couple of scrap boards to practice on
Pocket hole screw size chart
The two choices that matter are length and thread. Length depends on board thickness. Thread depends on the wood: coarse thread for softwoods like pine and for plywood and MDF, fine thread for hard woods like oak and maple, where coarse threads can split the wood.
| Board thickness | Common example | Jig and collar setting | Screw length |
|---|---|---|---|
| 1/2 in (12 mm) | 1/2 in plywood, thin stock | 1/2 in | 1 in |
| 3/4 in (19 mm) | 1x boards, 3/4 in plywood | 3/4 in | 1-1/4 in |
| 1-1/2 in (38 mm) | 2x4s and other 2x lumber | 1-1/2 in | 2-1/2 in |
Other thicknesses exist, so always check the chart printed on your jig or in its manual. If the tip of a test screw pokes out of the face of your scrap, the screw is too long or the collar is set wrong.
How to make your first pocket hole joint
Practice on two scraps of 1x4 pine first. You will make a simple butt joint, the end of one board against the edge of the other.
Step 1: Measure the board thickness
Do not trust the label. A "1x4" is really 3/4 in thick and 3-1/2 in wide. Measure it, because plywood in particular is often a little under its stated size. Our guide to reading a tape measure helps if fractions still slow you down.
Step 2: Set the jig
Set the drill guide on the jig to match the thickness (3/4 in here). Most jigs have a sliding guide or a marked scale. This puts the hole in the right place so the screw exits near the middle of the board's end.
Step 3: Set the depth collar on the bit
Slide the stop collar onto the stepped bit and set it using the gauge on the jig for 3/4 in stock, then tighten it with the hex key. If the collar slips, the hole ends up too deep and the screw can blow out the end of the board.
Step 4: Drill the pocket holes
Clamp the board firmly in the jig with the hidden face up, toward the drill guide. On a 3-1/2 in wide board, drill two holes, each about 3/4 to 1 in in from the edges. Run the drill at full speed before the bit enters the guide, push in until the collar touches, and pull back out a couple of times to clear chips.
Step 5: Glue and clamp the joint flush
Spread a thin coat of glue on the end of the drilled board. Butt it against the second board and clamp across the joint so the top faces are perfectly flush. This clamp is the habit that matters most. As the screw tightens, it tries to push the drilled board out of line, and the clamp stops it.
Step 6: Drive the screws
Set your drill's clutch to a low-to-medium setting. Drive each screw until it is snug and stop. Over-driving in pine will strip the hole and the joint will spin loose. Wipe off any glue squeeze-out with a damp rag.
Put the joint to work
Turn pocket holes into real furniture
Shelves, benches, cabinets and tables all use the joint you just learned. TedsWoodworking pairs each plan with a cut list and materials list so the parts line up.
- 16,000+ plans, many built with simple joints
- Cut lists and step-by-step diagrams included
- Bonus videos and beginner guides
- $67 one-time, 60-day money-back guarantee
Not sure yet? Read our honest TedsWoodworking review first.
7 pocket hole mistakes beginners make
- Wrong screw thread. Coarse screws in oak can split it. Fine screws in pine strip out. Match the thread to the wood.
- Skipping the clamp. Without a clamp the joint slides out of flush by 1/16 in or more, which you then have to sand away.
- Holes on the wrong face. Plan which face shows before you drill. Mark the show face with a pencil triangle.
- Driving too hard. Let the clutch stop the screw. Snug is enough.
- Too few screws. Use two per joint on boards 3 to 4 in wide, and space them about 6 to 8 in apart on long joints such as a tabletop.
- Screwing into end grain. The screw should bite into face or edge grain on the second board, not into end grain, which holds poorly.
- Visible holes in the wrong place. On a shelf you look down on, put the holes underneath. If they must show, fill them with matching wood plugs.
When to use pocket holes (and when not to)
Pocket holes are great for face frames, cabinet boxes, bookshelves, frames, benches and gluing up wide panels. They are less suited to parts that take heavy twisting loads over many years, like dining chair joints, or to places where wood movement matters, such as a solid wood tabletop fixed rigidly to its base. For a deeper look at the trade-offs, read our comparison of pocket holes vs mortise and tenon, and see wood joints for beginners for other simple options.
Good first projects with pocket holes
- A simple picture frame or mirror frame from 1x3s
- A small step stool
- Our easy bookshelf plans, which are built from 1x10 boards
- A 2x4 bench or a 2x4 workbench, using 2-1/2 in screws
Your next build is one search away
Look up bookshelves, benches or cabinets inside TedsWoodworking and pick a plan that matches the tools you already own.
One-time payment · Lifetime access · 60-day money-back guarantee
Save this for later
Pin this guide to your woodworking board on Pinterest so it is ready when you head to the shop.
FAQ
Are pocket hole joints strong enough for furniture?
Yes, for most beginner furniture. A glued and screwed pocket hole joint is plenty strong for shelves, cabinets, benches and frames. For chairs and other parts that get racked back and forth, many woodworkers prefer a mortise and tenon.
Do I need glue with pocket screws?
Glue makes the joint stronger and stiffer, so use it on permanent joints. Skip glue on parts you may want to take apart, or where the two parts meet end grain to end grain.
Can I use regular wood screws in pocket holes?
It is not a good idea. Pocket screws have a flat washer head that seats in the bottom of the pocket. A tapered head can act like a wedge and split the board.


