
To sand wood the right way, start with the finest grit that removes the marks you see, usually 80 or 120, then step up through each grit without skipping more than one: 80, 120, 150, 180. Stop at 180 for most stains and 220 for clear finishes on hardwood. Remove the dust between grits and check for leftover scratches before moving on.
Sanding is not glamorous, but it decides how your finished project looks. If you are just getting started, our guide on how to start woodworking with no experience covers the basics, and this article covers the sanding part in detail.
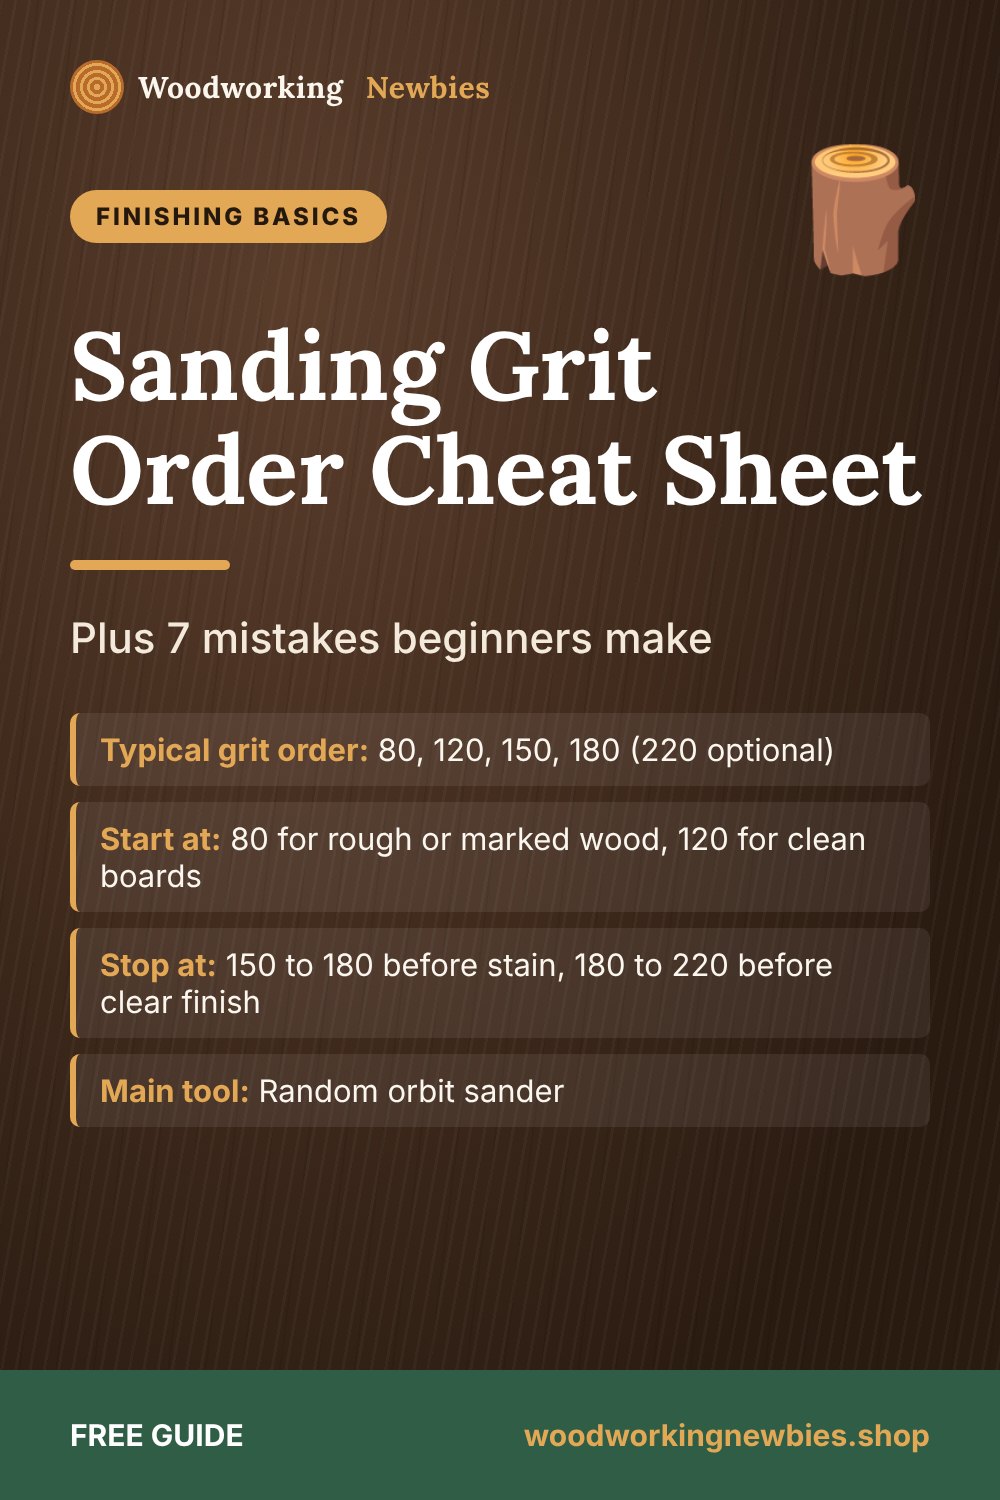
At a glance
- Typical grit order
- 80, 120, 150, 180 (220 optional)
- Start at
- 80 for rough or marked wood, 120 for clean boards
- Stop at
- 150 to 180 before stain, 180 to 220 before clear finish
- Main tool
- Random orbit sander
- Must-have
- Dust mask and dust collection
Beginner shortcut
Good sanding makes simple projects look professional. Pair it with a solid plan: the TedsWoodworking plans include cut lists and step-by-step diagrams so the build goes smoothly before you reach for the sandpaper.
What sandpaper grit numbers mean
The grit number tells you how fine the abrasive is. Lower numbers are coarser and remove wood fast but leave deep scratches. Higher numbers are finer and remove less but leave smaller scratches. Each grit's job is to remove the scratches left by the grit before it.
The right sanding grit order
| Grit | Type | Use it for |
|---|---|---|
| 60 | Very coarse | Removing old finish or heavy damage. Most beginners rarely need it on new wood. |
| 80 | Coarse | Planer marks, saw marks, flattening small high spots, rough lumber |
| 120 | Medium | Starting point for most home center boards and plywood; removes 80-grit scratches |
| 150 | Medium-fine | General smoothing; a good stopping point for paint and many stains on softwood |
| 180 | Fine | Final grit before most stains and oil finishes |
| 220 | Very fine | Final grit before clear finishes on hardwood; end grain before stain |
| 320 and up | Extra fine | Light sanding between coats of finish, not bare wood |
A simple rule: do not skip more than one grit. Going from 80 straight to 220 leaves deep 80-grit scratches that only show up once stain fills them.
Where to stop
- Paint: 120 to 150 is plenty. Paint needs a little "tooth" to grip.
- Stain: 150 to 180. Going much finer can make some woods take stain lightly. See our guide on how to stain pine without blotches.
- Clear finish or oil: 180 to 220.
- Cutting boards: 180 to 220, then raise the grain (below). Our guide to the best food-safe finish for cutting boards covers the next step.
How to sand wood with a random orbit sander
A random orbit sander is the best first sander for most beginners. It spins and wobbles at the same time, so it leaves fewer swirl marks than a plain orbital "sheet" sander.
Step 1: Mark the surface with pencil
Draw light, wavy pencil lines across the whole surface. As you sand, the lines disappear. When they are all gone, you have sanded the whole area evenly with that grit.
Step 2: Start the sander on the wood
Set the sander flat on the board, then switch it on. Lifting it or setting it down while it spins can gouge the surface.
Step 3: Let the sander do the work
Use just enough pressure to guide it. Pushing hard slows the pad and causes swirl marks. Move slowly, about an inch (25 mm) per second, in overlapping passes.
Step 4: Keep it flat at the edges
Let no more than about a third of the pad hang off an edge. Tipping the sander rounds over edges and corners.
Step 5: Clean and check between grits
Vacuum or brush off the dust, then hold a light low across the surface. Scratches show up as fine lines. If you still see marks from the last grit, keep going before you move up.
Step 6: Hand sand with the grain at the end
After the last grit, a few light strokes by hand with the grain, using a sanding block, removes any tiny swirls. Always sand with the grain by hand. Cross-grain scratches are very visible under stain.
Next step
Put your new sanding skills on a real project
Small boxes, cutting boards and shelves are perfect sanding practice. TedsWoodworking gives you thousands of them with materials lists and diagrams.
- 16,000+ plans for every skill level
- Cut lists and step-by-step diagrams
- 150 bonus videos and beginner guides
- $67 one-time payment, 60-day money-back guarantee
Wondering if it is worth it? Read our look at whether TedsWoodworking is legit.
7 sanding mistakes beginners make
- Skipping grits. The coarse scratches stay hidden until you stain. Never jump more than one grit.
- Pressing too hard. It does not sand faster. It heats the paper, clogs it and leaves swirls.
- Using worn-out paper. Dull paper burnishes the wood instead of cutting it. If it feels smooth and stops making dust, change it.
- Sanding too fine before stain. 400 grit on bare wood can leave the surface so closed that stain looks blotchy or pale.
- Rounding the edges. Keep the sander flat at the edges. Ease sharp edges by hand on purpose instead.
- Not cleaning between grits. Loose coarse grit gets trapped under the finer paper and makes new scratches.
- Sanding after assembly when you did not have to. Inside corners are hard to reach. Sand flat parts before glue-up, then touch up after.
Raising the grain for water-based finishes
Water makes wood fibers swell and stand up, which feels rough after the first coat of a water-based finish. To prevent it, wipe the sanded wood with a damp cloth, let it dry fully, then sand lightly with your final grit. The fibers are cut off and stay down when the finish goes on.
Sanding safety
- Wear a well-fitting dust mask or respirator rated for fine dust, not a loose paper mask.
- Connect the sander to a shop vacuum if you can. It collects more dust and the paper lasts longer.
- Wear safety glasses and hearing protection for long sessions.
- Some wood dust can irritate skin and lungs. Clean up with a vacuum, not a broom.
For other easy wins, see our woodworking tips for beginners, and check the essential tools list if you do not own a sander yet.
Find a project worth a good finish
Search boxes, tables and gifts inside TedsWoodworking and choose one you can build and sand this weekend.
One-time payment · Lifetime access · 60-day money-back guarantee
Save this for later
Pin this guide to your woodworking board on Pinterest so it is ready when you head to the shop.
FAQ
What grit should I start sanding with?
Start with the finest grit that removes the marks you see. For new boards from a home center, that is usually 120. Use 80 only for saw marks, planer marks or rough spots.
Can I skip grits when sanding?
You can skip one, such as 120 to 180, but not more. Bigger jumps leave scratches the finer paper cannot remove in reasonable time.
Should I sand between coats of finish?
Yes, lightly. Use 320 grit or finer after each coat is fully dry to remove dust nibs, then wipe off the dust before the next coat.
Is 220 grit too fine for stain?
On many hardwoods, 220 is fine. On pine and other blotch-prone woods, stopping at 150 or 180 usually gives more even color. Test on scrap.


