
These DIY wood garage storage shelves give you four deep, sturdy shelves for bins, paint cans, tools and camping gear. The freestanding unit is 6 feet tall, about 4 feet wide and 27 inches deep (183 × 121 × 69 cm). It's built from ten 8 ft 2x4s and one sheet of plywood, with nothing but straight cuts and screws, so it's a great beginner project that you can finish in a day.
If you haven't built a workbench yet, start with our 2x4 workbench plans, which use the same frame method on a smaller scale. Brand new to woodworking? Our beginner's roadmap covers the basics first.
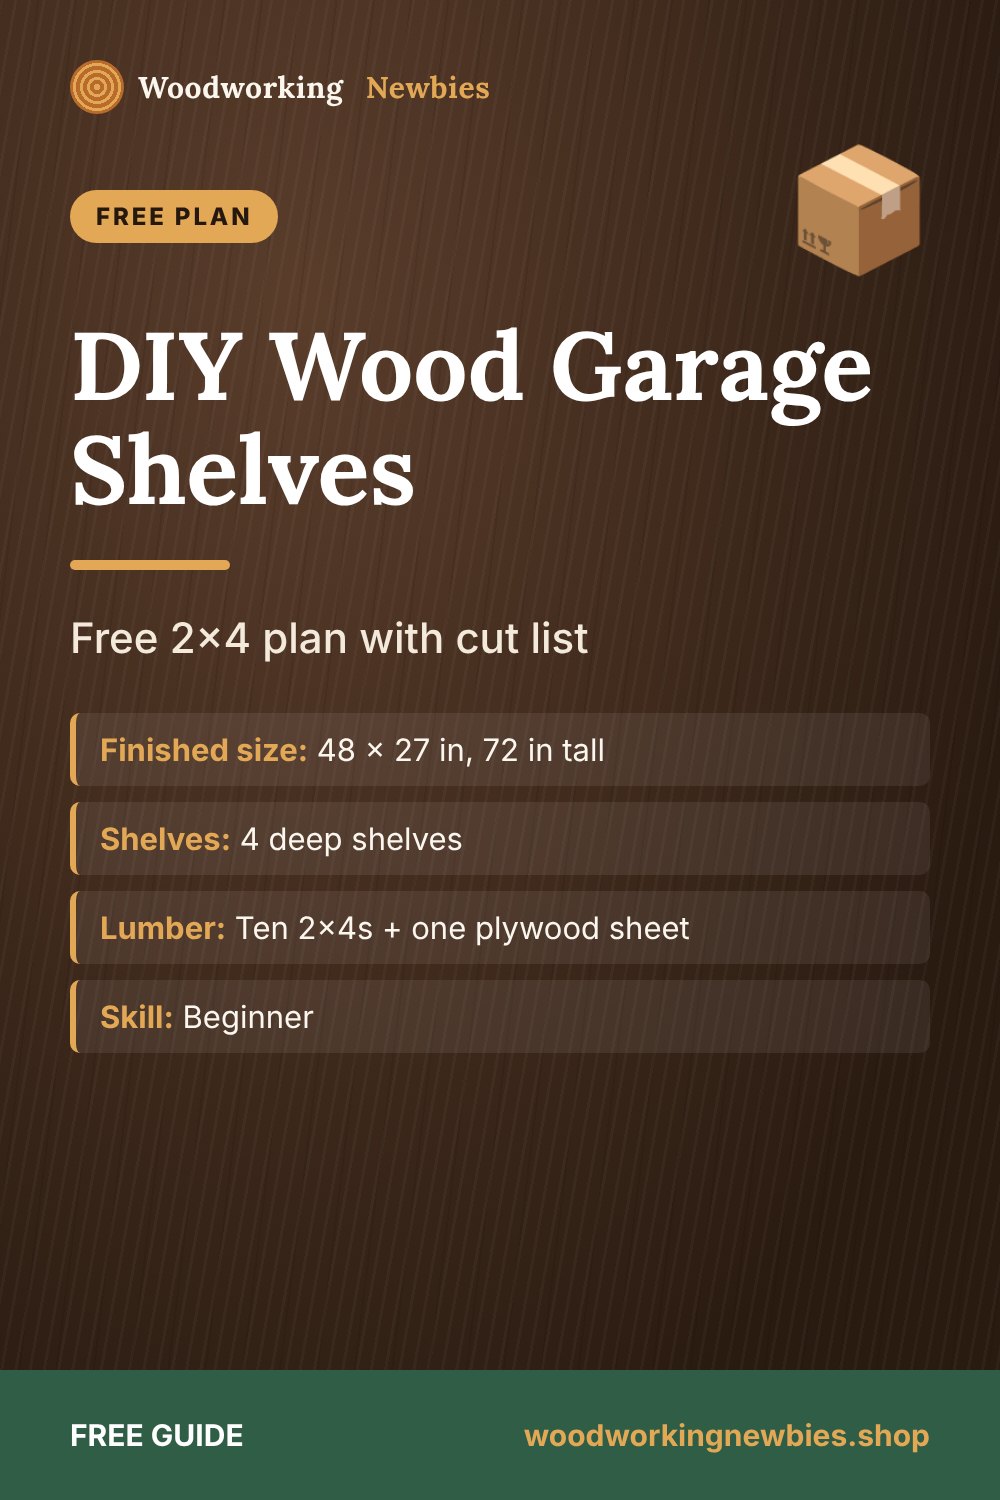
Shelving unit at a glance
| Finished size | 47-3/4 in wide × 27 in deep × 72 in tall |
| Shelves | 4 shelves, each 47-3/4 × 24 in, about 17 in of clear height between them |
| Skill level | Beginner |
| Build time | About one day |
| Lumber | Ten 8 ft 2x4s and one 4 × 8 ft sheet of 3/4 in plywood |
Beginner shortcut
Need cabinets, a wall-mounted rack or a lumber cart instead? The TedsWoodworking storage and workshop plans cover dozens of garage projects, each with a full cut list.
Materials list
- 10 × 2x4 boards, 8 ft (96 in) long. Make sure they're true 8 ft boards, not 92-5/8 in "precut" wall studs.
- 1 × sheet of 3/4 in plywood, 4 × 8 ft (OSB works too and costs less)
- About 60 × 3 in screws (for the shelf frames)
- About 40 × 2-1/2 in screws (to attach the uprights)
- About 50 × 1-1/4 in screws (for the plywood shelves)
- 2 L-brackets or a short 2x4 cleat to anchor the unit to the wall
- Wood glue (optional)
Cut list
| Part | Qty | Material | Length / size |
|---|---|---|---|
| A. Uprights | 4 | 2x4 | 72 in |
| B. Long rails | 8 | 2x4 | 47-3/4 in |
| C. Short rails | 12 | 2x4 | 21 in |
| D. Shelves | 4 | 3/4 in plywood | 47-3/4 × 24 in |
Cutting layout
- Boards 1–4: one upright (72 in) + one short rail (21 in) each
- Boards 5–8: two long rails (47-3/4 in) each
- Boards 9–10: four short rails (21 in) each
- Plywood: rip the sheet into two 24 in strips (the second will be a hair narrower because of the blade, which is fine), then cut each strip into two 47-3/4 in pieces. Most stores will make these cuts for you.
Tools you'll need
- Tape measure, speed square, pencil
- Circular saw or miter saw
- Drill/driver and a countersink bit
- Clamps and a level
- A helper for standing the unit up
- Safety glasses and hearing protection
Step-by-step instructions
Step 1: Cut and label every part
Cut the parts on the cut list and label them. Double-check that all four uprights are exactly 72 inches.
Step 2: Build four shelf frames
For each frame, set two long rails (B) on edge and fit three short rails (C) between them: one at each end and one in the middle. Each frame should measure 47-3/4 × 24 inches outside. Drive two 3 in screws through the long rails into the end of each short rail. Check that the diagonals match, so each frame is square.
Step 3: Mark the shelf heights
On all four uprights (A), measure from the bottom end and mark lines at 3 in, 24 in, 45 in and 68-1/2 in. These lines show where the bottom edge of each frame goes. The top frame ends up flush with the top of the uprights.
Step 4: Attach the front uprights
Stand the four frames on their back rails, on a flat floor, roughly lined up. Lay two uprights across the front rails, one at each end, flush with the frame ends. Line up each frame with its height marks and clamp. Drive two 2-1/2 in screws through the upright into each long rail (glue first if you're using it).
Step 5: Attach the back uprights
With a helper, carefully roll the assembly over so it rests on the front uprights. Attach the two back uprights to the back rails exactly the same way.
Step 6: Stand it up and add the shelves
Stand the unit upright. Drop a plywood shelf (D) onto each frame and fasten it with 1-1/4 in screws every 8 to 10 inches into the rails.
Step 7: Level it and anchor it to the wall
Move the unit into place and check it with a level. Shim under the uprights if your garage floor slopes. Then secure the top of the unit to a wall stud with L-brackets. A tall, loaded shelf should always be anchored so it can't tip.
Organize the whole garage
Shelves are just the start
Workbenches, tool walls, lumber racks, cabinets: TedsWoodworking includes workshop and storage plans for small and large spaces.
- Plans for garage cabinets, racks and shop furniture
- Cut lists and materials lists with every plan
- Beginner-friendly instructions and diagrams
- One-time $67, 60-day money-back guarantee
Read our honest TedsWoodworking review for the full pros and cons.
Ways to customize the shelves
- Different heights: move the marks in step 3 to fit your bins. Measure your tallest bin and add 2 inches.
- Wider unit: lengthen the long rails and shelves, and add a middle short rail for every extra 2 feet.
- Built-in version: skip the back uprights and screw the back rails straight into the wall studs.
- Corner unit: build two units and push them into an L shape.
- Finish: garage shelves don't need a finish, but a coat of paint or primer on the plywood makes spills easy to wipe up.
Safety tips for garage shelving
- Always anchor tall shelving to the wall.
- Store heavy items on the lowest shelves.
- Keep the unit off damp concrete with small plastic pads or a scrap strip of treated lumber.
- Don't climb the shelves. Use a step ladder.
Find your next workshop project
Plan your workbench, tool storage and wall racks with step-by-step plans from the TedsWoodworking workspace collection. It's one payment with lifetime access.
One-time payment · Lifetime access · 60-day money-back guarantee
Save this for later
Pin this guide to your woodworking board on Pinterest so it is ready when you head to the shop.
FAQ
What's the best wood for garage shelves?
2x4 framing lumber for the frame and 3/4 in plywood or OSB for the shelves. Both are affordable and strong enough for typical garage storage.
How deep should garage shelves be?
About 24 inches suits most storage bins. If space is tight, make the short rails 13 inches for 16-inch-deep shelves.
Do I need to attach garage shelves to the wall?
Yes. A tall freestanding unit can tip when it's loaded unevenly, so always anchor the top to a stud.
Can I build this without a miter saw?
Yes. A circular saw and a speed square used as a guide make every cut in this plan. See our guide to essential woodworking tools for beginners.


