
To read a woodworking plan, start with the overview and the finished dimensions, then check the tools list, buy what's on the materials list, cut every part on the cut list, and follow the numbered steps using the diagrams. A good plan works like a recipe. Once you know what each section means and how lumber is sized, any plan becomes easy to follow.
This guide explains each part of a typical plan, the lumber sizing that confuses almost every beginner, and the abbreviations you'll see over and over. It's part of our woodworking for beginners series.
The 6 parts of a woodworking plan
| Section | What it tells you | What to do with it |
|---|---|---|
| 1. Overview | A picture of the finished project, overall size, skill level | Check it fits your space and your skills |
| 2. Tools list | Every tool the plan uses | Note what you need to buy, borrow or work around |
| 3. Materials list | Lumber, sheet goods, screws, glue, hardware | Your shopping list |
| 4. Cut list | Every part, its quantity and exact size | Mark, cut and label every part |
| 5. Diagrams | Exploded views and measurements | See how parts fit together |
| 6. Steps | The assembly order | Follow them in order, without skipping |
Beginner shortcut
The easiest way to practice is with plans that always include all six parts. According to the sales page, every plan in the TedsWoodworking library comes with a cut list, a materials list and diagrams from several angles.
Nominal vs actual lumber sizes (the #1 beginner surprise)
Lumber is sold by its nominal size, the size before it was dried and planed. The actual size is smaller. Plans usually use nominal names in the materials list and actual sizes in the cut list and diagrams.
| Nominal (what you ask for) | Actual size (inches) | Actual size (mm, approx.) |
|---|---|---|
| 1x2 | 3/4 × 1-1/2 | 19 × 38 |
| 1x4 | 3/4 × 3-1/2 | 19 × 89 |
| 1x6 | 3/4 × 5-1/2 | 19 × 140 |
| 1x8 | 3/4 × 7-1/4 | 19 × 184 |
| 2x2 | 1-1/2 × 1-1/2 | 38 × 38 |
| 2x4 | 1-1/2 × 3-1/2 | 38 × 89 |
| 2x6 | 1-1/2 × 5-1/2 | 38 × 140 |
| 4x4 | 3-1/2 × 3-1/2 | 89 × 89 |
Lengths, on the other hand, are usually what they say: an 8 ft board is about 96 inches. The exception is "precut" wall studs, which are often 92-5/8 inches, so check before you buy. Plywood thickness can also run slightly under the label (a "3/4 in" sheet may measure 23/32 in), which matters for grooves and dadoes.
How to read a cut list
A cut list is a table of every piece in the project. A typical row looks like this:
| Part | Qty | Thickness | Width | Length | Material |
|---|---|---|---|---|---|
| A. Leg | 4 | 1-1/2 | 3-1/2 | 35-1/4 | 2x4 |
- Dimensions are listed as thickness × width × length, almost always in that order.
- Length runs with the grain. Width runs across it.
- The letter (A, B, C...) matches the diagrams. Write it on each piece as you cut it.
- Cut the longest parts first. If you make a mistake, the offcut can still become a shorter part.
See a complete real-world cut list in our free 2x4 workbench plans.
How to read the diagrams
- Exploded view: the project pulled apart so you can see each part and where it goes. Use it to understand the build before you start.
- Front, side and top views: flat drawings with measurements. Use them to place parts accurately.
- Detail views: close-ups of a joint or a tricky area, often at a larger scale.
- Dimension lines: thin lines with arrows at each end and a number in the middle. The number is the distance between the arrows.
- Dashed lines: hidden edges, such as a screw or a joint inside the wood.
Common abbreviations and terms
| Term | Meaning |
|---|---|
| " and ' | Inches and feet (6' 2" = 6 feet 2 inches) |
| OC | On center: spacing measured from the center of one part to the center of the next (for example "16 in OC") |
| S4S | Surfaced four sides: lumber planed smooth and ready to use |
| Ply | Plywood |
| MDF | Medium-density fiberboard |
| T&G | Tongue and groove |
| Rip / crosscut | Cut along the grain / cut across the grain |
| Kerf | The width of wood the saw blade removes (about 1/8 in) |
| Dado / rabbet | A groove across a board / a step cut along an edge |
| PH | Pocket hole |
| Countersink | A cone-shaped hole so the screw head sits flush |
Dadoes, rabbets and pocket holes are explained in our guide to wood joints for beginners.
Plans made for beginners
Learn faster with complete, consistent plans
Following one clear plan format helps you learn quickly. TedsWoodworking gives you 16,000+ plans, each with a cut list, a materials list and step-by-step diagrams.
- Exploded views and diagrams from several angles
- Exact cut lists and materials lists
- Plans sorted by difficulty, so you can start easy
- One-time $67, 60-day money-back guarantee
Read our honest TedsWoodworking review for pros and cons.
How to follow a plan step by step
- Read the whole plan before you buy anything. Make sure you understand every step.
- Check the finished size against your space.
- Plan your cuts on paper so you buy the fewest boards.
- Buy 10–15% extra lumber for mistakes and defects.
- Cut and label every part before assembly.
- Dry-fit (assemble without glue or screws) to catch problems early.
- Assemble in the plan's order. Some steps are impossible if done out of order.
- Measure your actual parts, not just the plan, when fitting later pieces like shelves or drawers.
Mistakes beginners make with plans
- Cutting from the nominal size instead of the actual size
- Forgetting the blade's kerf when marking several parts on one board
- Mixing up width and length, and cutting across the grain by mistake
- Skipping the dry fit
- Using free plans that leave out measurements, and only noticing halfway through
Put your new skills to work
Now that you can read any plan, pick a beginner project with a full cut list inside TedsWoodworking. One payment, lifetime access and a 60-day refund.
One-time payment · Lifetime access · 60-day money-back guarantee
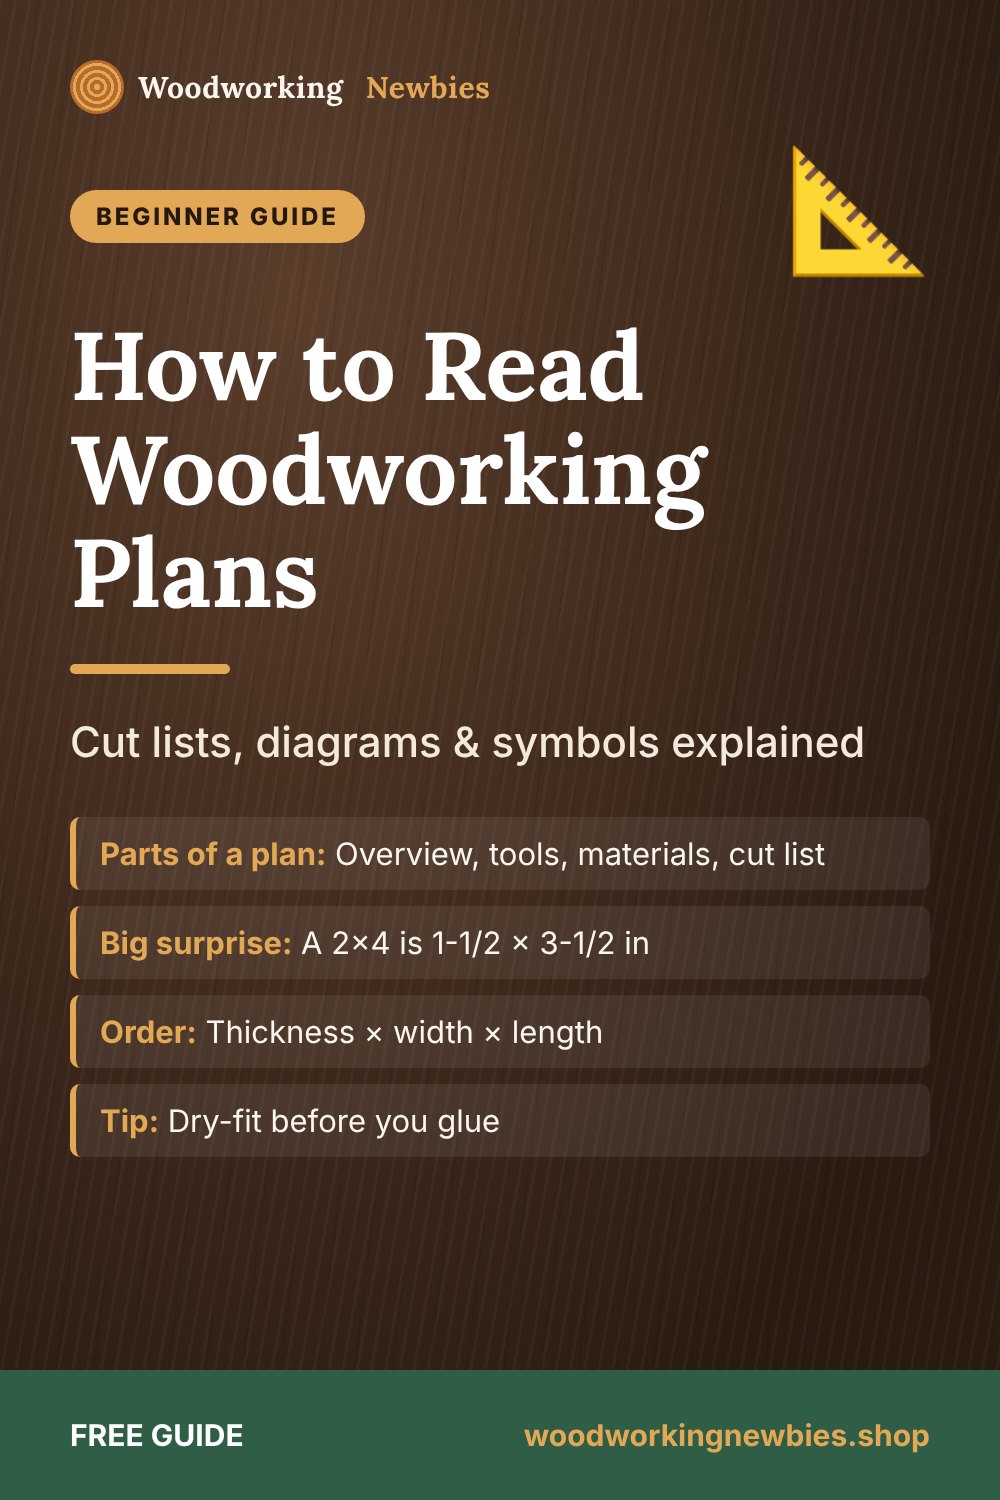
Save this for later
Pin this guide to your woodworking board on Pinterest so it is ready when you head to the shop.
FAQ
What order are woodworking dimensions written in?
Usually thickness × width × length. When in doubt, check the plan's diagrams or legend.
Why is a 2x4 not 2 inches by 4 inches?
The name is the rough size before drying and planing. The finished board is about 1-1/2 × 3-1/2 inches.
What does a cut list include?
Every part, how many you need, its exact size and its material, usually with a letter that matches the diagrams.
Are paid woodworking plans better than free ones?
Not always, but paid plans tend to be more complete and consistent. Free plans can be excellent too; check that a plan has a cut list and a materials list before you start.


