
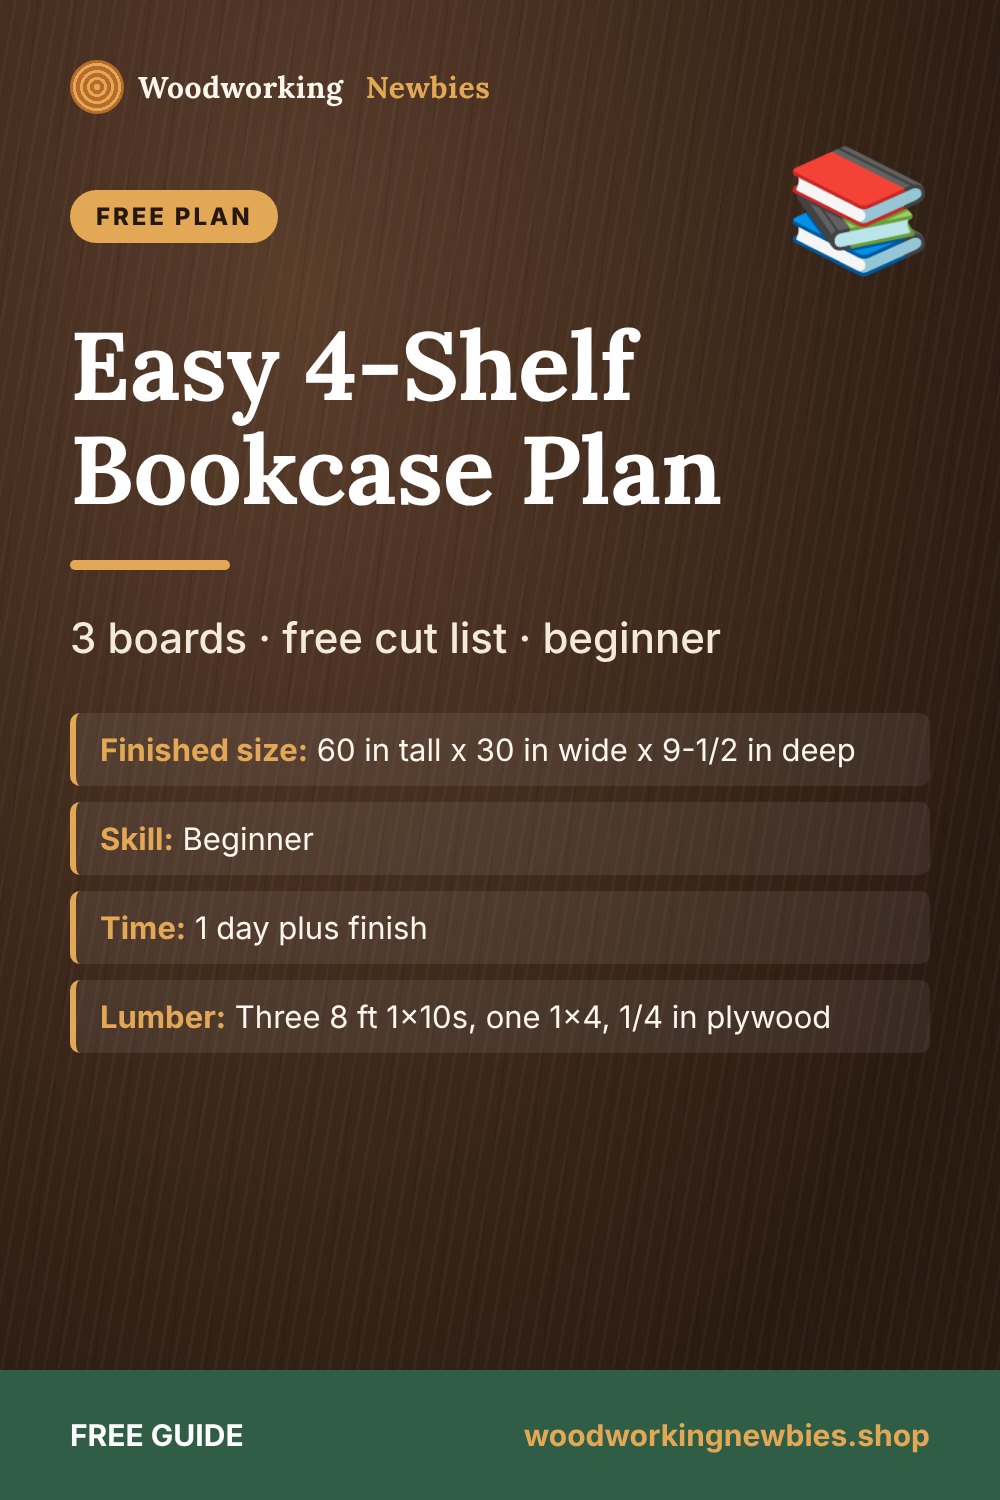
These easy bookshelf plans for beginners build a 4-shelf bookcase 60 inches tall, 30 inches wide and about 9-1/2 inches deep (152 x 76 x 24 cm). It uses three 8 ft 1x10 boards, a short 1x4 and a 1/4 in plywood back. The shelves are fixed with pocket screws and glue, the back keeps it square, and an anti-tip kit anchors it to a wall stud.
Every cut is a straight crosscut, so you need only basic tools. If you are still building your kit, our list of essential woodworking tools for beginners covers everything this plan uses.
At a glance
- Finished size
- 60 in tall x 30 in wide x 9-1/2 in deep
- Skill
- Beginner
- Time
- 1 day plus finish
- Lumber
- Three 8 ft 1x10s, one 1x4, 1/4 in plywood
- Joinery
- Pocket screws and glue
Beginner shortcut
Want a taller bookcase, a corner unit or built-ins? The TedsWoodworking bookcase plans cover many shelf styles with cut lists, so you can size one to your room.
How the bookcase goes together
Two 60 in sides hold five horizontal boards: a bottom shelf, three middle shelves and a top. A 1x4 toe kick sits under the bottom shelf at the front. The 1/4 in plywood back is glued and nailed on, and that back is what stops the case from racking side to side. Do not skip it.
A 1x10 is actually 3/4 x 9-1/4 in. The sides are 3/4 in thick each, so every shelf is 30 - 3/4 - 3/4 = 28-1/2 in long.
Materials list
- 3 x 1x10 boards, 8 ft (pine or poplar; pick flat, straight boards)
- 1 x 1x4 board, 4 ft
- 1/4 in plywood, at least 30 x 60 in (most stores will cut a full sheet for you)
- About 40 x 1-1/4 in pocket hole screws (coarse thread for pine)
- 1 in brad nails or small finish nails for the back
- Wood glue
- An anti-tip furniture kit (strap or bracket) and the screws it calls for
- 120 and 180 grit sandpaper, and paint, stain or a clear finish
Cut list
| Part | Qty | Material | Length |
|---|---|---|---|
| A. Sides | 2 | 1x10 | 60 in |
| B. Shelves and top | 5 | 1x10 | 28-1/2 in |
| C. Toe kick | 1 | 1x4 | 28-1/2 in |
| D. Back | 1 | 1/4 in plywood | 30 x 60 in |
Cutting layout
- Board 1: one side and one shelf (60 + 28-1/2 = 88-1/2 in, plus kerf = about 88-3/4 in)
- Board 2: the other side and one shelf (same, 88-3/4 in)
- Board 3: three shelves (28-1/2 x 3 = 85-1/2 in, plus kerf = about 85-7/8 in)
- 1x4: the toe kick (28-1/2 in from a 48 in board)
- Plywood: one 30 x 60 in panel
Cut the two sides first and make sure they are exactly the same length. Clamp them together and check the ends line up.
Shelf spacing
The bottom opening is a little taller for big books. Measure every mark from the bottom of the sides.
| Part | Bottom of board at | Opening above |
|---|---|---|
| Bottom shelf (on the toe kick) | 3-1/2 in | 13-3/4 in |
| Shelf 2 | 18 in | 13 in |
| Shelf 3 | 31-3/4 in | 13 in |
| Shelf 4 | 45-1/2 in | 13 in |
| Top | 59-1/4 in | flush with the side tops at 60 in |
Check: 3-1/2 + four boards at 3/4 in + 13-3/4 + 13 + 13 + 13 + 3/4 for the top = 60 in.
Tools
- Miter saw or circular saw with a straightedge guide
- Pocket hole jig set for 3/4 in material
- Drill/driver
- Square, tape measure and pencil
- At least two long clamps
- Stud finder, level, and safety glasses
New to pocket holes? Our pocket hole joinery for beginners guide walks through setting the jig.
Step-by-step instructions
Step 1: Cut, drill and sand
Cut all parts. On each shelf and the top, drill three pocket holes at each end on the face that will point down. Keep the front hole about 1-1/2 in back from the front edge. On the toe kick, drill two pocket holes at each end on the back face. Sand everything to 120 grit now; it is much harder inside a finished case.
Step 2: Mark the sides
Lay the sides next to each other, inside faces up and bottoms flush. Mark the shelf lines from the table across both at once with a square so they match.
Step 3: Attach the top and middle shelves
Stand the sides on their back edges, 28-1/2 in apart, inside faces in. Glue and pocket-screw the top between them, flush with the side tops and front edges. Then add shelves 4, 3 and 2 on their lines, keeping every front edge flush. A scrap cut to 13 in makes a handy spacer to hold each shelf while you drive the screws.
Step 4: Add the bottom shelf and toe kick
Turn the case upside down so it stands on its top. Now the underside of the bottom shelf faces up, so your drill has room. Glue and pocket-screw the bottom shelf on its 3-1/2 in line. Then set the toe kick on it, between the sides and flush with the front edges, glue it to the shelf and the sides, and drive its pocket screws from the back.
Step 5: Square it and attach the back
Lay the case face-down. Measure both diagonals and push the corners until they match. Run glue along the back edges, lay the plywood on, and line it up with one side and the top. Nail every 6 in along the sides, top, bottom and each shelf. Once the back is on, the case stays square.
Step 6: Finish
Fill the nail holes, sand to 180 grit and paint or stain. Pine can blotch, so see how to stain pine without blotches before you open the can.
Furniture plans
Build a matching set for the room
Bookcases, TV stands, desks and side tables: TedsWoodworking includes 16,000+ plans with cut lists and diagrams, so a matching piece is easy to size.
- Shelving and storage furniture plans
- Materials list and cut list with each plan
- Step-by-step diagrams for beginners
- $67 one-time, 60-day money-back guarantee
Read our honest TedsWoodworking review before you buy.
Anchor the bookcase to the wall (do not skip this)
Any tall bookcase can tip forward when someone climbs or pulls on it, especially a child. Always anchor this one to the wall.
Step 7: Fit the anti-tip kit
- Set the bookcase in place and find a wall stud behind it with a stud finder.
- Fasten the anti-tip strap or bracket to the underside of the top, near the back, following the kit instructions.
- Fasten the other end into the stud with the screws the kit specifies. If there is no stud where you need it, use only the wall anchors the kit approves for your wall type.
- Pull the top gently forward to confirm it holds.
Load the bottom shelves with the heaviest books, and do not let children climb on any shelf, anchored or not.
Variations
| Version | How |
|---|---|
| Stiffer shelves | Glue a 1x2 strip to the front edge of each shelf to reduce sag over time |
| Narrower bookcase | Cut all five shelves, the toe kick and the back the same amount shorter; shorter shelves sag less |
| Short 3-shelf version | Cut the sides and back to 46-1/4 in, put the top on the shelf 4 line and use one fewer shelf board |
| Painted back | Paint the plywood a contrasting color before nailing it on |
Need a smaller shelf for a narrow wall? Try our simple floating shelf plans. For garage storage, see DIY wood garage shelves.
Find the right bookcase for your space
Search TedsWoodworking for corner shelves, ladder shelves and built-ins, each with a cut list and diagrams.
One-time payment · Lifetime access · 60-day money-back guarantee
Save this for later
Pin this guide to your woodworking board on Pinterest so it is ready when you head to the shop.
FAQ
How many 1x10 boards do I need for a bookcase?
This 60 in, 4-shelf bookcase uses three 8 ft 1x10s, plus a short 1x4 and a 1/4 in plywood back.
Can I build this bookcase without a pocket hole jig?
Yes. Glue each shelf and drive 1-5/8 in screws through the sides into the shelf ends, then fill the screw holes before finishing.
Does a bookcase really need to be anchored?
Yes. Any tall, narrow piece of furniture can tip, so anchor it into a wall stud with an anti-tip kit.
Will 1x10 shelves sag?
Over a 28-1/2 in span, shelves work well for everyday books. For long-term heavy loads, add a 1x2 front strip to each shelf.


