
These dog house plans for large dogs build a raised, shed-roof house with a 47 x 36 in floor (119 x 91 cm), sized for most dogs from about 60 to 100 lb. The floor sits on a 2x4 frame off the damp ground, the walls are exterior plywood on 2x4 corner posts, and the roof slopes 10 degrees to shed rain. Measure your dog first, using the sizing rules below, and adjust before you cut.
If this is one of your first builds, start with our guide on how to start woodworking with no experience. Building now, over winter, means the house can be finished, painted and aired out well before your dog needs shade in spring.
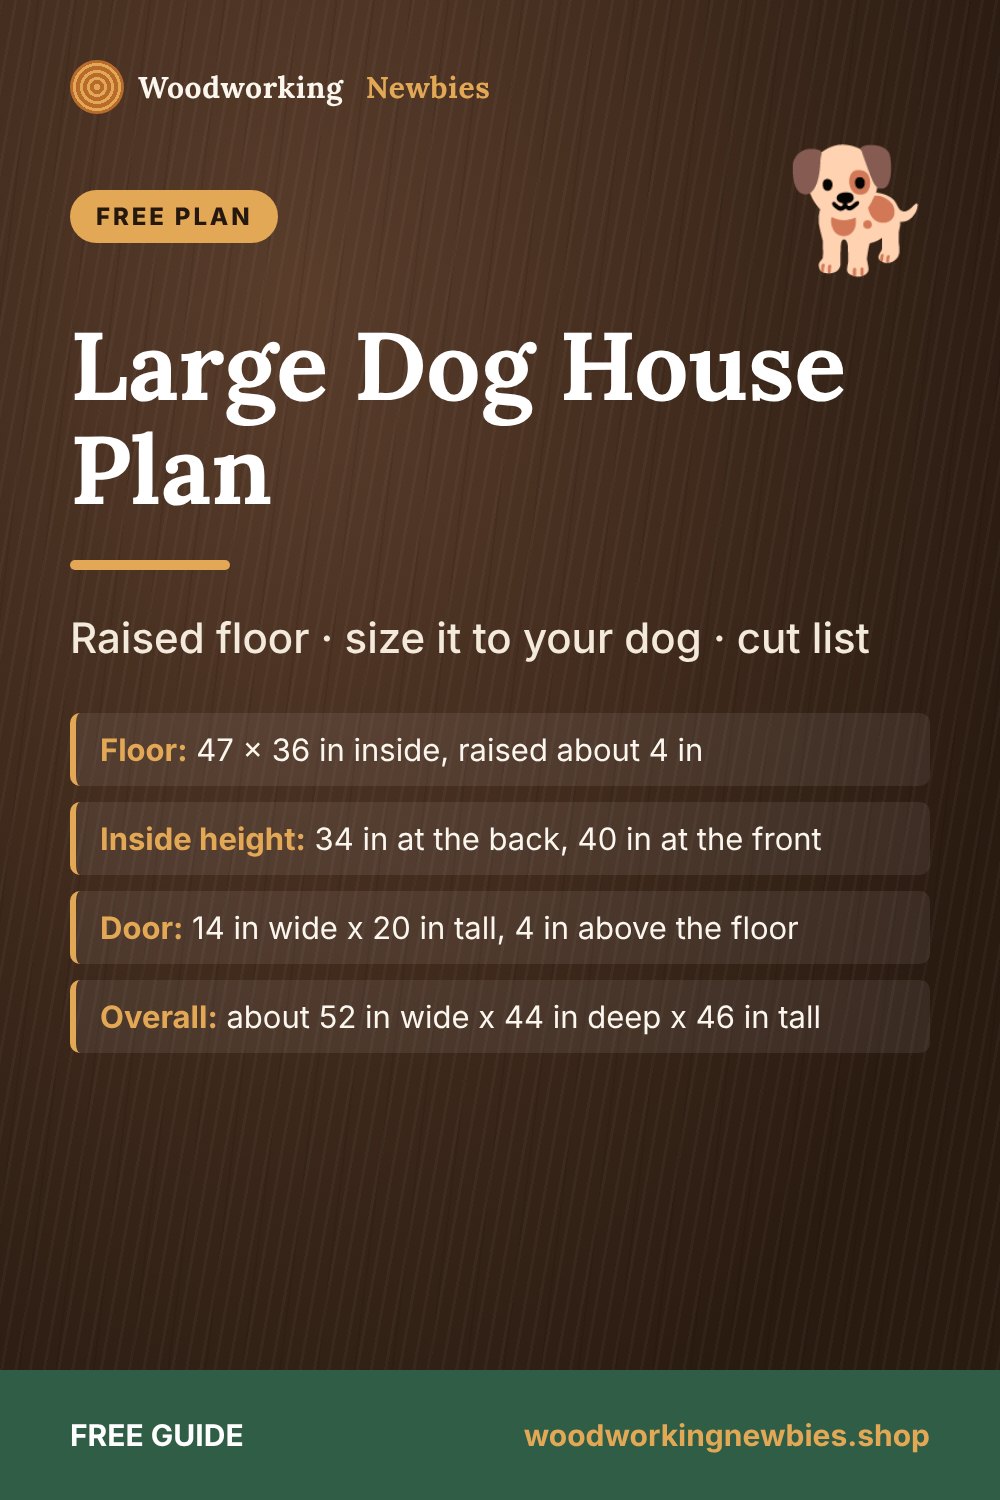
At a glance
- Floor
- 47 x 36 in inside, raised about 4 in
- Inside height
- 34 in at the back, 40 in at the front
- Door
- 14 in wide x 20 in tall, 4 in above the floor
- Overall
- about 52 in wide x 44 in deep x 46 in tall
- Materials
- 7 2x4s, two sheets 1/2 in and one sheet 3/4 in exterior plywood
Beginner shortcut
Want a gable-roof version, a kennel or a matching feeder stand? The TedsWoodworking outdoor plans include pet and backyard projects with cut lists, so you can build the whole setup around your dog.
Size the house to your dog first
A dog house should be just big enough. Too small and the dog cannot turn around or stretch out. Too big and, in cold weather, the dog's body heat cannot warm the space. Take four measurements with your dog standing:
- A. Length: nose to the base of the tail.
- B. Head height: floor to the top of the head.
- C. Shoulder height: floor to the top of the shoulders.
- D. Chest width: the widest point across the chest.
| Part of the house | Common rule of thumb | Example: A 32, B 30, C 24, D 11 in | This plan |
|---|---|---|---|
| Inside length | About 1.25 x A | 40 in or more | 47 in |
| Inside depth | At least A | 32 in or more | 36 in |
| Lowest inside ceiling | At least B | 30 in or more | 30-1/2 in under the back header |
| Door height | About 3/4 of C (dogs duck to enter) | 18 in or more | 20 in |
| Door width | D plus 2-3 in | 13-14 in | 14 in |
| Door sill | 3-4 in above the floor | 4 in | 4 in |
Why this matters: many people build a big, airy house thinking the dog will love the room, then find the dog sleeps outside it all winter. A snug house stays warmer. If your dog is much larger than the example, see the scaling notes in the variations section.
How it is built
- Raised floor: a 2x4 frame on edge with 3/4 in plywood on top keeps the floor dry and lets air move underneath.
- Two side panels built flat on the floor: plywood siding, a front post, a back post and a sloped rail.
- Headers between the rails at front and back tie the sides together.
- Front and back panels of plywood, with the door offset to one side so the dog can curl up out of the wind.
- A single-slope roof of 3/4 in plywood, covered with shingles or roll roofing.
Materials list
- 7 x 2x4 boards, 8 ft (pressure-treated for the floor frame is a good idea)
- 2 sheets 1/2 in exterior plywood or siding panel, 4 x 8 ft
- 1 sheet 3/4 in exterior plywood, 4 x 8 ft
- About 40 x 3 in, 15 x 2-1/2 in, 120 x 1-1/4 in and 40 x 2 in exterior screws
- Exterior wood glue and exterior caulk
- Roofing underlayment, drip edge, one bundle of shingles or a roll of roll roofing, roofing nails
- Exterior primer and paint
- Optional: 1 in rigid foam board and 1/4 in plywood for insulating
Cut list
Actual size of a 2x4 is 1-1/2 x 3-1/2 in. Plywood sizes are width x height.
| Part | Qty | Material | Length / size |
|---|---|---|---|
| A. Floor rims | 2 | 2x4 | 47 in |
| B. Floor joists | 3 | 2x4 | 33 in |
| C. Floor | 1 | 3/4 ply | 47 x 36 in |
| D. Front posts | 2 | 2x4 | 39-1/2 in |
| E. Back posts | 2 | 2x4 | 34 in |
| F. Side rails | 2 | 2x4 | 36-9/16 in, both ends 10 degrees, parallel |
| G. Headers | 2 | 2x4 | 41 in |
| H. Front panel | 1 | 1/2 ply | 48 x 44-1/2 in |
| I. Back panel | 1 | 1/2 ply | 48 x 38 in |
| J. Side panels | 2 | 1/2 ply | 36 in wide; 38-1/4 in tall at the back, 44-1/2 in at the front |
| K. Roof | 1 | 3/4 ply | 52 x 44 in |
Cutting layout
- 2x4 #1: A, A (47 + 47 = 94 in, plus kerf = 94-1/4 in)
- 2x4 #2: G, G (41 + 41 = 82 in, plus kerf = 82-1/4 in)
- 2x4 #3: D, D (39-1/2 + 39-1/2 = 79 in, plus kerf = 79-1/4 in)
- 2x4 #4: F, F (36-9/16 x 2 = 73-1/8 in, plus kerf and two small 10 degree triangles of about 5/8 in = about 74-5/8 in)
- 2x4 #5: B, B (33 + 33 = 66 in, plus kerf = 66-1/4 in)
- 2x4 #6: B, E (33 + 34 = 67 in, plus kerf = 67-1/4 in)
- 2x4 #7: E (34 in, plus kerf); keep the 61 in left over for floor-insulation strips or two porch joists
- 1/2 in sheet #1: H and I across the 48 in width (44-1/2 + 38 = 82-1/2 in of the 96 in length, plus kerf)
- 1/2 in sheet #2: both J side by side (36 + 36 = 72 in of the length, 44-1/2 in of the width)
- 3/4 in sheet: C with its 36 in side along the sheet, and K with its 52 in side along the sheet (36 + 52 = 88 in, plus kerf); C uses 47 in and K 44 in of the 48 in width
How the heights work: the floor top is 3-1/2 + 3/4 = 4-1/4 in above the bottom of the frame, so each siding panel is the inside height plus 4-1/4 in. The back is 34 in inside, so the back of a side panel is 38-1/4 in. The roof rises 36 x tan 10 degrees = about 6-3/8 in over the 36 in depth, so the front is about 40-3/8 in inside; the front panel and the front of the side panels are trimmed to 44-1/2 in so they sit just under the roof.
Tools
- Circular saw with a straightedge guide, plus a jigsaw for the door
- Miter saw or speed square for the 10 degree rail cuts
- Drill/driver, tape measure, long straightedge, square, clamps
- Safety glasses, hearing protection and a dust mask
Breaking down plywood is easier with a guide; see how to cut straight with a circular saw.
Step-by-step instructions
Step 1: Cut and label every part
Cut the 2x4s and plywood. For each side panel, mark 38-1/4 in up one long edge and 44-1/2 in up the other, connect the marks with a straightedge, and cut. For each rail, cut one end at 10 degrees, measure 36-9/16 in along an edge, and cut again at the same setting so the ends are parallel. Sand all edges the dog will touch.
Step 2: Build the raised floor
Stand the two rims (A) on edge, 36 in apart outside to outside, and fit a joist (B) between them at each end and one in the middle. Glue and drive two 3 in screws through the rims into each joist end. Check that the diagonals both measure about 59-3/16 in. Glue the 3/4 in floor (C) on top, flush all round, and screw it down every 8 in with 2 in screws.
Step 3: Build the two side walls flat
Lay a side panel (J) good face down. Set a front post (D) along the tall edge and a back post (E) along the short edge, each with its 3-1/2 in face on the plywood and its bottom 4-1/4 in up from the bottom edge, so the siding will lap down over the floor frame. Glue and screw through the plywood into the posts every 6 in with 1-1/4 in screws.
Lay a rail (F) on the posts with its ends flush with the outer edges of the posts, its top back corner level with the top of the back post, and its top front corner 40-3/8 in above the bottom of the front post. Screw it to each post with three 2-1/2 in screws (rail and post together are only 3 in thick). Build the second side as a mirror image.
Step 4: Stand the sides and add the headers
Stand the sides on the floor, posts inside, with the siding lapping over the ends of the floor frame. Screw the siding into the end joists. Fit the front header (G) between the rails, tight behind where the front panel will go, with its top 40 in above the floor. Fit the back header with its top 34 in above the floor, level with the back posts. Pre-drill at an angle and toe-screw each header to the rails from the inside, with two 3 in screws driven through each header end into the rail.
Step 5: Cut the door and add the front and back
On the front panel (H), mark a door 14 in wide and 20 in tall, its bottom 8-1/4 in above the panel's bottom edge (4 in above the floor) and its side 7 in in from one edge. Drill a 1/2 in hole inside each corner and cut between them with a jigsaw. Round over the edges with sandpaper so the dog's coat does not snag. Screw the front and back panels (I) to the posts, floor rims and headers, overlapping the edges of the side panels.
Step 6: Roof it
Set the roof (K) on the rails with about 2 in overhang on each side, 4 in at the front and about 2-3/8 in at the back. Screw it to the rails and headers every 6 in with 2 in screws. Fit drip edge, underlayment and shingles or roll roofing, following the instructions on the package. Caulk the joints where the panels meet.
Step 7: Paint and place it
Prime and paint all outside surfaces, including the plywood edges, which soak up water fastest. Leave the inside bare. Let it air out for several days before the dog moves in. Set the house on pavers or blocks in a spot with shade in summer and the door facing away from your prevailing wind.
Backyard builds
Plans for the rest of the yard
TedsWoodworking has 16,000+ plans, including dog houses, kennels, sheds and garden projects, each with a materials list, cut list and step-by-step diagrams.
- Pet houses, sheds and outdoor storage
- Cut lists and materials lists with every plan
- Diagrams for framing, roofs and doors
- $67 one-time, 60-day money-back guarantee
Read our guide to whether TedsWoodworking is legit before you decide.
Making it insulated (optional)
The house is built so insulation can be added inside without changing the outside. Cut 1 in rigid foam board to fit between the corner posts on each wall and between the rails and headers under the roof, then cover every piece of foam with 1/4 in plywood screwed to the posts, rails and headers. Never leave foam exposed: dogs chew it. Under the floor, fit foam between the joists, held up by scrap strips screwed to the joists. Add a flap of heavy rubber or vinyl over the door in winter, and use straw or a raised dog bed rather than blankets, which stay damp. Avoid heat lamps in a wooden house; they are a fire risk.
Common mistakes
| Mistake | What happens | Fix |
|---|---|---|
| House far bigger than the dog | Cold in winter; dog avoids it | Size it with the rules above |
| Door centered and no sill | Wind and rain blow straight onto the bed | Offset the door and keep a 3-4 in sill |
| Floor on bare ground | Rot and a damp, cold bed | Raised frame plus pavers or blocks |
| Unpainted plywood edges | Edges swell and layers peel | Prime and paint every edge |
| Rail ends cut as mirror images | Rails will not sit flush with the posts | Cut both 10 degree ends at the same saw setting |
| No ventilation | Stuffy and hot in summer | Leave the small gaps under the roof edges open |
Variations
| Version | How |
|---|---|
| Front porch | Build a second floor frame 47 x 24 in (two 47 in rims, three 21 in joists, 3/4 in plywood or 2x4 decking on top; about two more 2x4s) and screw it through the siding into the front rim so the porch is level with the floor |
| Bigger dog | For a taller dog, add 2 in to every post and panel height. For a longer dog, add the same amount to the rims, headers, floor and the width of the front, back and roof panels; panels wider than 48 in need an extra sheet |
| Smaller dog | Use the same rules to shrink the floor and heights; keep the 4 in sill |
| Hinged roof | Fix the roof to the front header with two exterior hinges instead of screws for easy cleaning; add a hook latch at the back |
For more backyard projects, try our raised dog bowl stand, a quick build that suits big dogs, or the outdoor storage bench to keep leads, toys and food dry.
Your next build for the backyard
Browse TedsWoodworking for kennels, feeders, sheds and garden furniture when this house is done and the dog has moved in.
One-time payment · Lifetime access · 60-day money-back guarantee
Save this for later
Pin this guide to your woodworking board on Pinterest so it is ready when you head to the shop.
FAQ
How big should a dog house be for a large dog?
Inside, about 1.25 times the dog's nose-to-tail-base length one way and at least that length the other way, with the lowest ceiling at least as high as the top of the dog's head. This plan suits most dogs about 60-100 lb, but measure yours.
How big should the door be on a large dog house?
About three quarters of the dog's shoulder height and 2-3 in wider than its chest. Most large dogs fit a door around 14 x 20 in.
Should a dog house be raised off the ground?
Yes. A raised floor stays drier, warmer and lasts longer. Even a few inches on a 2x4 frame plus pavers makes a big difference.
What wood is best for an outdoor dog house?
Exterior-grade plywood for the panels and pressure-treated or cedar 2x4s for the floor frame. Paint the outside and leave the inside bare.


