
A French cleat tool wall for beginners is a set of plywood strips, ripped at 45 degrees, that screw to your wall studs and let you hang tool holders anywhere and move them in seconds. This plan cuts eight 4 ft wall cleats and six starter holders (two shelves, two screwdriver racks and two hook boards) from one 4x8 sheet of 3/4 in plywood.
Before you start, make sure you have the basics from our list of essential woodworking tools for beginners. The only new skill here is a 45-degree bevel rip, and we'll walk through it.
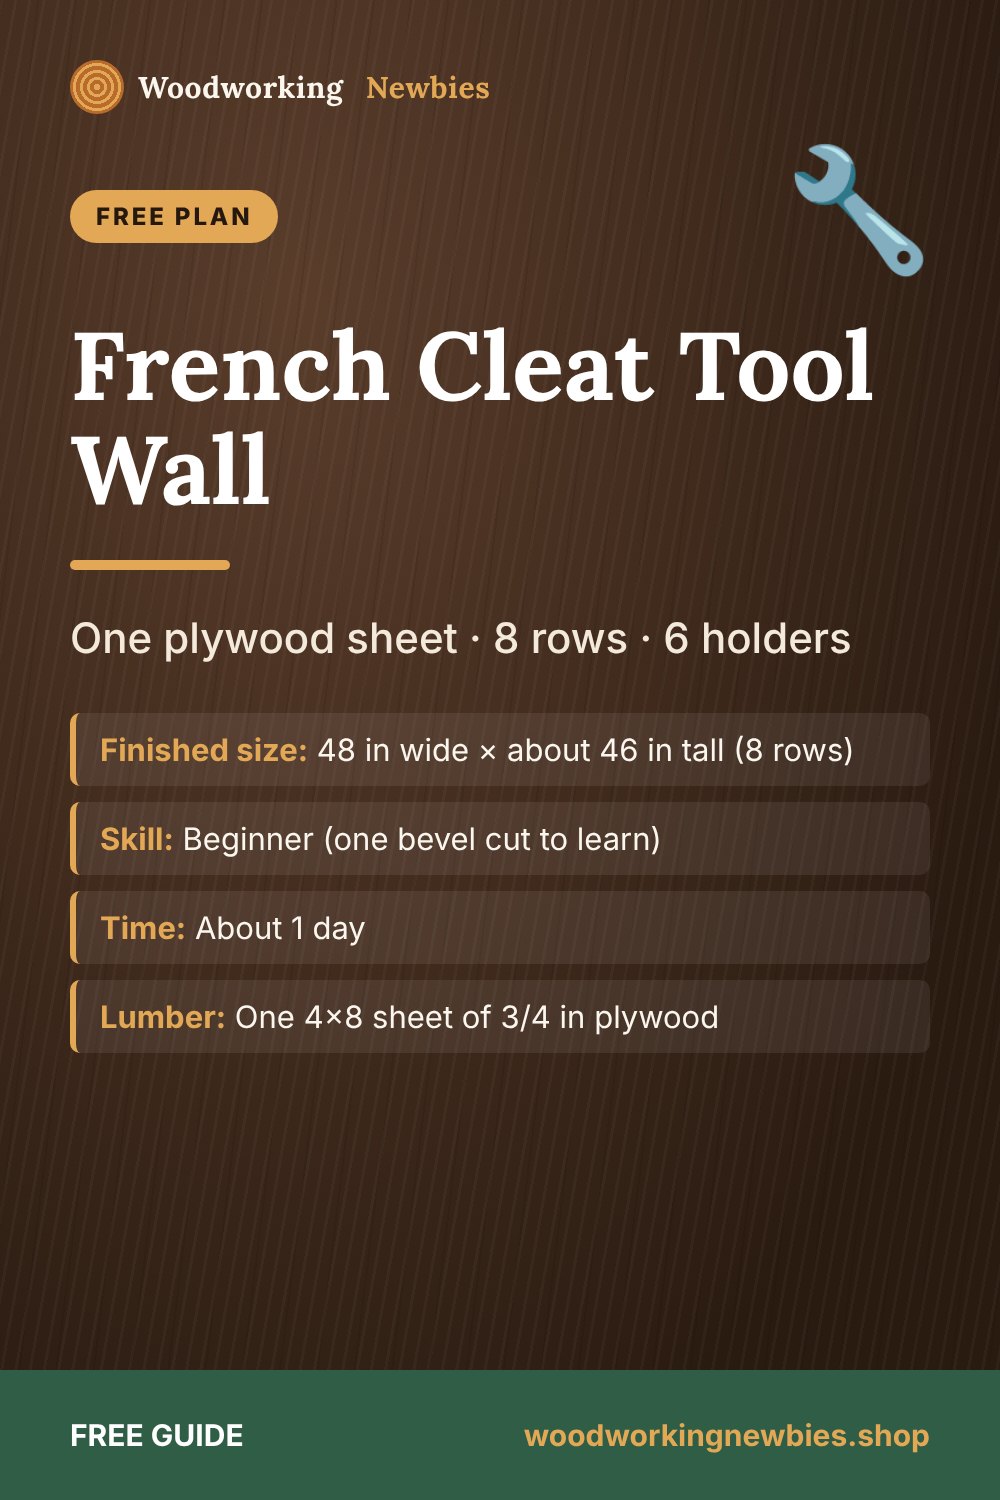
At a glance
- Finished size
- 48 in wide × about 46 in tall (8 rows)
- Skill
- Beginner (one bevel cut to learn)
- Time
- About 1 day
- Lumber
- One 4x8 sheet of 3/4 in plywood
- Fasteners
- 3 in screws into studs, 1-1/4 in screws for holders
Beginner shortcut
Want more holder designs and a full shop layout? The TedsWoodworking workshop plans include storage racks, tool cabinets and benches with cut lists.
How a French cleat works
Each cleat is a strip of plywood with one edge cut at 45 degrees. The wall cleat is screwed to the studs with its bevel on top, sloping down toward the wall, which forms a V-shaped pocket. Each tool holder has a matching holder cleat glued to its back with the bevel on the bottom, also sloping down toward the wall. Drop the holder on and the two bevels lock together.
Ripping one strip down the middle at 45 degrees gives you two identical cleats. Each one is about 4-1/4 in wide on its wide face and 3-1/2 in on its narrow face. Mount wall cleats with the narrow face against the wall; glue holder cleats with the narrow face against the holder.
Materials list
- 1 sheet of 3/4 in plywood, 4x8 ft (often actually 23/32 in thick; that's fine)
- About 50 × #9 or #10 construction screws, 3 in long, for the wall cleats
- About 60 × 1-1/4 in wood screws for the holders
- Wood glue
- Screw-in hooks or 1/2 in dowel pegs for the hook boards
- 120 grit sandpaper
Cut list
| Part | Qty | Material | Length × width |
|---|---|---|---|
| A. Wall cleats | 8 | 3/4 in plywood | 48 in × half of a 7-7/8 in strip, 45° bevel |
| B. Holder cleats | 6 | 3/4 in plywood | 15-7/8 in (cut from 2 more cleats) |
| C. Holder backs | 6 | 3/4 in plywood | 15-7/8 × 8 in |
| D. Shelves | 2 | 3/4 in plywood | 15-7/8 × 5-1/2 in |
| E. Screwdriver bars | 2 | 3/4 in plywood | 15-7/8 × 4 in |
| F. Triangle brackets | 8 | 3/4 in plywood | 3-3/4 in squares, cut corner to corner |
Cutting layout
- Crosscut the sheet in half: piece 1 is 48 × 48 in; piece 2 is 96 − 48 − 1/8 = 47-7/8 × 48 in. Many home centers will make this cut for you.
- Piece 1, cleat strips: rip six strips 7-7/8 in wide. 6 × 7-7/8 = 47-1/4 in, plus five cuts (5/8 in) = 47-7/8 in. Bevel-rip each strip down the middle to get 12 cleats, 48 in long.
- Cleat use: 8 cleats go on the wall. Crosscut 2 more into three 15-7/8 in holder cleats each: 3 × 15-7/8 + 2 cuts = 47-7/8 in. That makes 6 holder cleats, with 2 full cleats spare for future holders.
- Piece 2, holder strips: rip strips 8, 8, 5-1/2 and 4 in wide, each 48 in long. 25-1/2 in plus four cuts (1/2 in) = 26 in, leaving a spare strip about 21-7/8 in wide.
- Crosscut each strip into three 15-7/8 in pieces (47-7/8 in each). The two 8 in strips give 6 backs; the 5-1/2 in strip gives 2 shelves and a spare; the 4 in strip gives 2 screwdriver bars plus one piece for brackets.
- Brackets: cut the last 4 × 15-7/8 in piece into four 3-3/4 in squares (4 × 3-3/4 + 3 cuts = 15-3/8 in), then cut each square corner to corner for 8 triangles.
Tools
- Table saw with a blade that tilts to 45°, or a circular saw with a straightedge guide
- Drill/driver and countersink bit
- Stud finder, 4 ft level, tape measure, pencil
- Clamps, safety glasses and hearing protection
Step-by-step instructions
Step 1: Cut the sheet into halves and strips
Follow the cutting layout above. On a table saw, read our table saw safety tips for beginners first and use a push stick on every rip. With a circular saw, our guide on how to cut straight with a circular saw shows the straightedge method.
Step 2: Bevel-rip the cleats
Tilt the blade to 45° and rip each 7-7/8 in strip down its center. On a table saw, set the fence so the blade exits the top face at the center line. Circular saw tip: before cutting piece 1 into strips, mark the center line of every strip and make the 45° cut on each line while the panel is still wide, so the saw base has plenty of support. Then make the straight cuts between them.
Step 3: Cut the holder parts
Crosscut the holder cleats, backs, shelves, bars and bracket squares. Cut the squares diagonally. Sand all edges lightly; plywood edges splinter.
Step 4: Find and mark the studs
A 48 in cleat crosses three studs on a 16 in layout, or two on a 24 in layout. Mark each stud center with a long vertical pencil line using a level. Check for wiring: avoid the areas directly above and below outlets and switches.
Step 5: Mount the wall cleats
Start with the lowest cleat about 30 to 36 in above the floor, or just above your workbench. Hold it level with the bevel on top, narrow face against the wall. Predrill and countersink, then drive two 3 in screws into every stud, keeping them in the lower, full-thickness part of the cleat. Space each row 6 in on center above the last; a scrap spacer makes this fast. Eight rows reach about 46 in tall.
Step 6: Build the holders
For each holder, glue a holder cleat to the back of a 15-7/8 × 8 in back, top edges flush, bevel on the bottom and narrow face against the back. Screw through the front of the back into the cleat with 1-1/4 in screws.
- Shelf (2): glue and screw a shelf to the front face of the back, flush with the bottom edge, then add a triangle bracket at each end.
- Screwdriver rack (2): drill a row of 3/8 and 1/2 in holes in a 4 in bar, plus a few 1/2 × 1-1/2 in slots for pliers. Attach it near the top of the back with two triangle brackets underneath.
- Hook board (2): add screw-in hooks or glued dowel pegs for hammers, tape measures and cords.
Holder backs are 8 in tall and the rows are 6 in apart, so the bottom of each holder rests against the cleat below and hangs plumb. If one doesn't, glue a 3/4 in scrap spacer to its lower back.
Shop storage
Plan the rest of your workshop
Tool cabinets, lumber racks, clamp racks and benches: TedsWoodworking includes 16,000+ plans with materials lists, so your whole shop can be planned before you buy lumber.
- Workshop storage and bench plans
- Cut lists and materials lists with each plan
- Step-by-step diagrams for beginners
- One-time $67 with a 60-day money-back guarantee
Want the details? Read our honest TedsWoodworking review.
Step 7: Hang and rearrange
Lift each holder slightly, slide its cleat over a wall cleat and let it drop. Keep everyday tools at chest height and heavy items low.
More holder ideas
Once the wall is up, the two spare cleats and the spare plywood strip are enough for a clamp rack (a 2x4 block on a cleat), a drill holster, a saw hanger on dowel pegs, or small open bins for bits and screws.
Planning the rest of the space? See our small woodworking shop layout for a one-car garage and our wall-mounted lumber storage rack.
Build a shop that works for you
Search thousands of workshop and storage plans inside TedsWoodworking, from tool cabinets to rolling carts. One payment, lifetime access, 60-day refund.
One-time payment · Lifetime access · 60-day money-back guarantee
Save this for later
Pin this guide to your woodworking board on Pinterest so it is ready when you head to the shop.
FAQ
What size plywood is best for a French cleat tool wall?
3/4 in plywood is the usual choice. It gives the screws plenty to bite into and makes a strong bevel. Thinner plywood works for light holders, but the cleats are less stiff.
How far apart should French cleats be?
Rows 6 to 8 in apart on center work well. Closer rows give you more places to hang holders; this plan uses 6 in.
Can I put French cleats on drywall without studs?
Don't. Screw every wall cleat into studs. On masonry walls, use anchors made for masonry and follow their instructions.


