
Table saw safety for beginners starts with a few non-negotiable rules. Keep the riving knife (or splitter) and blade guard on, use the rip fence or miter gauge for every cut and never cut freehand, use a push stick near the blade, and stand to the side of the blade, out of the line of kickback. Wear eye and hearing protection, and never reach over a spinning blade.
A table saw is not usually the first tool we suggest. If you are still building your kit, see our list of essential woodworking tools for beginners first. If you have a table saw now, read every rule below and your saw's manual before you plug it in.
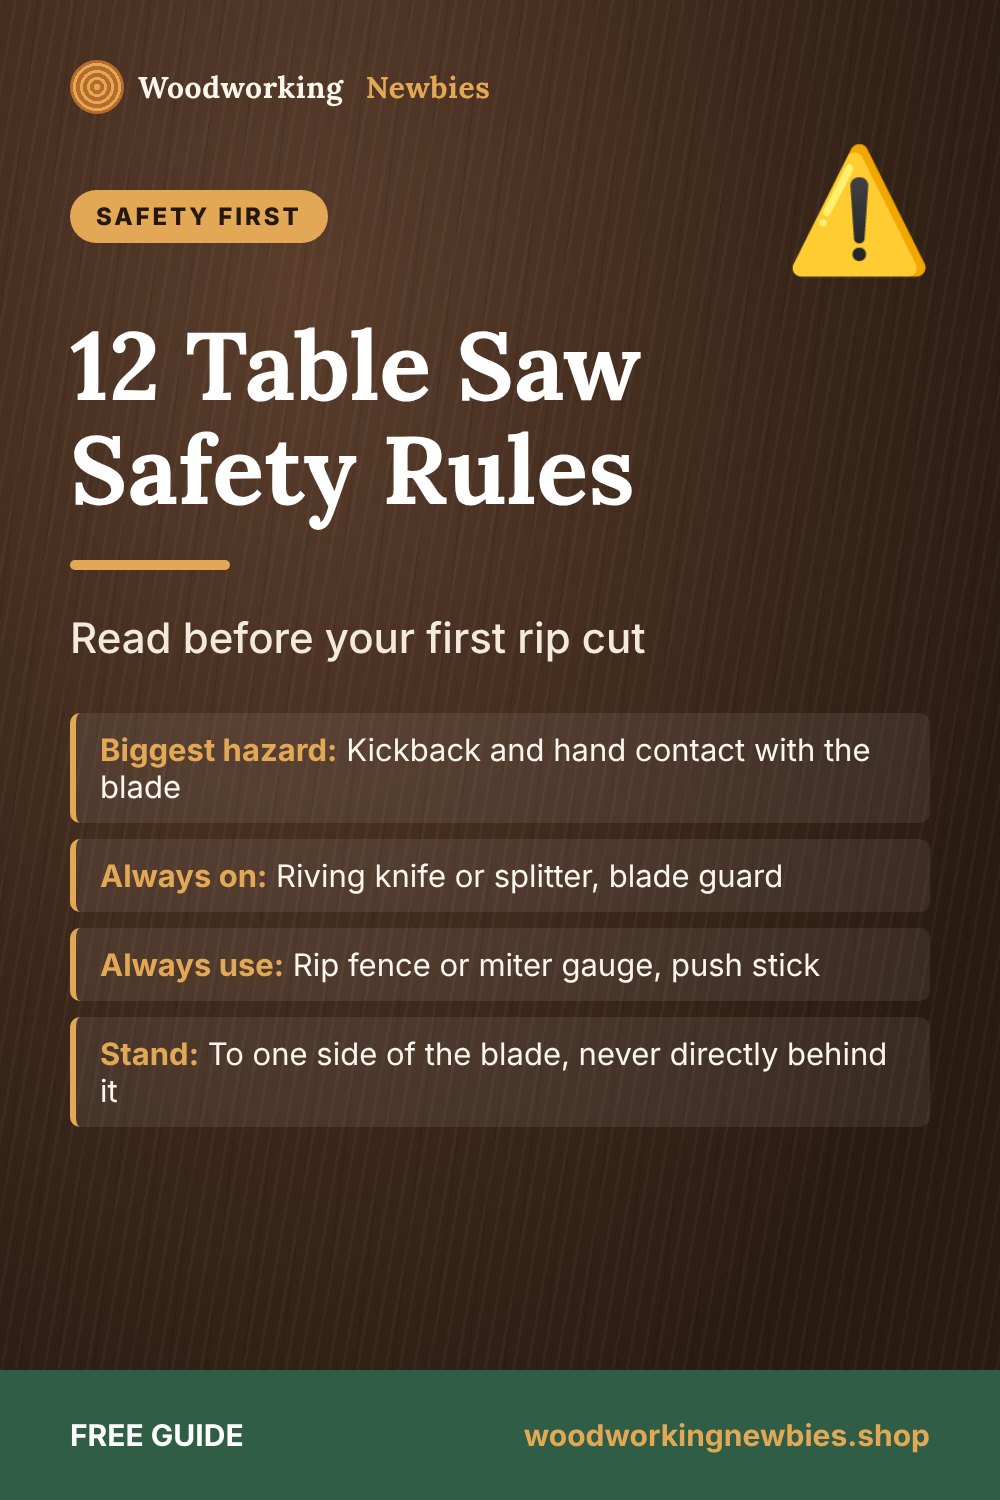
At a glance
- Biggest hazard
- Kickback and hand contact with the blade
- Always on
- Riving knife or splitter, blade guard
- Always use
- Rip fence or miter gauge, push stick
- Stand
- To one side of the blade, never directly behind it
- Wear
- Safety glasses, hearing protection, no gloves
Beginner shortcut
Safe cutting starts with a clear plan. Every TedsWoodworking plan comes with a cut list, so you know each cut before you switch the saw on, instead of figuring it out at the blade.
What is kickback, and why it matters
Kickback happens when the wood gets pinched between the blade and the fence, or catches on the rising teeth at the back of the blade. The blade can then lift the board and throw it back toward you at high speed. Most of the rules below exist to prevent it or to keep you out of its path.
12 table saw safety rules for beginners
1. Read the manual and set up the saw correctly
Your saw's manual explains how to fit the guard, riving knife and fence on that model. Check that the blade is parallel to the miter slot and the fence is parallel to the blade. A fence that pinches toward the back of the blade is a common cause of kickback.
2. Keep the riving knife or splitter installed
The riving knife is the curved metal fin just behind the blade. It keeps the cut (the kerf) from closing and pinching the back of the blade, which is the main cause of kickback. It must be aligned with the blade and set to the height the manual specifies. Leave it on for every through cut.
3. Use the blade guard and anti-kickback pawls
The guard keeps your hands from touching the blade and catches some debris. The pawls dig into the board if it starts to move backward. Do not remove the guard just because it blocks your view.
4. Never cut freehand
Every cut needs a guide. Use the rip fence for cuts along the length of a board, and the miter gauge or a crosscut sled for cuts across it. Pushing a board through without one is one of the fastest ways to get kickback.
5. Never use the fence and the miter gauge together for a crosscut
If the offcut is trapped between the blade and the fence, it can twist and be thrown back. For repeat crosscuts, clamp a stop block to the fence well in front of the blade, so the piece is free of the fence before the cut starts.
6. Use push sticks and push blocks
When your hand would come within about 6 in (150 mm) of the blade, switch to a push stick. For narrow rips, use a push stick between the blade and the fence. Keep a few on the saw at all times.
7. Stand out of the kickback line
Stand slightly to the left of the blade (on most saws, where the fence is on the right), not directly behind it. If a board kicks back, it travels straight back along the blade line. Keep your body out of that path.
8. Never reach over or behind a spinning blade
Do not reach over the blade to grab an offcut or a finished piece. Let it fall or stay on the table, switch off the saw, and wait for the blade to stop completely before clearing anything.
9. Set the blade height correctly
Follow your manual. A common rule is to raise the blade so the bottom of the gullets (the gaps between teeth) just clears the top of the board. Keep the guard in place either way.
10. Only cut wood that sits flat and has a straight edge
The board must lie flat on the table and have a straight edge against the fence. Never rip a bowed, twisted or cupped board on a table saw; straighten one edge first with another method, or choose a better board. Our guide on how to pick straight lumber helps you avoid the problem at the store. Remove nails and screws, and do not cut very small pieces; cut parts from a longer board instead.
11. Dress for the saw
- Wear safety glasses and hearing protection every time.
- Do not wear gloves. They can be pulled toward the blade.
- Roll up loose sleeves, remove jewelry and tie back long hair.
- Wear a dust mask or use dust collection.
12. Unplug it before you change anything, and stay focused
Unplug the saw before changing blades, adjusting the riving knife or reaching near the blade for any reason. Do not use the saw when you are tired, rushed or have been drinking. Keep the table and floor clear, and support long boards with an outfeed table or stand so they do not tip.
Cut with a plan
Know every cut before the saw starts
Rushing and guessing lead to mistakes. TedsWoodworking plans give you a full cut list and step-by-step diagrams, so you can plan every cut calmly first.
- 16,000+ plans from simple to advanced
- Cut lists and materials lists with each plan
- Many plans use only basic tools, per the sales page
- $67 one-time, 60-day money-back guarantee
Read our honest TedsWoodworking review first.
Table saw safety checklist before every cut
| Check | What to look for |
|---|---|
| Blade | Sharp, clean, right type for the cut, firmly tightened |
| Riving knife or splitter | Installed and aligned with the blade |
| Guard and pawls | In place and moving freely |
| Fence or miter gauge | Locked, square, fence parallel to the blade |
| Workpiece | Flat face down, straight edge on the fence, no metal |
| Push stick | Within reach before you start |
| Your position | To the side of the blade, balanced, nothing to trip on |
| Protection | Glasses and hearing protection on, no gloves |
How to make your first rip cut safely
- Unplug the saw. Set the fence to your width and measure from the fence to a tooth that points toward the fence.
- Set the blade height. Check the riving knife and guard.
- Plug in. Place the board flat, its straight edge tight to the fence, and keep it clear of the blade.
- Stand to the side of the blade line and switch on. Let the blade reach full speed.
- Feed at a steady pace, keeping the board pressed against the fence and down on the table. Do not stop halfway.
- As your hand nears the blade, switch to the push stick and push the board fully past the blade.
- Switch off and wait for the blade to stop before you touch the pieces.
Our guide on how to measure and mark wood accurately helps with setup, and our circular saw vs table saw vs miter saw comparison explains when a different saw is the safer choice for a cut. Once you are comfortable, try these table saw projects for beginners.
Some newer saws have flesh-sensing systems that stop the blade when it touches skin. They can reduce injuries, but they do not prevent kickback, so every rule above still applies.
Plan your first table saw project
Find simple boxes, shelves and benches inside TedsWoodworking, each with a cut list you can review before you turn the saw on.
One-time payment · Lifetime access · 60-day money-back guarantee
Save this for later
Pin this guide to your woodworking board on Pinterest so it is ready when you head to the shop.
FAQ
Is a table saw safe for beginners?
It can be used safely by beginners who follow the rules every time, but it is less forgiving than other saws. Many beginners start with a circular saw or miter saw and add a table saw later.
Should I ever remove the riving knife?
For normal rip cuts, never. A splitter has to come off for cuts that do not go all the way through the board, such as grooves, because it sits higher than the blade. Many riving knives sit just below the top of the blade and can stay on for those cuts. Check your manual, and refit anything you remove right after.
How close can my hands get to the blade?
Keep your hands at least about 6 in (150 mm) from the blade. If a cut would bring them closer, use a push stick or push block, or use a different method.


