
To set up a small woodworking shop in a one-car garage, put your workbench against the back wall, run storage up the side walls, and keep the middle of the floor open for a mobile saw station. Put big tools on wheels, add bright overhead light and enough outlets, and control dust at the source. That layout leaves room to work and still park a bike.
A one-car garage is often roughly 10 to 14 ft wide and 18 to 22 ft deep, but sizes vary a lot, so measure yours first. If you are still choosing tools, our guide to essential woodworking tools for beginners will help you decide what needs a spot.
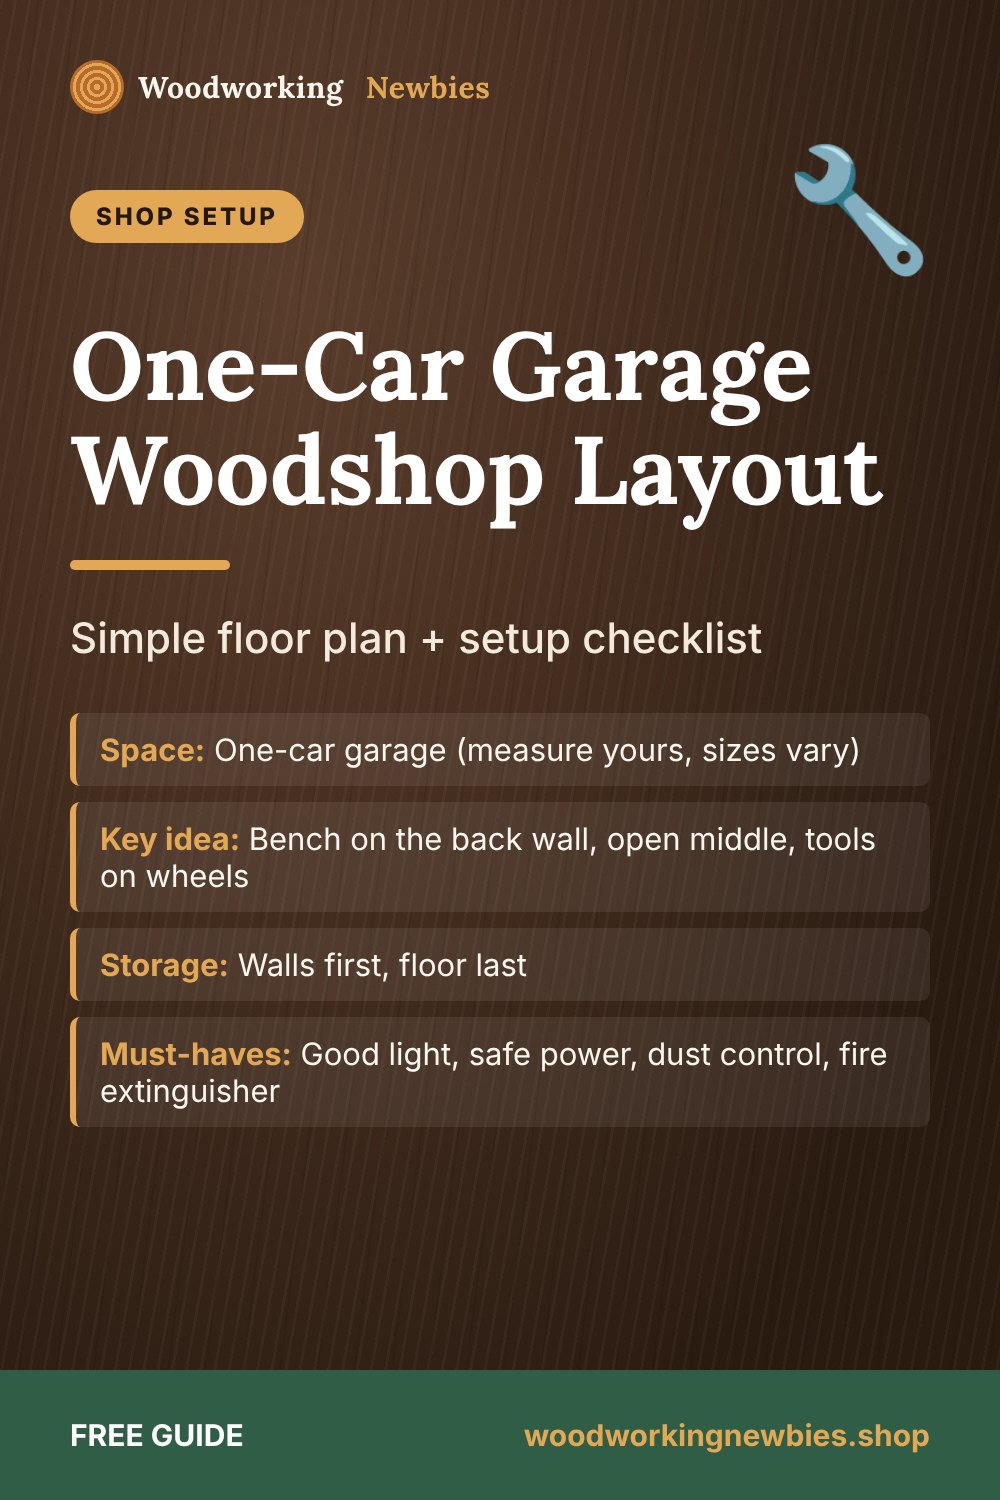
At a glance
- Space
- One-car garage (measure yours, sizes vary)
- Key idea
- Bench on the back wall, open middle, tools on wheels
- Storage
- Walls first, floor last
- Must-haves
- Good light, safe power, dust control, fire extinguisher
- Setup time
- One or two weekends
Beginner shortcut
Building out a small shop? The TedsWoodworking workshop plans include benches, carts and storage projects with cut lists, so your shop furniture is your first set of projects.
Small woodworking shop layout for a one-car garage
Think of the garage in four zones. This keeps sawdust, traffic and storage from fighting each other.
| Zone | Where | What goes there |
|---|---|---|
| Assembly and hand work | Back wall | Workbench, vise, hand tools on the wall above, task light |
| Cutting | Center of the floor | Mobile saw stand or cart, rolled out when needed |
| Storage | Side walls | Lumber rack, shelves, French cleat wall, clamp rack |
| Finishing | Near the door | Folding table, ventilation, metal can for rags |
Why the bench goes on the back wall
The back wall is usually the farthest point from the door, so it's the least in the way. A bench against a wall is also more stable, and you can hang your most-used tools right above it. Our 2x4 workbench plans make a good first build for this spot.
Keep the middle open
Long boards need room. Ripping an 8 ft board on a table saw needs roughly 8 ft of clear space in front of the blade and 8 ft behind it. You won't get that against a wall. Put your saw on a mobile base or a folding stand, roll it into the middle to cut, then roll it back.
Use the garage door
Open the door for long cuts, for fresh air when finishing, and to run dust outside. On nice days, the driveway becomes extra floor space.
Wall storage: go up, not out
Floor space is precious. Store as much as you can on the walls.
- A French cleat wall lets you move holders around as your tool kit changes. See our French cleat tool wall for beginners.
- A wall-mounted lumber rack keeps boards flat and off the floor. Our wall-mounted lumber storage rack plan fits a small garage.
- Shelves above head height for things you rarely use. Our garage storage shelves plan is a quick weekend build.
- A clamp rack close to the bench, because clamps get used on every project.
Always fasten wall storage into studs with screws long enough to hold the load. Loaded lumber racks are heavy.
Power and lighting
Power
Many garages have only one or two outlets. Don't run a chain of power strips. Use one heavy-duty extension cord rated for the tool's power draw, keep cords out of walkways, and unplug tools when you change blades or bits. Outlets in a damp garage should be protected by a GFCI (ground-fault circuit interrupter). If you want more outlets or a dedicated circuit, hire a licensed electrician.
Lighting
Poor light causes bad cuts and accidents. Replace a single bare bulb with several LED shop lights spread across the ceiling so you don't stand in your own shadow. Add a task light over the bench.
Shop projects
Build the shop furniture yourself
Rolling carts, lumber racks, tool cabinets and benches: TedsWoodworking includes 16,000+ plans with cut lists and diagrams, and according to the sales page most plans are suited to beginners.
- Workbench, cart and storage plans
- Materials lists sized to standard lumber
- Step-by-step diagrams for every build
- $67 once, 60-day money-back guarantee via ClickBank
Read our full TedsWoodworking review to see what's inside.
Dust and air
- Connect a shop vacuum to your sander and saw where possible. Collecting dust at the tool beats sweeping later.
- Wear a dust mask or respirator rated for fine dust when cutting and sanding.
- Run a box fan in the doorway blowing out when you finish or sand.
- Keep finishes in a closed metal cabinet, away from water heaters, furnaces and any flame.
- Store oily rags in a sealed metal can with water, or lay them flat outside to dry. Some oil finishes can self-heat and catch fire.
Sharing the garage with a car
If the car still lives there, everything must roll or fold.
- Build the bench against the back wall, no deeper than about 24 in, and check the car still fits.
- Put the saw stand and any cart on locking casters.
- Hang a tennis ball or set a parking stop so the car never hits the bench.
- Let fresh finishes dry before parking, and keep dust off the car with a cover.
Working in winter? Our guide to woodworking in a cold garage covers heating, glue and finishes in low temperatures.
One-car garage shop setup checklist
| Step | Task | Done when |
|---|---|---|
| 1 | Clear out and measure | You have a sketch with wall lengths, door swing and outlets marked |
| 2 | Plan the zones | Bench, cutting area and storage are drawn on the sketch |
| 3 | Fix light and power | Bright light everywhere, safe outlets, no daisy-chained strips |
| 4 | Build the workbench | Sturdy, level and against the back wall |
| 5 | Add wall storage | Tools and lumber are off the floor and screwed into studs |
| 6 | Set up dust control | Shop vac hooked to tools, masks on hand |
| 7 | Add safety gear | Fire extinguisher, first aid kit, glasses and hearing protection by the door |
| 8 | Make your first project | A small build that tests the layout |
If you don't have a garage at all, see how to start woodworking without a garage for balcony and closet setups.
Make your new shop your first project
Find workbenches, tool walls and rolling carts sized for a small garage inside TedsWoodworking. Lifetime access, no monthly fees, and a 60-day refund through ClickBank.
One-time payment · Lifetime access · 60-day money-back guarantee
Save this for later
Pin this guide to your woodworking board on Pinterest so it is ready when you head to the shop.
FAQ
Is a one-car garage big enough for woodworking?
Yes, for most beginner and hobby projects. Keep tools on mobile bases, store on the walls, and use the open door or driveway for long cuts.
Where should the workbench go in a small garage?
Against the back wall in most cases. It's out of the way, stable, and leaves the middle free for cutting.
Do I need a dust collector in a small shop?
Not at first. A shop vacuum connected to your sander and saw, plus a good dust mask, is a sensible starting point for a beginner.
What should I build first for my shop?
A sturdy workbench, then wall storage. Both make every later project easier.


