
To pick straight lumber, check every board before it goes on your cart. Hold one end at eye level and look down the edge and the face for bow, crook and twist. Then check the ends for cupping and splits, avoid big loose knots and the center of the tree, and pass on boards that feel heavy and wet. It takes about a minute per board.
Straight wood makes every project easier. Warped boards fight your clamps, throw joints out of square and rock on the floor. This guide is part of our beginner series; if you are just getting going, start with how to start woodworking with no experience and our guide to the best wood for beginner projects.
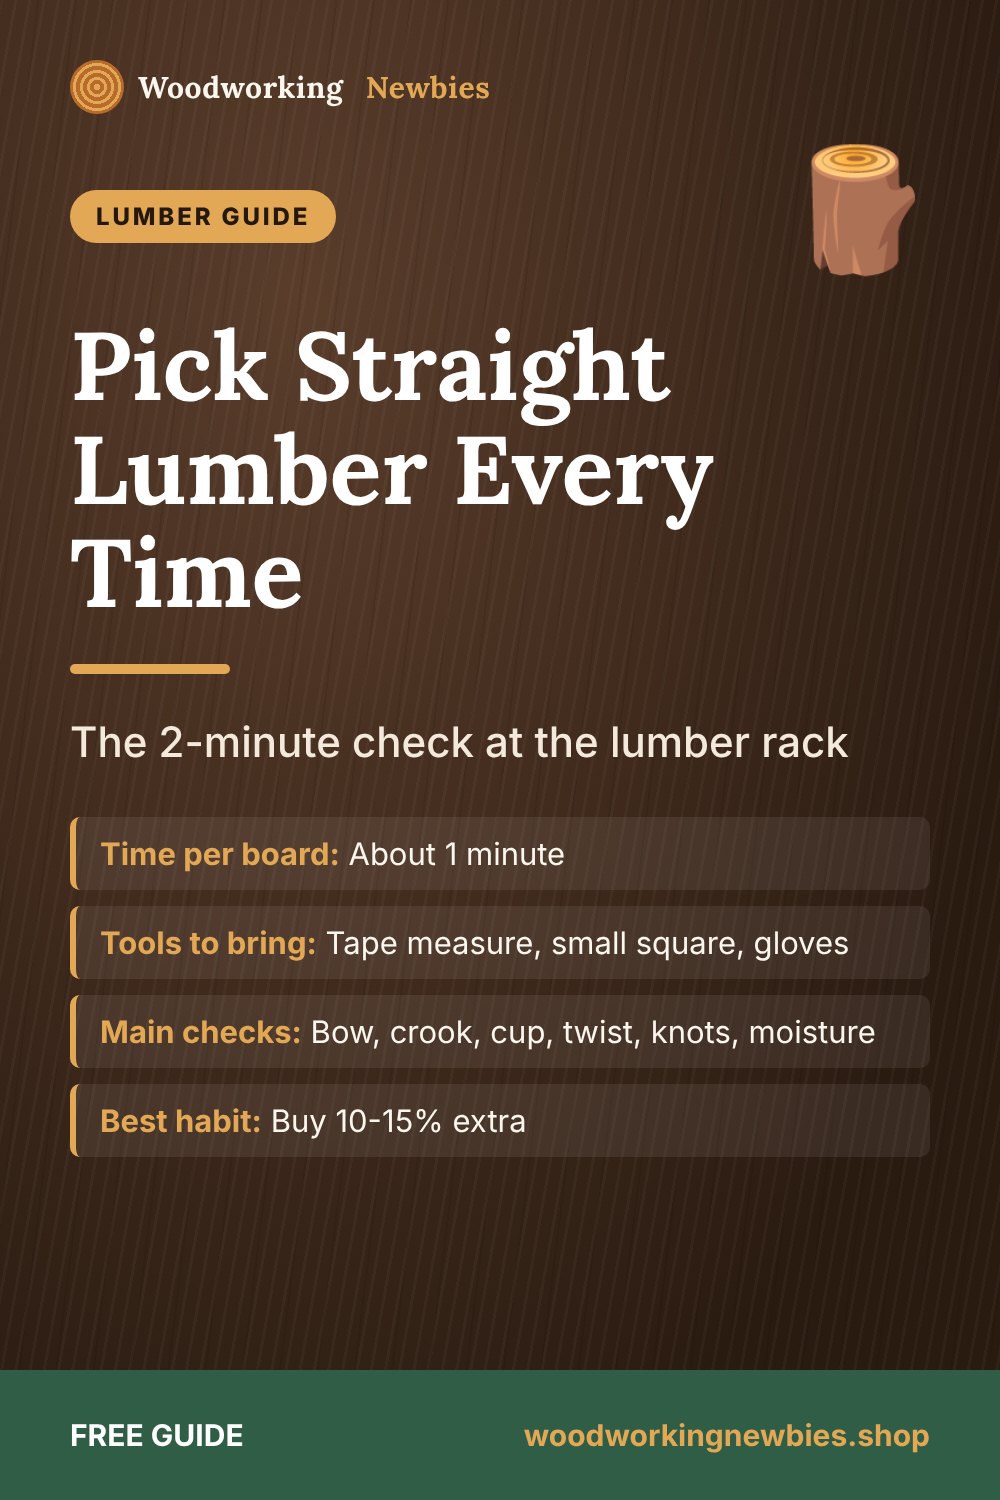
At a glance
- Time per board
- About 1 minute
- Tools to bring
- Tape measure, small square, gloves
- Main checks
- Bow, crook, cup, twist, knots, moisture
- Best habit
- Buy 10-15% extra
- At home
- Store flat and let it adjust for a week
Beginner shortcut
Buy only what you need: plans in the TedsWoodworking library come with materials lists and cut lists, so you know how many boards to pick before you drive to the store.
The four ways a board can warp
Lumber moves as it dries and as the air around it changes. At the store you will see four main kinds of warp. Learn their names, because plans and videos use them.
| Defect | What it looks like | How to spot it | Can you still use it? |
|---|---|---|---|
| Bow | The face curves along its length, like a ski | Sight down the wide face | Short parts only; a long board bowed more than about 1/4 in is a pass |
| Crook (crown) | The edge curves along its length, like a banana | Sight down the narrow edge | Mild crook is fine for framing; avoid for furniture |
| Cup | The face curves across its width, like a gutter | Look at the end grain or lay a square across the face | Small cup can be planed or screwed flat; deep cup, no |
| Twist | The ends are not in the same plane, like a propeller | Sight down the board; one corner rises | Avoid. Twist is the hardest to remove |
How to pick straight lumber: the 2-minute check
Do this for every board. It feels slow at first, but you will get fast.
- Pull the board out of the stack and stand it on end on the floor (watch for people behind you).
- Sight down the edge. Lift the top end to eye level, close one eye and look down the narrow edge. A straight edge looks like a tight, straight line. A curve means crook.
- Rotate a quarter turn and sight down the face. A curve here means bow.
- Look for twist. While sighting, compare the near end and the far end. If one far corner sits higher than the other, the board is twisted.
- Check the ends. Look at the end grain for cupping and for cracks (end checks). Short checks can be cut off; long ones spread.
- Scan both faces and edges. Look for loose knots, splits, wane (missing wood or bark along an edge) and dents.
- Feel the weight. A board that feels much heavier than the others, or cold and damp, is still wet and will move as it dries.
A quick flat-floor test
If the store floor is smooth, lay the board flat. If it rocks on two corners, it has twist. If one end lifts, it has bow. Flip it onto its edge to check for crook the same way.
Read the stamp and the growth rings
Construction lumber usually has a grade stamp. Two parts of it help beginners:
- Moisture marks. "KD" or "S-DRY" means the wood was dried before sale. "S-GRN" means it was surfaced green (wet). Green wood is fine for some outdoor work, but it shrinks and warps as it dries, so avoid it for furniture.
- Species. "SPF" (spruce-pine-fir) and Douglas fir are common. Fir is often stiffer and straighter, but it can splinter more. Try both and see what your store keeps in good shape.
Now look at the end grain. If you can see the very center of the tree (the pith, a small dot with rings circling it), that board is more likely to split and twist. Boards cut further from the center, with growth rings that run more up and down across the end, tend to stay flatter.
Knots: which ones are okay?
| Knot type | What to do |
|---|---|
| Small, tight knots (firmly attached, same color as the wood) | Fine. They add character. |
| Loose or black-ringed knots | Avoid, or plan to cut them out. They can fall out later. |
| Knots on the edge of a board | Avoid for shelves and legs. They weaken the board where it carries load. |
| Knots near where you will cut a joint | Move your cut or pick another board. Screws and glue hold poorly in knots. |
Shop smarter
Know your cut list before you shop
Picking good boards is easier when you know exactly which lengths you need. TedsWoodworking plans list every part, so you can choose boards for each piece.
- 16,000+ plans for furniture, shop and outdoor projects
- Materials list and cut list with each plan
- Step-by-step diagrams for beginners
- One-time $67, 60-day money-back guarantee
Have questions first? Read is TedsWoodworking legit?
Smart buying habits
- Bring your cut list. If a plan needs short parts, a board with mild bow can still give you straight pieces once it is cut shorter. Save your straightest boards for the longest parts.
- Buy 10-15% extra. One board will have a hidden split or a knot exactly where you need a joint.
- Dig a little, then put it back neatly. The best boards are often lower in the pile. Restack what you do not take so the next person finds a neat rack.
- Look at the "premium" or "select" stock. Many stores sell a better grade of studs and boards. Compare them with the regular stock and decide for yourself.
- Go when the store is quiet, such as a weekday morning. You can take your time at the rack without blocking the aisle.
- Wear gloves. Rough lumber gives splinters, and treated lumber should not sit on bare skin all afternoon.
Keep it straight once you get it home
Even a perfect board can warp in your garage if you store it badly.
- Store boards flat on a rack with supports every 16-24 in, or standing straight up against a wall with the bottom secured. Never lean them at an angle for weeks.
- Let the wood adjust. Bring it into the space where you will build and wait about a week (longer for wet wood) before cutting furniture parts.
- Use stickers. Put thin, dry strips of wood between layers so air reaches every face.
- Cut close to when you build. Once you cut a board, the inside is exposed and it can move. Cut parts, then build within a day or two.
Building in a garage that swings hot and cold? Read woodworking in a cold garage for more on how temperature and humidity affect wood. When you are ready to cut, our guide to measuring and marking wood accurately is the next step.
Turn those straight boards into a project
Search thousands of beginner-friendly plans inside TedsWoodworking, each with a list of the boards to buy. One payment, lifetime access, 60-day refund.
One-time payment · Lifetime access · 60-day money-back guarantee
Save this for later
Pin this guide to your woodworking board on Pinterest so it is ready when you head to the shop.
FAQ
Why are 2x4s at the home center so warped?
Most are dried to a moisture level that suits house framing, not furniture, and they keep moving as they dry further in the store. Handling and stacking also cause damage.
Is a slightly bowed board useless?
No. Cut it into shorter pieces. A small bow across 8 feet becomes almost nothing across 16 inches.
Can I flatten a warped board without a planer?
Mild cup or bow can be pulled flat with screws and glue in a frame. Twist is hard to fix without a jointer or hand plane, so it is best left at the store.
Do I need a moisture meter?
Not to start. Weight and feel catch most wet boards. If you start building fine furniture, a basic meter is a helpful later purchase.


