
The best woodworking tips for beginners are simple: measure from one reference point, cut on the waste side of the line, test-fit before you glue, sand in grit order, and test your finish on a scrap. Add safe habits like clamping the work and keeping hands out of the blade path, and you will avoid most early mistakes.
These tips are grouped by stage, from buying wood to finishing. If you are just getting started, pair them with our guide on how to start woodworking with no experience.
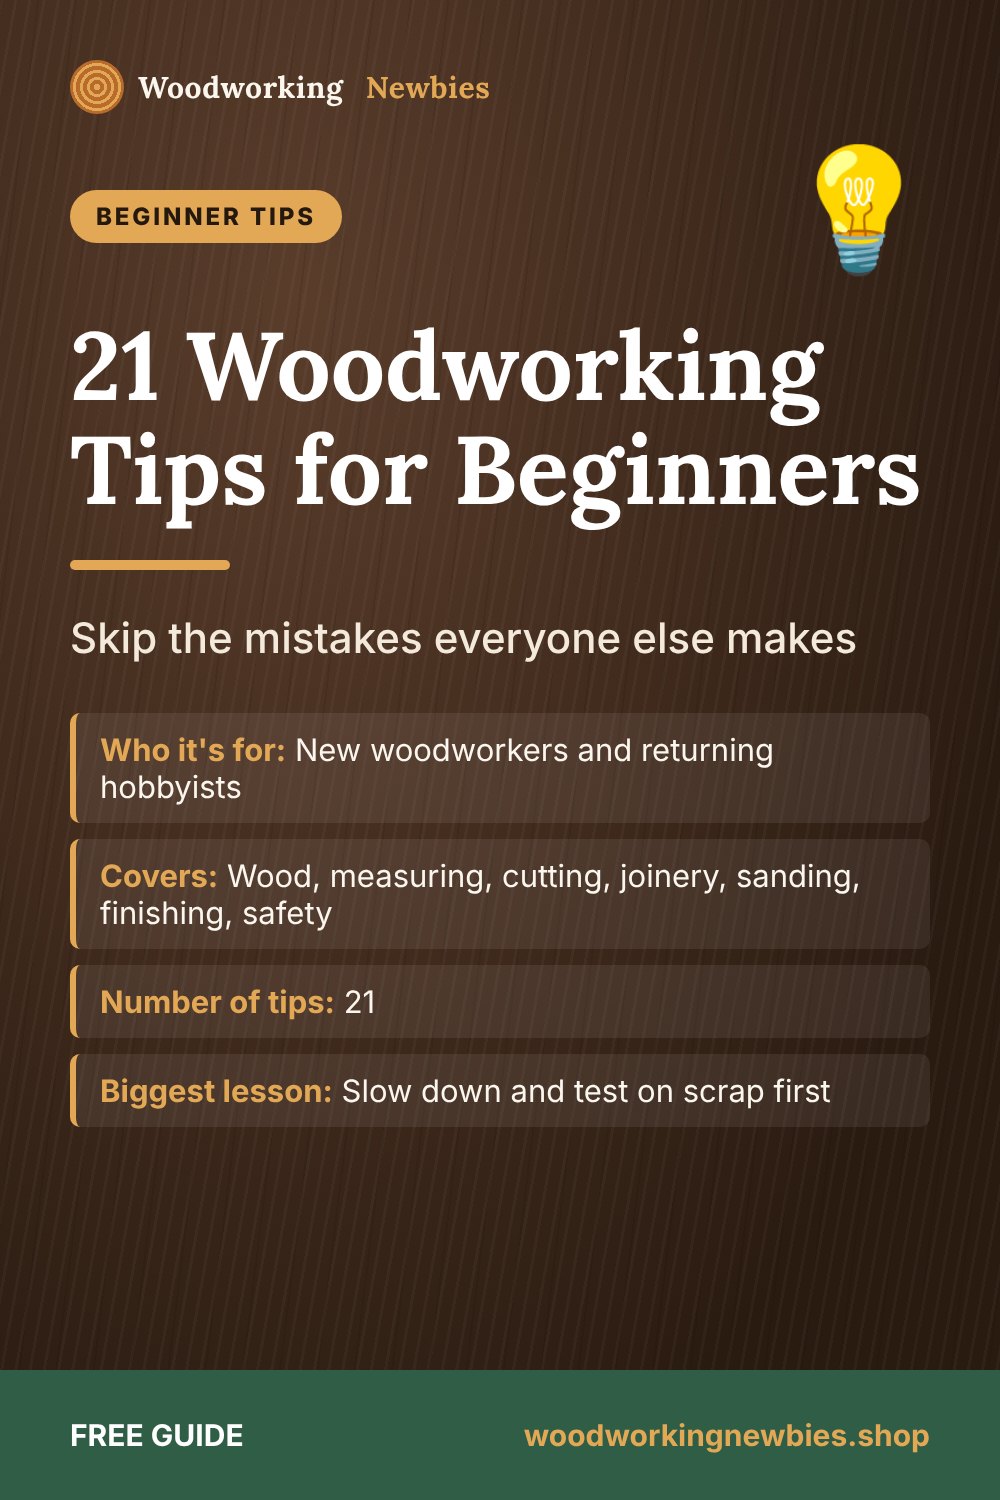
At a glance
- Who it's for
- New woodworkers and returning hobbyists
- Covers
- Wood, measuring, cutting, joinery, sanding, finishing, safety
- Number of tips
- 21
- Biggest lesson
- Slow down and test on scrap first
- Read time
- About 8 minutes
Beginner shortcut
Many beginner mistakes start with a vague plan. The TedsWoodworking plans come with cut lists and materials lists, so you know every part size before you pick up a saw.
Woodworking tips for beginners: buying wood
1. Learn actual lumber sizes
A "2x4" is really about 1-1/2 x 3-1/2 in (38 x 89 mm). A "1x6" is about 3/4 x 5-1/2 in. Plans are written with actual sizes, so use those when you measure.
| Nominal size | Actual size (in) | Actual size (mm, approx.) |
|---|---|---|
| 1x4 | 3/4 x 3-1/2 | 19 x 89 |
| 1x6 | 3/4 x 5-1/2 | 19 x 140 |
| 1x12 | 3/4 x 11-1/4 | 19 x 286 |
| 2x4 | 1-1/2 x 3-1/2 | 38 x 89 |
| 4x4 | 3-1/2 x 3-1/2 | 89 x 89 |
2. Pick boards one by one
Sight down each board for bow, twist and cup. Skip boards with big knots near the ends or cracks. Our guide on how to pick straight lumber walks you through it.
3. Let wood settle before you cut
Wood from a damp store moves as it dries. Stack it flat in your shop with spacers between boards for a few days if you can.
4. Buy a little extra
Plan on some waste. An extra board costs less than a second trip to the store and covers a bad cut or a hidden flaw.
Measuring and marking
5. Measure from one end, one tape
Use the same tape for the whole project and measure from the same reference edge. Different tapes can disagree slightly. See how to read a tape measure if fractions trip you up.
6. Use a sharp pencil or a marking knife
A thick carpenter's pencil line can be 1/16 in wide. A sharp pencil or knife line is more exact.
7. Mark the waste side
Draw an X on the piece you will throw away. Then cut on that side of the line, so the blade's width (the kerf) comes out of the waste, not your part.
8. Cut matching parts together
When parts must be identical, like table legs, clamp them together or use a stop block. They will match even if your measurement was slightly off.
Cutting
9. Check that your saw is square
Use a square to check that the blade sits at 90 degrees to the table or base. Many "bad cuts" are really a saw that is out of square.
10. Use a guide for straight cuts
A clamped straightedge or speed square guides a circular saw far better than freehand. Our article on cutting straight with a circular saw shows the trick.
11. Let the tool do the work
Forcing a saw causes burning, wandering cuts and kickback. If it feels hard to push, the blade may be dull or the wood may be pinching it.
12. Make test cuts on scrap
Before a cut you can't undo, try it on a scrap of the same thickness. Check the size and angle, then cut the real part.
Joinery and glue
13. Dry-fit everything first
Put the project together without glue. Fix any gaps, plan the clamp positions, then take it apart and glue for real.
14. Use less glue than you think
A thin, even coat with a small bead of squeeze-out is enough. Wipe squeeze-out with a damp rag, or let it go rubbery and scrape it off. Dried glue blocks stain.
15. Pre-drill near ends
Screws near the end of a board split it. Drill a pilot hole and a countersink. Our guide to wood joints for beginners covers when screws alone are enough.
16. Check for square with diagonals
Measure corner to corner both ways on a box or frame. If the two numbers match, it's square. If not, push the long diagonal in gently before the glue sets.
Fewer mistakes
Start with plans that do the math for you
TedsWoodworking includes 16,000+ plans with cut lists, materials lists and step-by-step diagrams, so the measuring and part sizes are worked out before you start.
- Cut lists that use real lumber sizes
- Materials lists to shop from
- Diagrams that show how parts fit together
- One-time $67, lifetime access, no monthly fees
Read our honest TedsWoodworking review first.
Sanding and finishing
17. Sand in grit order and don't skip
Go 80, 120, then 180 for most projects. Skipping from 80 to 180 leaves scratches that show under finish. See our guide on sanding grit order.
18. Test finish on a scrap
Always try stain and finish on an offcut from the same board. Pine in particular can blotch; our guide on staining pine without blotches explains the fix.
19. Handle oily rags safely
Rags soaked in oil finishes can heat up and catch fire as they dry. Lay them flat outside to dry, or keep them in a sealed metal can filled with water.
Safety and habits
20. Clamp the work, not your hand
Clamp parts to the bench before sawing, drilling or routing. Keep both hands away from the blade path. Wear safety glasses every time, hearing protection with power tools, and a dust mask when sanding. Unplug tools before changing blades or bits.
21. Finish small projects first
A finished box teaches more than a half-built cabinet. Pick small projects you can complete in a day or a weekend. Our list of easy weekend woodworking projects is a good place to start.
Quick reference: mistake and fix
| Common mistake | Simple fix |
|---|---|
| Parts come out too short | Cut on the waste side of the line |
| Box isn't square | Compare diagonals before glue sets |
| Boards split at screws | Pre-drill and countersink |
| Blotchy stain | Use a pre-stain conditioner or gel stain, and test first |
| Visible scratches under finish | Sand in grit order, no skipping |
| Warped project | Pick straight boards and let them acclimate |
Put these tips to work on your next build
Pick a beginner project from the TedsWoodworking collection and follow a plan with a cut list from start to finish. One payment and a 60-day money-back guarantee through ClickBank.
One-time payment · Lifetime access · 60-day money-back guarantee
Save this for later
Pin this guide to your woodworking board on Pinterest so it is ready when you head to the shop.
FAQ
What is the most important woodworking tip for beginners?
Slow down and test on scrap first. Test cuts, dry fits and finish samples catch most mistakes before they reach your project.
What should a beginner woodworker learn first?
Accurate measuring and marking, straight cuts, and simple joints with glue and screws. Those skills cover most first projects.
Why are my cuts never exactly the right length?
Usually because the cut was made on the line instead of the waste side, or the tape was hooked inconsistently. Mark an X on the waste and cut beside the line.
How do I keep my projects square?
Start with straight boards, cut square ends, and measure both diagonals during glue-up. Equal diagonals mean a square box or frame.


