
These miter saw station plans build a 72 in long, 24 in deep bench with your saw in the middle and a flush wing on each side. The wings are built to match your own saw's table height, so long boards lie flat on both sides of the blade. The bench uses six 2x4s, one sheet of 3/4 in plywood and a few 1x boards, joined with screws.
A miter saw is often a beginner's first big power tool, and it is far safer and more accurate when long boards are supported. If you are still choosing tools, our guide to essential woodworking tools for beginners explains where a miter saw fits in.
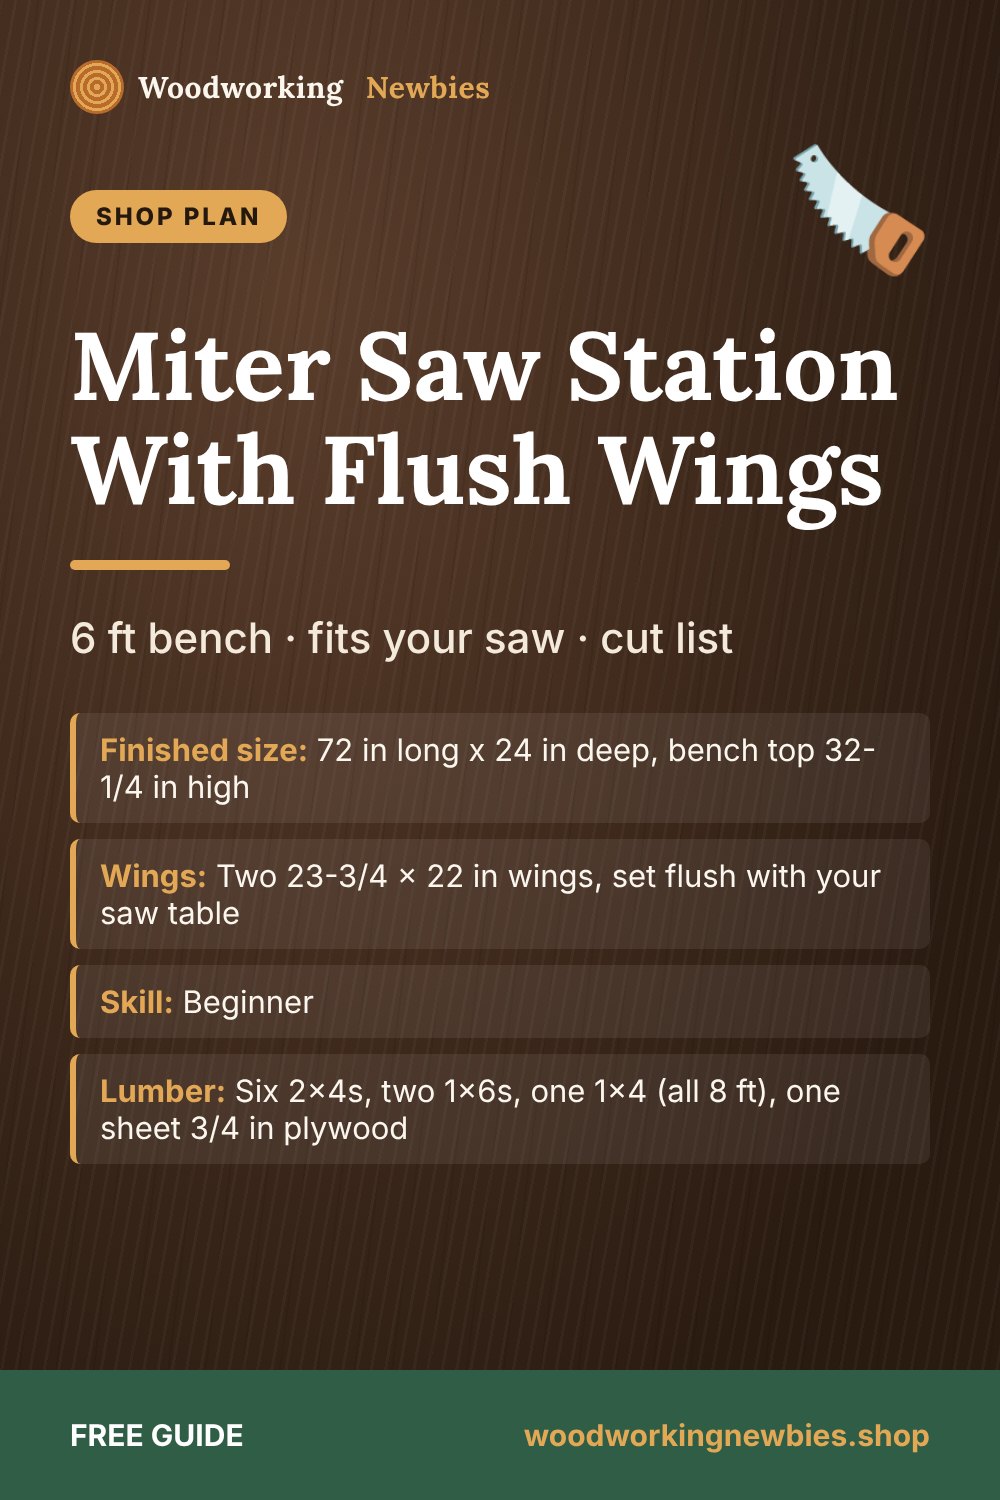
At a glance
- Finished size
- 72 in long x 24 in deep, bench top 32-1/4 in high
- Wings
- Two 23-3/4 x 22 in wings, set flush with your saw table
- Skill
- Beginner
- Lumber
- Six 2x4s, two 1x6s, one 1x4 (all 8 ft), one sheet 3/4 in plywood
- Time
- 1 weekend
Beginner shortcut
Want a fold-down saw stand, a mobile cart or a full wall station with storage? The TedsWoodworking workshop plans cover many shop builds with cut lists, so you can match one to your space.
How a flush-wing miter saw station works
A miter saw's table sits a few inches above whatever surface the saw stands on. If you set the saw on a flat bench, a long board hangs off the table and drops down toward the bench on each side. That makes the cut inaccurate, and a drooping board can pinch the blade as the cut finishes.
This station fixes that in the simplest way. The bench top stays flat. The saw sits on it in the middle. On each side, a plywood wing sits on short ribs cut to exactly the right height, so the wing top lines up with the saw table. A 1x4 fence on each wing lines up with the saw fence, giving you one long, straight fence for stop blocks and repeat cuts.
Why this matters: every saw is different. Two saws of the same size can have tables at different heights. That is why this plan does not give you a fixed rib height. You measure your saw first, then cut the ribs to suit.
Step zero: measure your saw
Do this before you buy lumber, because two numbers decide the wing sizes.
- Table height (T). Set the saw on a flat surface, such as your existing bench or a sheet of plywood on the floor. Lay a straight board or level across the saw table so it spans both sides of the blade. Measure from the flat surface up to the underside of the straightedge, on both sides. If you plan to bolt the saw to a plywood sub-base, measure with the sub-base in place.
- Saw width (W). Measure the widest part of the saw at table height, including any built-in side supports. The wings butt against these, so this is the width that matters.
Write both down. In this plan the wings are 23-3/4 in long, leaving a 24-1/2 in space for the saw. If your saw's width W is more than about 24 in, make each wing (72 - W - 1/2) / 2 in long instead, so you have a little clearance on each side.
Materials list
- 6 x 2x4 boards, 8 ft
- 2 x 1x6 boards, 8 ft (for the wing ribs; works for saws with a table height up to 6-1/4 in)
- 1 x 1x4 board, 8 ft (wing fences and a stop block)
- 1 sheet of 3/4 in plywood, 4 x 8 ft
- About 30 x 3 in wood or construction screws
- About 25 x 2-1/2 in wood or construction screws
- About 40 x 1-1/4 in screws and about 50 x 1-5/8 in screws
- Bolts, washers and nuts to fit your saw's mounting holes (or 2 in screws with washers)
- Wood glue, a few thin shims (playing cards or veneer work)
Cut list
| Part | Qty | Material | Length / size |
|---|---|---|---|
| A. Legs | 4 | 2x4 | 31-1/2 in |
| B. Long rails | 4 | 2x4 | 66 in |
| C. Short rails | 4 | 2x4 | 21 in |
| D. Cross rails | 3 | 2x4 | 18 in |
| E. Bench top | 1 | 3/4 in plywood | 72 x 24 in |
| F. Shelf pieces | 2 | 3/4 in plywood | 45-1/4 x 21 in and 23-3/4 x 21 in |
| G. Wing tops | 2 | 3/4 in plywood | 23-3/4 x 22 in |
| H. Wing ribs | 6 | 1x6, ripped to T minus top thickness | 22 in |
| I. Wing fences | 2 | 1x4 | 23-3/4 in |
How the bench dimensions add up
- Frames: 66 in long rails between 21 in short rails make a 69 x 21 in frame. The legs fasten to the outside of the short rails, adding 1-1/2 in at each end: 69 + 3 = 72 in, the length of the top.
- Depth: the 24 in top over a 21 in frame overhangs 1-1/2 in front and back.
- Height: 31-1/2 in legs plus the 3/4 in top = 32-1/4 in. Your saw adds T on top of that.
- Wings: 23-3/4 + 23-3/4 = 47-1/2 in, leaving 72 - 47-1/2 = 24-1/2 in for the saw.
Cutting layout
- 2x4s 1 to 4: one long rail and one short rail each. 66 + 21 = 87, plus 2 kerfs = 87-1/4 in.
- 2x4 5: three legs. 3 x 31-1/2 = 94-1/2, plus 3 kerfs = 94-7/8 in. That leaves only about 1 in, so square one end with a light trim and cut carefully.
- 2x4 6: the fourth leg and three cross rails. 31-1/2 + 54 = 85-1/2, plus 4 kerfs = 86 in.
- 1x6 A: four ribs at 22 in. 88 + 4 kerfs = 88-1/2 in.
- 1x6 B: two ribs at 22 in (44-1/4 in with kerfs). Keep the 51 in leftover in case a rib comes out too short.
- 1x4: two fences at 23-3/4 in (47-3/4 in with kerfs). The rest makes stop blocks.
- Plywood: rip a 24 in strip, leaving a 23-7/8 in strip. From the 24 in strip, cut the top at 72 in and the short shelf piece at 23-3/4 in (rip to 21 in). From the 23-7/8 in strip, cut the long shelf piece at 45-1/4 in (rip to 21 in) and both wing tops at 23-3/4 in (rip to 22 in): 45-1/4 + 47-1/2 + 3 kerfs = 93-1/8 in.
Tools
- Circular saw with a straightedge guide (a table saw makes the rib rips easier)
- Your miter saw for the 2x4 cross-cuts
- Drill/driver with a countersink bit
- A long straightedge or 4 ft level, tape measure, square and clamps
- Safety glasses and hearing protection
Accurate rib height is the whole point of this build. Our guide on how to measure and mark wood accurately will help you get it right to 1/32 in.
Step-by-step instructions
Step 1: Build the two frames
For each frame, lay two long rails on edge 18 in apart and screw a short rail across each end with two 3 in screws per joint and glue. In the top frame, add two cross rails, centered about 24 in and 48 in from one end of the bench, so the saw area is well supported. In the lower frame, add one cross rail centered 45-1/4 in from one end, where the two shelf pieces will meet. Square each frame by matching the diagonals.
Step 2: Add the legs
Screw a leg to the outside face of each short rail of the top frame, flush with the front or back face and with the leg top flush with the frame top. Use three 2-1/2 in screws and glue per leg (leg and rail together are only 3 in thick, so a 3 in screw would poke through). Flip the bench, mark 6 in up from the floor end of each leg, and fix the lower frame with its bottom on those marks.
Step 3: Fit the top and shelf
Stand the bench up. Lay the top on, flush with the legs at each end and overhanging 1-1/2 in front and back. Screw it down every 10 in with countersunk 1-5/8 in screws. Lay the two shelf pieces on the lower frame, meeting over the cross rail, and screw them down.
Step 4: Mount the saw
Center the saw on the bench top and push it back until the front of its base sits a few inches behind the front edge, so the handle and turntable swing freely. Mark through the mounting holes, drill, and bolt it down. Now re-measure T on the bench itself. This is the number you build to.
Shop builds
Build a shop around your tools
Saw stations, outfeed tables, lumber racks and tool cabinets: TedsWoodworking includes 16,000+ plans with cut lists, so each build fits the tools and space you have.
- Workbenches, saw stands and shop storage
- Cut lists and materials lists with each plan
- Step-by-step diagrams that are easy to follow
- $67 one-time, 60-day money-back guarantee
Want the full picture first? Read our honest TedsWoodworking review.
Step 5: Rip the ribs to height
Measure the actual thickness of a wing top, because "3/4 in" plywood is often a little thinner. Rib height = T minus that thickness. For example, if T is 4 in and the plywood is 23/32 in, the ribs are 3-9/32 in tall. Set your saw or guide once and rip all six ribs at the same setting, so they match.
Step 6: Build and place the wings
Glue and screw each wing top down onto three ribs, one flush with each end and one in the middle, with countersunk 1-1/4 in screws. Set a wing on the bench, front edges flush with the bench front, with its inner end just clear of the saw. Lay your straightedge across the saw table and onto the wing. Shim under the ribs if the wing is low, or sand the rib bottoms if it is high. When it is flush, screw through the ribs into the bench top at an angle, or use small metal angle brackets. Repeat on the other side.
Step 7: Line up the fences
Hold a long straightedge against the saw fence so it runs out across both wings. Clamp each 1x4 fence against the straightedge, standing on edge, with its saw end about 1/2 in from the end of the saw fence so it does not block the saw's movement. Pre-drill and drive 1-5/8 in screws at an angle from behind each fence into the wing top, every 6 in.
Using the station safely
- Unplug the saw whenever you adjust it, change blades or work on the station.
- Support both ends of long boards. The wings handle about 6 ft in total; for longer stock, add a roller stand at the same height.
- Hold the work against the fence and keep your hands well clear of the blade path. Use a clamp for short pieces instead of your fingers.
- Do not use a stop block for very short pieces that could get trapped between the blade and the block; clamp those instead. Let the blade stop fully before you raise it.
Not sure the miter saw is the right saw for a job? Our comparison of circular saw vs table saw vs miter saw explains what each one does best.
Common mistakes and fixes
| Problem | Likely cause | Fix |
|---|---|---|
| Boards rock at the blade | Wing slightly higher than the saw table | Sand the rib bottoms or remove a shim; a hair low is better than high |
| Cuts are not square on long boards | Wing fences not in line with the saw fence | Re-align with a straightedge and re-screw the fences |
| Saw cannot swing to full miter | Wings or fences too close to the saw | Leave about 1/2 in clearance and keep fences back from the saw fence ends |
| Bench wobbles during cuts | Uneven floor or loose leg screws | Shim the short leg; add screws and glue at the leg joints |
| Ribs come out different heights | Fence or guide moved between rips | Rip all six at one setting; re-rip a low one from the spare 1x6 |
Variations
| Version | How |
|---|---|
| Different working height | Choose a saw-table height you like, then leg length = that height - T - 3/4 in |
| Longer station | Use 10 ft 2x4s for the long rails and add a second plywood sheet for longer wings and top |
| Tape measure on the fence | Stick a self-adhesive tape measure to one fence, set from the blade, for quick repeat cuts |
| Dust control | Leave room behind the saw for a shop vacuum hose or a simple hood made from offcuts |
| Lumber storage | Use the lower shelf for short offcuts, and keep long boards on a wall rack |
Pair this station with our workbench plans with drawers for a complete small shop, and keep long stock tidy with a wall-mounted lumber rack right beside it.
Plan your next shop upgrade
Find saw stations, carts and storage builds inside TedsWoodworking, each with a cut list and step-by-step diagrams.
One-time payment · Lifetime access · 60-day money-back guarantee
Save this for later
Pin this guide to your woodworking board on Pinterest so it is ready when you head to the shop.
FAQ
How do I find my miter saw's table height?
Set the saw on a flat surface, lay a straightedge across the table, and measure from the surface to the underside of the straightedge on both sides of the blade.
How long should miter saw wings be?
As long as your space allows. This 72 in station has 23-3/4 in wings; add roller stands for boards longer than about 6 ft.
Should the wings be exactly flush with the saw table?
Aim for flush. If you cannot get it perfect, a hair low is better than high, because a high wing lifts the board off the saw table.
Do I need to bolt the saw to the bench?
Yes. A saw that shifts during a cut is unsafe and ruins alignment with the wing fences.


