
These raised garden bed plans for seniors build a waist-high bed 30-1/2 in tall, 71 in long and 26-1/2 in wide (77 x 180 x 67 cm), with a flat 2x6 cap rail you can lean on or sit on. The growing area is 23-1/2 in across, so you can reach the middle from one side without bending, kneeling or stretching. It uses straight cuts and screws only.
New to building? Our guide on how to start woodworking with no experience covers the tools and habits this plan assumes. Build it over winter, fill it in early spring, and it will be ready for the first seedlings.
At a glance
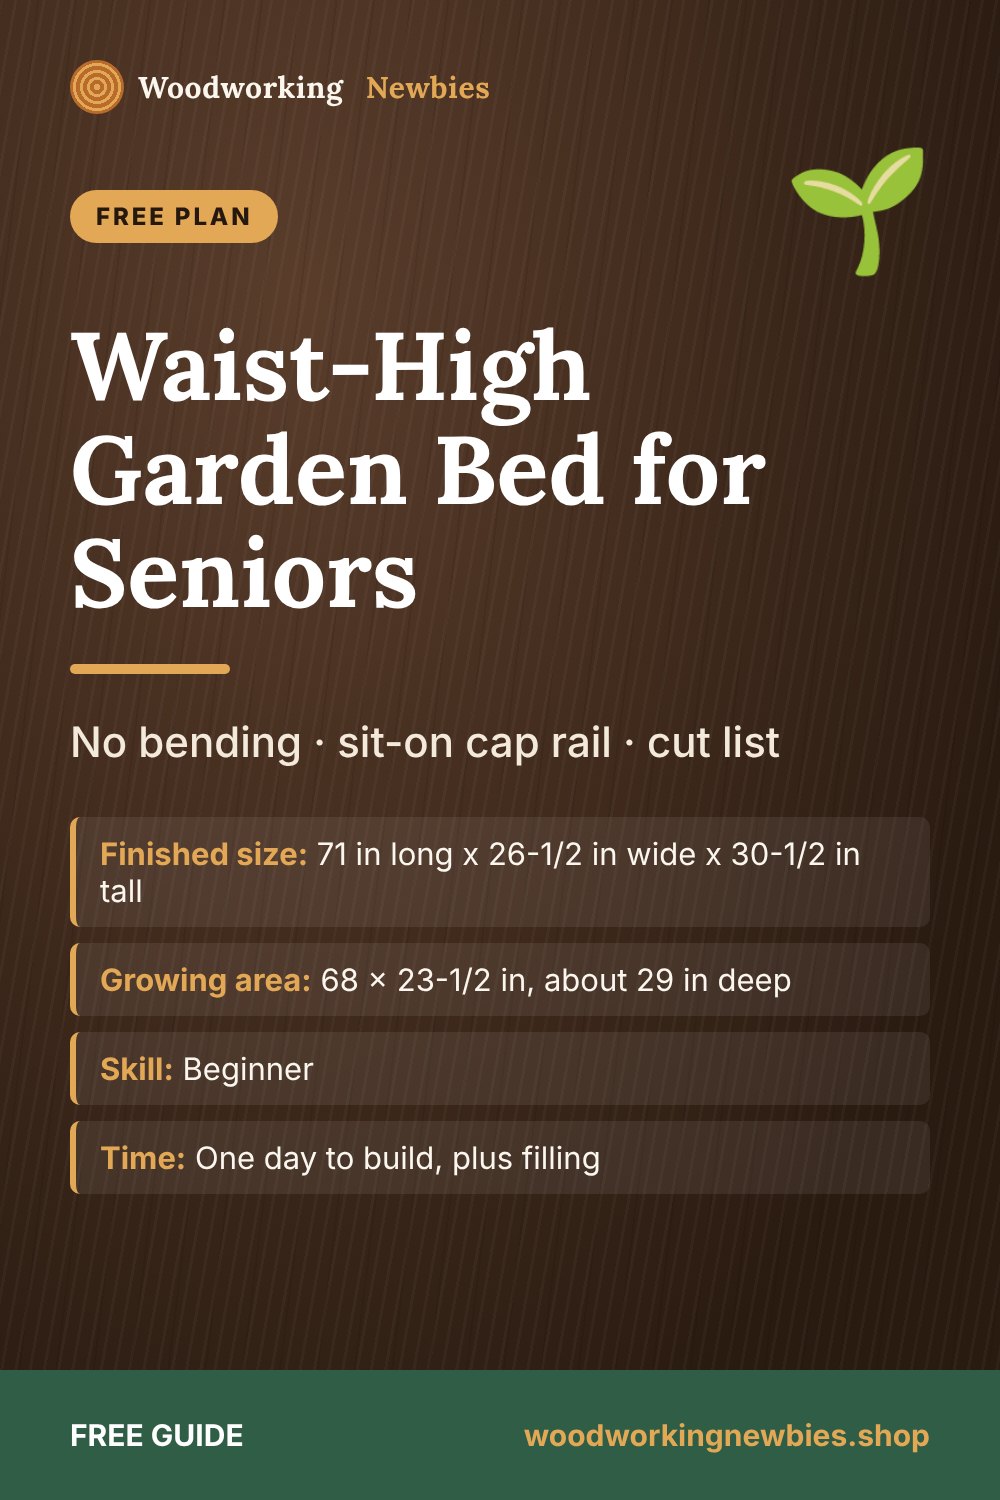
- Finished size
- 71 in long x 26-1/2 in wide x 30-1/2 in tall
- Growing area
- 68 x 23-1/2 in, about 29 in deep
- Skill
- Beginner
- Time
- One day to build, plus filling
- Lumber
- Eight 2x8s, two 2x6s, two 4x4s, one 2x4 (all 8 ft)
Beginner shortcut
Planning a whole accessible garden? The TedsWoodworking garden plans include potting benches, planters, trellises and tool storage with cut lists, so the rest of the garden can work at a comfortable height too.
Why a waist-high bed, and how big it should be
Most of the strain in gardening comes from bending and kneeling. A bed that brings the soil up to about hip height lets you plant, weed and harvest standing up, or perched on the cap rail. The numbers below are the ones that matter most; measure the person who will use the bed rather than guessing.
| Measurement | Guideline | This plan |
|---|---|---|
| Top height for a standing gardener | Roughly hip height, often 30-36 in | 30-1/2 in to the cap |
| Top height for a seated gardener | Roughly 24-28 in | See the seated variation |
| Reach from one side | About 24 in for most adults; less if shoulders are stiff | 23-1/2 in growing width |
| Reach from both sides | Up to about 36-40 in of growing width | Can be widened (see variations) |
| Path width | At least 36 in; 48-60 in where a walker or wheelchair must turn | Plan your layout around it |
| Cap rail width | 5 in or more to lean or sit on | 5-1/2 in (2x6) |
Why this matters: a bed that is too wide is the most common mistake. If you can only reach 18 in comfortably, a 23-1/2 in bed against a fence will have a strip you cannot reach. Stand at the counter at home, reach forward without leaning, and measure. If the number is shorter than 23-1/2 in, put the bed where you can walk around it.
A full-height bed like this has no knee room underneath. A wheelchair user can garden from the side, but if they want to roll their knees under the soil, a table-style planter is better. Our raised garden bed plans with legs build that type.
Choosing the lumber
Cedar is the cautious choice for food gardens: it resists rot naturally and needs no liner. Whether pressure-treated lumber is fine for vegetable beds is debated. Modern treatments are considered much safer than old ones, but if you want to be careful, choose cedar, or line the inside walls of a treated bed with heavy plastic sheeting. Avoid old railroad ties and any lumber of unknown history. Our guide to the best wood for beginner projects compares the options.
Materials list
- 8 x 2x8 boards, 8 ft (walls)
- 2 x 2x6 boards, 8 ft (cap rail)
- 2 x 4x4 posts, 8 ft
- 1 x 2x4, 8 ft (cross tie, with plenty spare)
- About 100 x 3-1/2 in exterior screws
- About 25 x 3 in exterior screws
- Optional: 2 x 8 in structural screws for the cross tie (instead of toe-screwing it)
- Landscape fabric, or heavy plastic sheeting for a treated bed, and a staple gun
- Optional: 1/2 in galvanized hardware cloth for the bottom if moles or gophers are a problem
Cut list
Actual sizes: 2x8 = 1-1/2 x 7-1/4 in, 2x6 = 1-1/2 x 5-1/2 in, 4x4 = 3-1/2 x 3-1/2 in.
| Part | Qty | Material | Length |
|---|---|---|---|
| A. Long wall boards | 8 | 2x8 | 71 in |
| B. Short wall boards | 8 | 2x8 | 23-1/2 in |
| C. Posts (4 corner, 2 center) | 6 | 4x4 | 29 in |
| D. Cross tie | 1 | 2x4 | 16-1/2 in |
| E. Long cap rails | 2 | 2x6 | 75 in |
| F. Short cap rails | 2 | 2x6 | 19-1/2 in |
Cutting layout and the arithmetic
- Each 2x8 (8 boards): one A and one B (71 + 23-1/2 = 94-1/2 in, plus two 1/8 in cuts = 94-3/4 in, leaving 1-1/4 in)
- Each 2x6 (2 boards): one E and one F (75 + 19-1/2 = 94-1/2 in, plus kerf = 94-3/4 in)
- Each 4x4 (2 posts): three C (29 x 3 = 87 in, plus kerf = 87-3/8 in)
- 2x4: D (16-1/2 in); keep the rest for stakes or a tool rail
How it adds up: four 2x8s on edge stack to 4 x 7-1/4 = 29 in, matching the posts; the 1-1/2 in cap brings the top to 30-1/2 in. The short walls fit between the long walls, so the width is 23-1/2 + 1-1/2 + 1-1/2 = 26-1/2 in. The cap overhangs the walls by 2 in inside and out, so the long caps are 71 + 2 + 2 = 75 in and the short caps fill the gap between them: 26-1/2 + 4 - 5-1/2 - 5-1/2 = 19-1/2 in.
The 2x8 layout leaves only 1-1/4 in, so check that your boards are a full 96 in and square one end with a light trim before you start.
Tools
- Circular saw with a speed square, or a miter saw (a 4x4 needs two passes on most circular saws)
- Drill/driver and a pilot bit
- Tape measure, square, level, string line
- Clamps and a helper for standing the walls up
- Safety glasses, hearing protection, gloves and a dust mask
If cutting long boards straight is new to you, read how to cut straight with a circular saw first.
Step-by-step instructions
Step 1: Pick and prepare the spot
Choose a level spot with at least six hours of sun, close to a hose, with firm ground for the paths. Mark out 71 x 26-1/2 in, strip the grass, and level the soil. Lay pavers or packed gravel along the paths so a walker or cane never sinks into soft ground.
Step 2: Cut and label the parts
Cut everything on the list and label it. Ease the top edges of the cap rails with sandpaper so they are comfortable to lean on. If you use treated lumber, cut outdoors, wear a dust mask and wash your hands afterward.
Step 3: Build the two long walls flat
Lay four long wall boards (A) flat and edge to edge on a level surface, ends aligned, for a panel 71 x 29 in. Place a corner post (C) at each end, 1-1/2 in in from the end (a 2x scrap makes a perfect gauge), so the short walls can tuck in later. Place a center post with its center 35-1/2 in from either end, so it spans 33-3/4 to 37-1/4 in. Keep all post bottoms flush with the bottom board. Drive two 3-1/2 in screws through every board into every post. Build the second long wall the same way.
Step 4: Stand the walls and add the ends
With a helper, stand the two long walls on the prepared spot, posts facing in. Slide a short wall board (B) between them at one end, against the corner posts, and screw it to each post with two 3-1/2 in screws. Add the other three boards at that end, then the four at the far end.
Step 5: Square, level and add the cross tie
Measure the diagonals from corner to corner; both should be about 75-3/4 in. Nudge the bed until they match. Check the top for level both ways and shim under low spots with flat stones or pavers. Fit the cross tie (D) between the two center posts, top flush with the walls. Pre-drill at an angle and toe-screw it with two 3 in exterior screws through each end into the post, or drive one 8 in structural screw from the outside through the wall and post into each end of the tie. It stops the long walls from bowing outward when the wet soil pushes on them.
Step 6: Add the cap rail
Set a long cap rail (E) on each long wall so it overhangs 2 in inside and 2 in outside and runs 2 in past each end. Fit the short cap rails (F) between them over the short walls. Pre-drill and drive 3 in screws down into the post tops and every 12 in into the wall boards. Sand any sharp corners, because hands and forearms rest here.
Step 7: Line and fill
Staple landscape fabric (or plastic for a treated bed) to the inside walls, stopping at ground level so water can drain. Lay hardware cloth on the bottom if burrowing animals are a problem. The bed holds about 27 cubic feet (one cubic yard) of fill: 68 x 23-1/2 x 29 in is about 46,300 cubic inches, divided by 1,728. Fill the bottom 12-15 in with coarse material such as branches, logs and leaves, then top with 14-16 in of good garden soil mixed with compost. Water it and let it settle for a week or two before planting; it will sink a few inches, so top up to 1-2 in below the cap.
Garden builds
More projects for an easier garden
TedsWoodworking has 16,000+ plans, including potting benches, cold frames, planters and garden seating, each with a materials list, cut list and step-by-step diagrams.
- Garden beds, planters and potting benches
- Cut lists and materials lists with every plan
- Diagrams that show each joint and fastener
- $67 one-time, 60-day money-back guarantee
Read our honest TedsWoodworking review before you decide.
Making the bed easier to use every day
- Hang tools on the outside. A few exterior hooks or a short 2x4 rail on the end wall keeps a trowel and pruners at hand height.
- Water at hand height. A soaker hose or drip line laid on the soil saves carrying cans. Fit a hose guide at the corner so the hose does not drag across plants.
- Use the cap as a seat. Sit sideways on the cap rail to plant the near half, then move. Keep the rail smooth and free of screw heads.
- Plant tall crops at the back. Against a fence, put beans or tomatoes on the far side so you never reach through them.
- Light-colored paths. Pale gravel or pavers are easier to see in low light than dark mulch.
Common mistakes
| Mistake | What happens | Fix |
|---|---|---|
| Skipping the center posts or cross tie | Long walls bow outward under wet soil | Always fit both; add a post and tie every 3 ft on longer beds |
| Bed too wide for the user | The far strip is never weeded | Measure reach first; keep one-side beds to about 24 in |
| Filling with soil only | About a cubic yard of soil to buy and haul | Use coarse fill in the bottom 12-15 in |
| Corner posts flush with the wall ends | Short walls will not fit | Set corner posts 1-1/2 in in from the ends |
| Interior screws | Rust and snap within a season or two | Use exterior screws rated for your lumber |
| Lining the bottom with plastic | Waterlogged roots | Line the walls only; leave the bottom open |
Variations
| Version | How |
|---|---|
| Seated gardener | Use three courses of 2x8 (21-3/4 in) and 21-3/4 in posts; the cap brings it to 23-1/4 in |
| Walk-around bed | Make the short wall boards and cross tie 12 in longer (35-1/2 in and 28-1/2 in) and the short caps 31-1/2 in; cut the short walls two per board from four extra 2x8s, plus one extra 8 ft 2x6 for the longer short caps |
| 2x6 walls | Ten 2x6s cut like the 2x8s give five courses (27-1/2 in) on 27-1/2 in posts; with the cap, the top is 29 in |
| Longer bed | Use 10 or 12 ft boards and add a post pair and cross tie about every 3 ft |
Want a smaller first project for the garden? The fence picket planter box is a one-afternoon build, and our outdoor bench with a back gives you somewhere comfortable to rest between jobs.
Finish the garden at a comfortable height
Look inside TedsWoodworking for potting benches, tool sheds and garden seating, so every job in the garden can be done without bending low.
One-time payment · Lifetime access · 60-day money-back guarantee
Save this for later
Pin this guide to your woodworking board on Pinterest so it is ready when you head to the shop.
FAQ
What is the best height for a raised garden bed for seniors?
For someone gardening standing up, roughly hip height works well, often 30-36 in. For someone seated, about 24-28 in. This plan is 30-1/2 in to the cap, with a seated version at 23-1/4 in.
How wide should a raised bed be for an older gardener?
About 24 in if it is reached from one side, and up to about 36-40 in if you can walk around it. Measure your own comfortable reach and go a little under it.
Do I have to fill a waist-high bed with soil all the way?
No. Most vegetables need 12-18 in of good soil. Fill the bottom with branches, logs and leaves, then add soil and compost on top. Expect it to settle and top it up each spring.
Is pressure-treated wood safe for a vegetable bed?
It is debated. Cedar or a treated bed with plastic-lined walls is the cautious choice for food crops.


