
Wood staining for beginners comes down to three choices. Oil-based stain is the most forgiving, with a long working time. Water-based stain dries fast, smells less and cleans up with water, but it raises the grain. Gel stain sits on the surface, so it is best for blotchy woods and vertical surfaces. All three are wiped on, then wiped off.
Staining is often the last step of a build, after you have learned to start woodworking with no experience and built your first few pieces. It is also where a good project can suddenly look bad. This guide explains how each type of stain behaves, how to prepare the wood, how to apply each one, and how to protect the color once it is on.
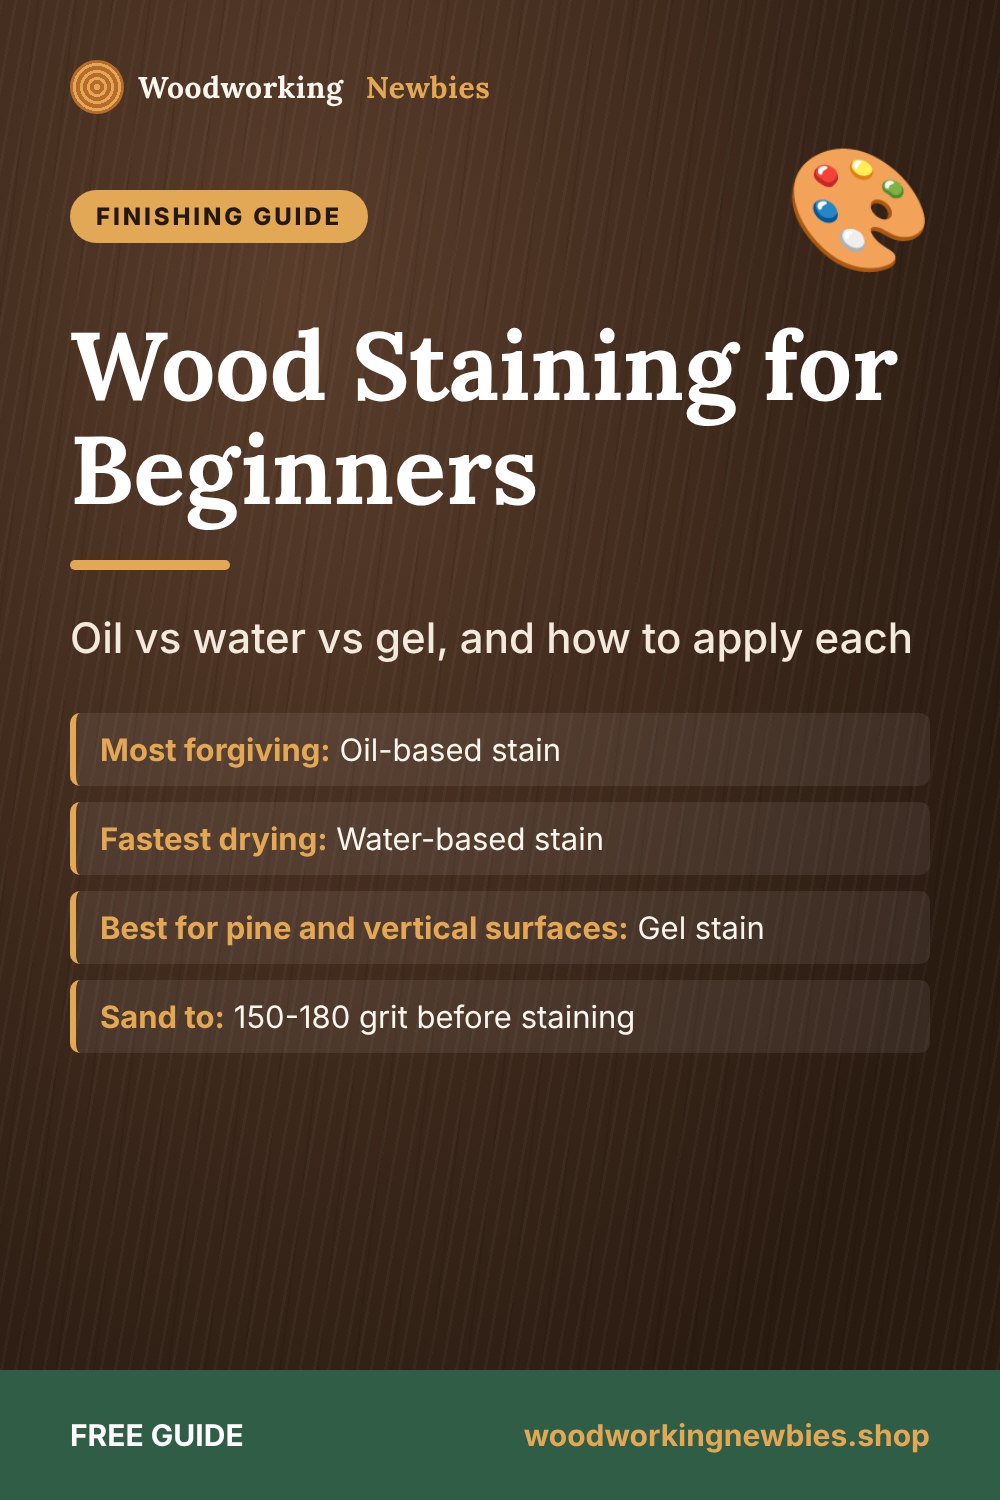
At a glance
- Most forgiving
- Oil-based stain
- Fastest drying
- Water-based stain
- Best for pine and vertical surfaces
- Gel stain
- Sand to
- 150-180 grit before staining
- Always
- Test on scrap from the same boards
Beginner shortcut
A great finish needs a well-built piece under it. The TedsWoodworking library has thousands of furniture and decor plans with cut lists, so your parts fit tight before the stain comes out.
What stain does (and what it does not do)
Stain adds color. It does not protect the wood. A stained table with no topcoat will still soak up spills, show water rings and wear through at the edges. Think of staining as two jobs: color first, then a clear protective finish on top.
Most stains color wood with pigment, tiny colored particles that lodge in the pores and scratches, or with dye, which soaks into the fibers. Many stains contain both. That is why sanding matters so much: the scratches you leave are exactly where pigment settles.
Why this matters for a beginner
The color on the can lid or chip card was made on a specific wood, sanded a specific way. Your pine or oak will look different. Every pro tests on scrap first, and you should too. It is the single habit that prevents most staining disappointments.
Oil vs water vs gel stain: comparison
| Oil-based stain | Water-based stain | Gel stain | |
|---|---|---|---|
| Working time | Long, several minutes | Short, dries quickly | Medium to long |
| Dry time before topcoat | Often 8-24 hours (check can) | Often 1-3 hours (check can) | Often a day or more |
| Raises the grain? | No | Yes | No (oil-based gels) |
| Smell and cleanup | Strong smell, mineral spirits | Low odor, soap and water | Strong smell, mineral spirits |
| Blotch control | Fair, better with conditioner | Fair, use a water-based conditioner | Good, it sits on the surface |
| Best for | First projects, oak, large surfaces | Quick jobs, indoor work, bright colors | Pine, cabinets, doors, dark colors |
Drying times vary a lot with the brand, temperature and humidity. The can is always the final word. In a cold shop, everything takes longer; see our tips on woodworking in a cold garage.
How to make a test board
A test board takes ten minutes and tells you exactly what the finished piece will look like. Cut an offcut from the same boards you used, at least 12 in (30 cm) long, and treat it exactly like the project:
- Sand it with the same grits, in the same order.
- Divide it into sections with pencil lines. Leave one section unstained for comparison, apply conditioner to another, and leave a third with no conditioner.
- Stain the second and third sections, one coat on half and two coats on the other half.
- Let it dry, then add your topcoat over everything. Topcoats change the color, often making it a little darker and warmer.
- Look at it in the room where the piece will live, in daylight and lamplight.
Write the product, number of coats and wipe-off time on the back. Keep your test boards; they become a handy color library for future projects.
Prep: the step that decides the result
Whatever stain you pick, prep the same way:
- Sand evenly to 150 or 180 grit. Going much finer can burnish the surface so less stain soaks in. Use the same final grit everywhere. Our guide to the right sanding grit order shows how to get there.
- Sand end grain a grit or two finer. End grain drinks stain and goes very dark.
- Remove glue. Dried glue seals the wood and leaves pale spots. Look across the surface with a low light, then scrape or sand it away.
- Remove dust. Vacuum, then wipe with a clean, dry cloth or a tack cloth.
- Condition blotch-prone woods. Pine, fir, maple, birch, cherry and poplar can stain unevenly. A pre-stain conditioner or thin washcoat helps. Our step-by-step guide on how to stain pine without blotches covers this in detail.
- Stir the stain well. Pigment settles at the bottom of the can. Stir, do not shake, and stir again during the job.
How to apply oil-based stain
This is the best place to start. Its long working time gives you room to fix mistakes before it sets.
- Work in a ventilated space and wear nitrile gloves.
- Apply a generous, wet coat with a lint-free rag, foam brush or bristle brush. Work along the grain.
- Wait a few minutes. The can tells you how long; longer usually means slightly darker.
- Wipe off all the excess with a clean rag, along the grain. Do not leave a film on the surface.
- Do one section or one part at a time on large pieces, so nothing sits too long.
- Let it dry fully, as stated on the can. If it needs to be darker, add a second coat the same way.
Tip: wipe off with a fresh rag when the first one gets loaded. A saturated rag just moves stain around.
Build it, then finish it
Projects worth a good finish
Coffee tables, bookshelves, boxes and gifts: TedsWoodworking gives you 16,000+ plans with cut lists, so you spend your time on the build and the finish, not on figuring out sizes.
- Furniture, decor and gift plans
- Cut lists and materials lists included
- Beginner guides and 150 videos as bonuses
- $67 one-time, 60-day money-back guarantee
Read our honest TedsWoodworking review first.
How to apply water-based stain
Water-based stain works well, but it moves fast and it swells the wood fibers. Plan for both.
- Pre-raise the grain. Wipe the sanded wood with a damp (not wet) cloth. Let it dry fully, then sand lightly with your final grit (180 or 220) just to knock off the raised fuzz. Remove the dust.
- Work in small sections. On a tabletop, do one strip from end to end at a time, keeping a wet edge so the sections blend.
- Apply and wipe quickly. Brush or wipe it on, then wipe off the excess within the time on the can, which is often short.
- Avoid overlaps on dry areas. Going back over a section that has started to dry leaves dark lap marks.
- Let it dry, then topcoat. Water-based stain is often ready for a topcoat the same day.
Why this matters: if you skip the grain-raising step, the stain itself lifts the fibers, and sanding them down afterwards cuts through the color and leaves light patches.
How to apply gel stain
Gel stain is thick, like pudding. Because it sits mostly on the surface instead of soaking deep into the wood, it gives an even color on blotch-prone woods and does not run on vertical surfaces like cabinet doors.
- Stir it well; some gels separate a little.
- Apply a thin, even layer with a rag or foam brush, along the grain.
- Wipe off the excess gently with a clean rag, using long, even strokes along the grain. For a lighter look, wipe harder; for darker, wipe lightly.
- Let it dry fully. Gel stain dries slower than regular stain, so give it the full time on the can.
- Add a second coat for deeper color if needed.
Some gel stains can go over an old finish after it is cleaned and scuff-sanded, which makes them popular for refreshing cabinets. Follow the maker's instructions and test on a hidden area first.
Which stain for which wood?
| Wood | How it takes stain | Good choice |
|---|---|---|
| Pine, fir | Blotchy, soft and hard areas | Conditioner plus oil stain, or gel stain |
| Red or white oak | Even, open pores take color well | Oil-based or water-based stain |
| Maple, birch, cherry | Can blotch, tight grain | Gel stain, or a clear finish and no stain |
| Poplar | Uneven, green streaks show | Gel stain or paint |
| Walnut | Already dark | No stain, just a clear finish |
| Plywood | Depends on face veneer; thin, so do not oversand | Match the face species, test first |
For more on how each species behaves, see our guide to the types of wood for woodworking.
Topcoats: protecting the color
Once the stain is fully dry, add two or three thin coats of a clear finish. Sand lightly with 320 grit between coats, and remove the dust.
- Oil-based polyurethane is tough and adds a warm amber tone. It works well over oil-based stain once the stain is dry.
- Water-based polyurethane stays clear, dries fast and smells less. Over oil-based stain, wait until the stain is fully dry. Many makers suggest waiting longer than for an oil topcoat, sometimes up to a few days. Check both cans and test on scrap.
- Wipe-on poly is thinned polyurethane. It is very forgiving and great for beginners.
- Exterior finishes are needed outdoors. Regular interior stain and poly break down quickly in sunlight.
The first topcoat can drag some color if the stain is not dry. Brush it on lightly, without scrubbing, especially over water-based or gel stain. Items that touch food need a different approach; see our guide to the best food-safe finish for cutting boards.
What about "stain and poly in one" products? They put color into the clear coat, so each coat gets darker and brush marks show as dark streaks. They can work on simple pieces, but separate stain and topcoat are easier to get right.
Common staining mistakes and how to fix them
| Problem | Cause | Fix |
|---|---|---|
| Blotchy color | Blotch-prone wood, no conditioner | Washcoat, then gel stain or a tinted topcoat |
| Sticky surface days later | Excess stain not wiped off | Wipe with a rag dampened with the right solvent, then let it dry |
| Pale spots | Glue squeeze-out or skipped sanding | Sand back the area and restain, or touch up with a stain marker |
| Dark lap marks | Water-based stain overlapped as it dried | Work smaller sections, keep a wet edge |
| Very dark ends | End grain soaked up stain | Sand ends finer or condition them next time |
| Fuzzy, rough feel | Grain raised by water-based stain | Pre-raise the grain before staining |
| Color smears under topcoat | Stain not dry, or topcoat scrubbed on | Wait longer, apply topcoat with light strokes |
Staining safety
Rags soaked in oil-based stain can heat up as they dry and catch fire on their own. Never leave them in a pile or a trash bag. Lay them flat outside to dry, or put them in a metal can filled with water and a tight lid, and dispose of them according to local rules. Work with good ventilation, wear gloves and eye protection, and keep oil-based products away from flames and pilot lights.
Find your next project to finish
Browse thousands of indoor and outdoor plans inside TedsWoodworking, each with step-by-step diagrams and a materials list.
One-time payment · Lifetime access · 60-day money-back guarantee
Save this for later
Pin this guide to your woodworking board on Pinterest so it is ready when you head to the shop.
FAQ
Which type of stain is easiest for beginners?
Oil-based wiping stain. It has a long working time, does not raise the grain, and is easy to even out before it sets. Gel stain is the easiest choice on pine.
Do I have to sand between coats of stain?
No. Sanding stain can cut through the color. Sand lightly between coats of topcoat instead, with 320 grit.
How many coats of stain should I use?
One coat is often enough. Add a second, thin wiped coat only if the color is too light after the first has dried.
Can I put water-based poly over oil-based stain?
Often yes, once the stain is fully dry, but check both labels for the waiting time and test on scrap first. When in doubt, wait longer.


