
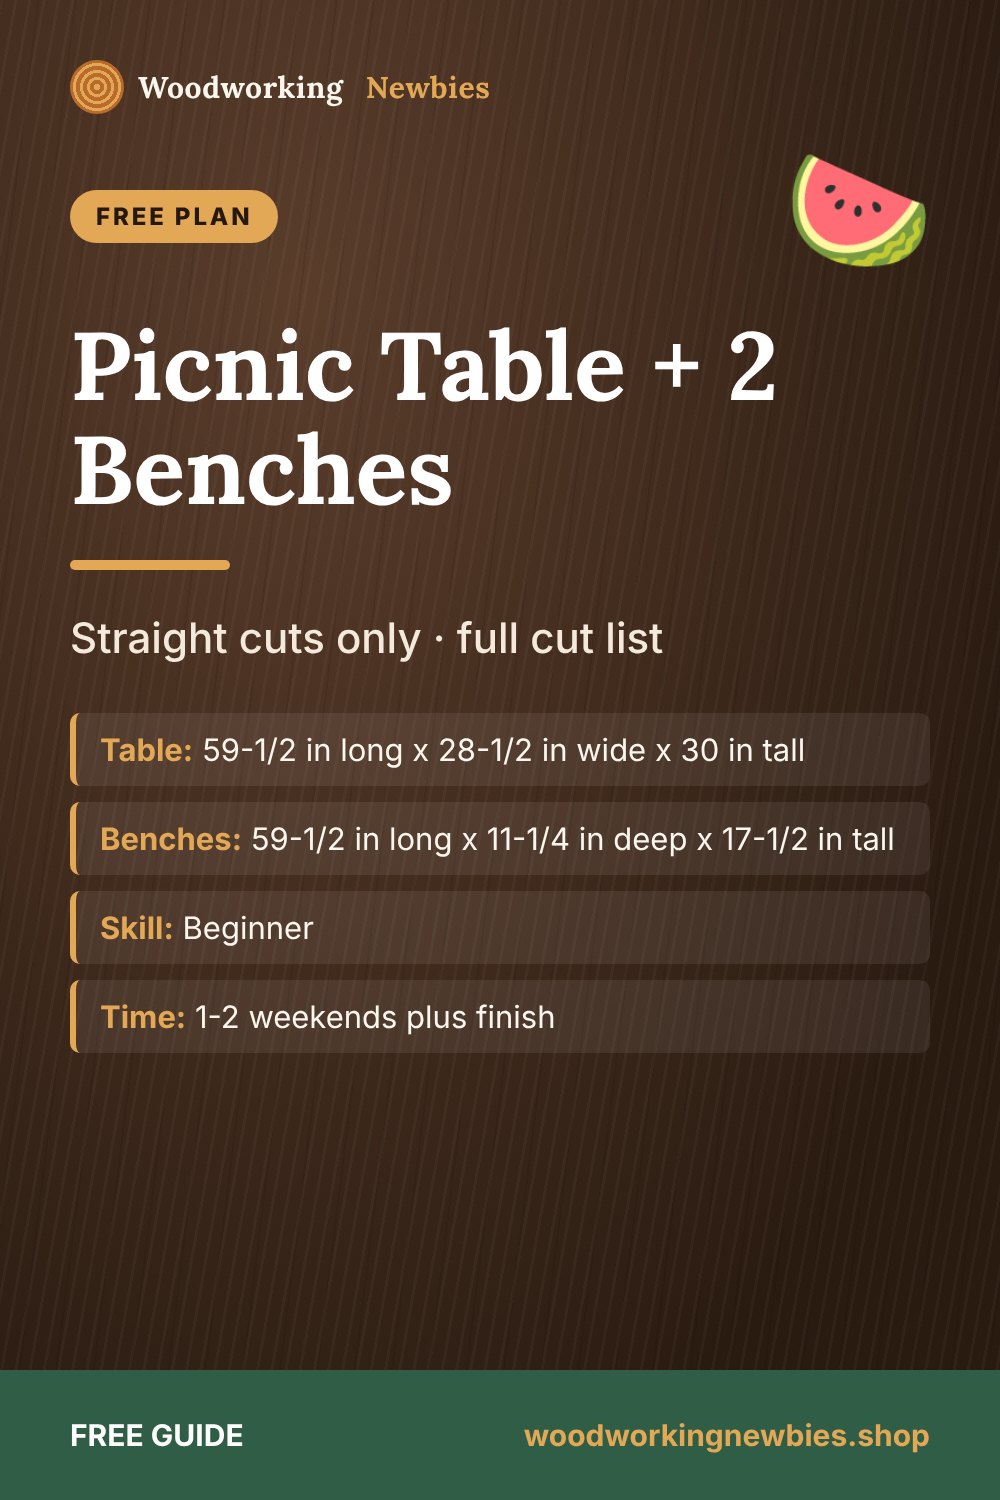
These picnic table plans with separate benches build a 5 ft outdoor table, 59-1/2 x 28-1/2 inches and 30 inches tall (151 x 72 x 76 cm), plus two matching 59-1/2 in benches with a 17-1/2 in seat. Every cut is a straight 90-degree crosscut. Separate benches are easier to sit on, easier to move, and each piece is light enough to carry.
If this is your first big build, start with our guide on how to start woodworking with no experience, then come back with a tape measure and a free weekend. Winter is a good time for it: build the three pieces in the garage now, finish them, and they are ready for the first warm day of spring.
At a glance
- Table
- 59-1/2 in long x 28-1/2 in wide x 30 in tall
- Benches
- 59-1/2 in long x 11-1/4 in deep x 17-1/2 in tall
- Skill
- Beginner
- Time
- 1-2 weekends plus finish
- Cuts
- Straight crosscuts only
Beginner shortcut
Prefer a round table, a convertible bench table or a bigger 8-seater? The TedsWoodworking picnic table collection has plenty of styles with exact cut lists, so you can pick the one that fits your yard.
Why build a picnic table with separate benches?
A classic picnic table, with the seats bolted to the frame, is sturdy and cheap, but you have to step over the seat to sit down. That is awkward for older relatives, anyone with stiff knees, and kids in a hurry. Separate benches fix that. You sit down the way you would on any chair, then pull the bench in.
There are other advantages too:
- Lighter pieces. One person can move a bench. A one-piece table usually takes two.
- More flexible. Push one bench against a wall, use the other at the fire pit, or swap one for chairs.
- Easier to build. No angled legs. If you can make a square crosscut, you can build this set.
The trade-off is a little more lumber, and two extra pieces to store over winter. If you prefer the classic look, our classic 6 ft picnic table plans cover the attached-seat version.
How it is built
The table is an apron frame on four 4x4 legs. The 2x4 aprons sit flush with the top of the legs, so the top boards rest on both. Two end stretchers and a center stretcher, low down, keep the legs from racking. The top is five 2x6s with 1/4 in drainage gaps.
The heights are standard. The legs are 28-1/2 in, plus a 1-1/2 in top, for a 30 in table. The aprons are 3-1/2 in tall, so their bottom edge is 25 in up. With a 17-1/2 in bench, that leaves 7-1/2 in of thigh room under the apron. Why this matters: if you swap the 2x4 aprons for 2x6s, that drops to 5-1/2 in and most adults will hit their knees.
Each bench is two leg frames (2x4 legs with a top rail and a lower stretcher), a center stretcher, and two 2x6 seat boards. It is the same simple joinery as our simple 2x4 outdoor bench, sized to match the table.
Material list
Actual sizes: 2x6 = 1-1/2 x 5-1/2 in, 2x4 = 1-1/2 x 3-1/2 in, 4x4 = 3-1/2 x 3-1/2 in.
- 4 x 2x6 boards, 10 ft (top and seats)
- 1 x 2x6 board, 8 ft (last seat board)
- 1 x 4x4 post, 10 ft (table legs), or two 8 ft posts
- 6 x 2x4 boards, 8 ft (aprons, stretchers and bench frames)
- 8 x 3/8 in carriage bolts, 5-1/2 in long, with washers and nuts (galvanized or stainless)
- About 100 x 3 in and 40 x 2-1/2 in exterior screws
- Exterior wood glue
- 80 and 120 grit sandpaper; exterior stain, paint or oil
Pressure-treated pine or cedar both work outdoors. Treated lumber is tougher and easier to find; cedar is lighter, which helps when you move the benches. Use screws rated for treated lumber if you go that way.
Cut list
| Part | Qty | Material | Length |
|---|---|---|---|
| Table | |||
| A. Top boards | 5 | 2x6 | 59-1/2 in |
| B. Legs | 4 | 4x4 | 28-1/2 in |
| C. Side aprons | 2 | 2x4 | 47-1/2 in |
| D. End aprons | 2 | 2x4 | 22-1/2 in |
| E. End stretchers | 2 | 2x4 | 22-1/2 in |
| F. Center stretcher | 1 | 2x4 | 47-1/2 in |
| Two benches (total) | |||
| G. Seat boards | 4 | 2x6 | 59-1/2 in |
| H. Bench legs | 8 | 2x4 | 16 in |
| I. Top rails and lower stretchers | 8 | 2x4 | 10-1/2 in |
| J. Bench center stretchers | 2 | 2x4 | 44-1/2 in |
Quick check on the table frame: the side aprons are 47-1/2 in, and the end aprons fit between them, so 47-1/2 - 1-1/2 - 1-1/2 = 44-1/2 in inside, and 22-1/2 + 1-1/2 + 1-1/2 = 25-1/2 in across. The 59-1/2 x 28-1/2 in top overhangs that frame by 6 in at each end and 1-1/2 in on each side.
Cutting layout
Each cut removes about 1/8 in, and that is included below.
- 2x6 boards 1 to 4 (10 ft): two 59-1/2 in pieces each (119 + two cuts = 119-1/4 in of 120). That is the five top boards and three seat boards.
- 2x6 board 5 (8 ft): the fourth seat board (59-5/8 in with the cut). Keep the offcut for test cuts.
- 4x4 (10 ft): four legs (28-1/2 x 4 = 114 + four cuts = 114-1/2 in of 120).
- 2x4 board 1: C, C (47-1/2 + 47-1/2 + cuts = 95-1/4 in of 96).
- 2x4 board 2: F, D, D (47-1/2 + 22-1/2 + 22-1/2 + cuts = 92-7/8 in).
- 2x4 board 3: E, E, J (22-1/2 + 22-1/2 + 44-1/2 + cuts = 89-7/8 in).
- 2x4 board 4: J and three H (44-1/2 + 48 + cuts = 93 in).
- 2x4 board 5: five H and one I (80 + 10-1/2 + cuts = 91-1/4 in).
- 2x4 board 6: seven I (73-1/2 + cuts = 74-3/8 in).
Board 1 is the tightest, with only 3/4 in to spare, so cut it first and pick a board with a clean, square factory end.
Tools
- Miter saw or circular saw with a speed square (a 4x4 takes two passes with most circular saws: cut, flip, cut)
- Drill/driver, countersink pilot bit, and a long 3/8 in drill bit
- Wrench for the nuts, tape measure, pencil, square, clamps
- Sander, safety glasses, hearing protection, dust mask
If you are still choosing between saws, our circular saw vs table saw vs miter saw guide explains which one makes these cuts easiest.
Step-by-step: the table
Step 1: Cut and sand everything
Cut all parts from the layout and label them. Sand faces and ease every edge with 120 grit. Cut treated lumber outdoors with a dust mask, and wash your hands before eating.
Step 2: Build the two end assemblies
Lay two legs (B) flat on the floor. Place an end apron (D) across their tops, flush with the top ends, so it overlaps each leg fully. Glue and drive two 3 in screws into each leg. Measure 6 in up from the bottom of the legs and fasten an end stretcher (E) the same way, on the same face, with its bottom edge on the marks. Check the diagonals match so the assembly is square. Make two.
Step 3: Add the side aprons
Stand the two end assemblies up with the aprons facing out. Clamp a side apron (C) across the outside of both legs on one side, flush with the leg tops and flush with the outside face of the end aprons. The ends of the side apron cover the ends of the end aprons. Glue and drive two 3 in screws into each leg and one into the end grain of each end apron. Repeat on the other side.
The frame should now measure 47-1/2 x 25-1/2 in outside. Measure both diagonals across the top. If they differ, push the long corner in until they match, then let the glue set.
Step 4: Bolt the legs
Drill a 3/8 in hole through each apron and right through the leg, then install a 5-1/2 in carriage bolt, washer and nut. Use one bolt per apron at each leg (eight in total). Put the side-apron bolts about 1 in from the top edge and the end-apron bolts about 2-1/2 in down, so the two bolts in each leg do not hit each other.
Step 5: Add the center stretcher
Lay the center stretcher (F) flat across the tops of the two end stretchers, centered side to side, with its ends flush with their outside faces. Drill pilot holes and drive two 3 in screws down through each end.
Step 6: Attach the top
Turn the frame right side up. Lay the five top boards on it with 1/4 in gaps (the top is then 28-1/2 in wide), overhanging 6 in at each end and 1-1/2 in on each side. Drive two 3 in screws through each board into each end apron, and screw the two outer boards into the side aprons every 12 in or so. Drill countersunk pilot holes near the board ends to prevent splitting.
Patio sets
Build the rest of the outdoor set
Add a matching bench with a back, a serving cart or a set of planters. TedsWoodworking has 16,000+ plans with materials lists and cut lists, and according to the sales page most of them are suitable for beginners.
- Picnic tables, benches and garden storage
- Cut lists and step-by-step diagrams
- Bonus woodworking videos and beginner guides
- $67 one-time, 60-day money-back guarantee
Read our look at whether TedsWoodworking is legit before you buy.
Step-by-step: the benches
Step 7: Build four leg frames
Lay two bench legs (H) flat and parallel. Lay a 10-1/2 in rail (I) across them, flush with the leg tops, with its ends flush with the outer edges of the legs. Glue and drive two 2-1/2 in screws into each leg. Mark 4 in up from the bottom of each leg and fasten a lower stretcher (I) on the same face, bottom edge on the marks. Check for square and build four frames (two per bench).
Step 8: Join the frames
Stand two frames up with the rails facing inward. Lay a bench center stretcher (J) flat on top of the two lower stretchers, ends flush with their outside faces, and screw down through each end with two 3 in screws. The outside faces of the legs are now 47-1/2 in apart (44-1/2 + 1-1/2 + 1-1/2).
Step 9: Attach the seat
Lay two seat boards (G) on the frames with a 1/4 in gap, so the seat is 11-1/4 in deep and overhangs the 10-1/2 in frames by 3/8 in front and back. Center the base lengthwise so each frame sits 6 in in from the seat ends (59-1/2 - 47-1/2 = 12, so 6 in each side). Drive two 3 in screws through each board into each top rail. Build the second bench the same way.
Step 10: Finish all three pieces
Set each piece on a flat floor and check for rocking. Sand any long foot a little at a time. Apply an exterior finish to every surface, including leg bottoms and the underside of the top, which is where rot usually starts.
Common mistakes
| Problem | Likely cause | Fix |
|---|---|---|
| Table wobbles side to side | Frame was not square when the glue set, or bolts are loose | Check diagonals during glue-up; re-tighten the bolts |
| Knees hit the apron | Aprons made from 2x6 instead of 2x4 | Keep 2x4 aprons; seat-to-apron gap should be about 7-1/2 in |
| Bench tips when you sit on the edge | Leg frames set too far in from the ends | Keep the 6 in inset; do not go past about 8 in |
| Bench and table lengths do not match | Seat boards cut from a different board with a bad end | Cut all nine 2x6 pieces with a stop block set at 59-1/2 in |
| Top boards split at the ends | Screws too close to the end with no pilot hole | Pilot every screw within 2 in of an end |
Variations
| Version | How |
|---|---|
| 6 ft set | Use 12 ft 2x6s cut to 71-1/2 in. Add 12 in to the side aprons, the table center stretcher and both bench center stretchers. |
| Bench with a back | Swap one bench for our outdoor bench with a back for a more relaxed side. |
| Chairs on one side | Build one bench and use outdoor chairs on the other side. |
| Two-tone finish | Paint the legs and frames, stain the top and seats. |
Care through the seasons
- Lift the feet off soil. Pavers, gravel or plastic glides stop the leg ends wicking water.
- Store the benches under the table in winter. Cover the whole set, or stand the benches in the garage.
- Re-tighten bolts in spring. Wood shrinks over a dry winter.
- Recoat when water stops beading, usually every year or two.
Plan your next outdoor project
When the table set is done, browse TedsWoodworking for Adirondack chairs, planters and garden storage. One payment gives you lifetime access to the full library.
One-time payment · Lifetime access · 60-day money-back guarantee
Save this for later
Pin this guide to your woodworking board on Pinterest so it is ready when you head to the shop.
FAQ
Are separate benches as stable as an attached picnic table?
The table itself is very stable on 4x4 legs. The benches are narrow, like most picnic benches, so sit on them rather than standing on them.
How many people does this table seat?
Four adults comfortably, two per bench, or six with smaller adults and kids.
Can I build the benches without the table?
Yes. Each bench uses two 59-1/2 in 2x6s plus four legs, four short rails and one center stretcher from 2x4, so you can build them on their own as garden seats.
What is the right height for picnic table benches?
About 17 to 18 in for a 30 in table. These benches are 17-1/2 in, leaving 7-1/2 in of thigh room below the apron.


