
The best table saw projects for beginners are small builds that each teach one cut: push blocks and a crosscut sled first, then a cutting board (ripping), a picture frame (miters and rabbets), a mitered box (bevels), a bookshelf (dadoes), a crate (grooves) and a tapered-leg side table. Build them in order and you will have practiced every basic table saw cut by the end of the list.
If you are still deciding what to buy, start with our list of essential woodworking tools for beginners. And before you switch the saw on for the first time, read our table saw safety rules for beginners. Every project below assumes you follow them.
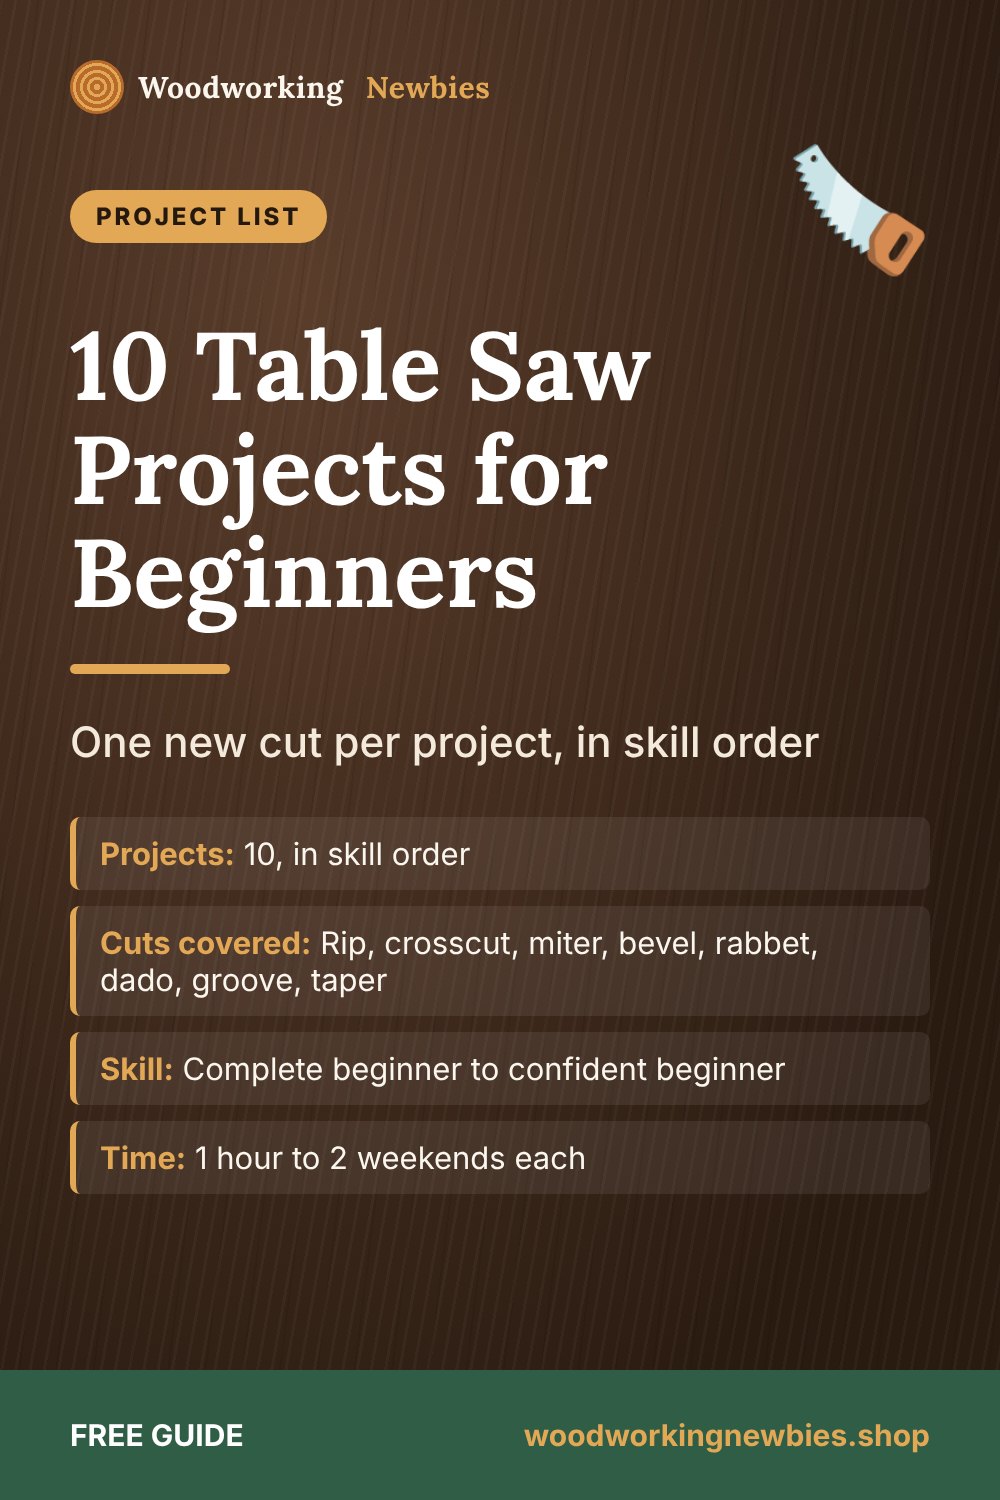
At a glance
- Projects
- 10, in skill order
- Cuts covered
- Rip, crosscut, miter, bevel, rabbet, dado, groove, taper
- Skill
- Complete beginner to confident beginner
- Time
- 1 hour to 2 weekends each
- Materials
- Pine, plywood, cedar and a little hardwood
Beginner shortcut
Once these ten feel easy, you will want more. The TedsWoodworking plan library has thousands of projects with cut lists, so you can keep practicing on real furniture instead of guessing at sizes.
Before you start: three habits that keep beginners safe
- Rip against the fence, crosscut with the miter gauge or a sled. Never use the fence and the miter gauge together on the same cut. The offcut gets trapped between the blade and the fence and can be thrown back at you.
- Keep the riving knife (or splitter) and blade guard on for every through cut. Some cuts below are non-through cuts that may need the guard removed. Check your saw's manual, keep the riving knife on if your saw allows it, and put the guard back right after.
- Use push sticks or push blocks whenever your hand would come within about 6 inches (150 mm) of the blade. Stand slightly to one side of the blade, never directly behind it.
Wear eye and hearing protection, and never cut freehand.
10 table saw projects for beginners, at a glance
| # | Project | Cut it teaches | Main material |
|---|---|---|---|
| 1 | Push blocks | Simple rips and crosscuts | Plywood scraps |
| 2 | Crosscut sled | Square crosscuts | Plywood + hardwood runners |
| 3 | Edge-grain cutting board | Repeat rip cuts | Hardwood (maple, cherry, walnut) |
| 4 | Picture frame | Rabbets and 45° miters | 1x2 or 1x3 boards |
| 5 | Mitered keepsake box | Bevel cuts | 1x4 or 1x6 boards |
| 6 | Cedar planter | Ripping thin stock to width | Cedar fence pickets |
| 7 | Wooden crate or tote | Grooves for a bottom panel | 1x6 pine + 1/4 in plywood |
| 8 | Small bookshelf | Dadoes | 1x10 or 1x12 boards |
| 9 | Plywood shop cabinet | Sizing sheet goods | 3/4 in plywood |
| 10 | Tapered-leg side table | Tapers with a jig | Pine or poplar |
Starter projects: build your safety gear first
1. Push blocks
Your first table saw project should be the gear that keeps your hands away from the blade. A simple push shoe is a plywood rectangle about 12 in long with a small heel at the back that hooks the end of the board. Cut the rectangle on the table saw, then shape the handle with a jigsaw. Make two or three.
2. Crosscut sled
A crosscut sled is a plywood base that rides in the miter slots on two runners, with a fence screwed square to the blade. Building one teaches you to cut plywood to size, fit runners to the slots, and square a fence. Add a stop block to the sled fence for repeat cuts.
Ripping and crosscutting projects
3. Edge-grain cutting board
Rip hardwood boards into strips about 1-1/2 in (38 mm) wide, turn them on edge, and glue them together. This teaches you to set the fence once and make several identical rip cuts. Use a push stick on every strip and let the riving knife do its job. Finish with something food-safe. Our guide to the best food-safe finish for cutting boards covers the options.
4. Picture frame with a rabbet
A frame needs a rabbet, a step cut along the back edge that holds the glass and backing. You make it in two passes with the blade set low: one with the board flat, one with it on edge. Then cut the corners at 45° with the miter gauge or a 45° sled. Make a test frame from cheap pine first.
5. Mitered keepsake box
Tilt the blade to 45° and cut the box sides so the corners meet with no end grain showing. Check your saw's manual for which side of the blade the fence should go on for bevel cuts, so the piece is never trapped under the tilted blade. Set a stop block so opposite sides come out exactly the same length.
Next-step plans
Turn your new cuts into real furniture
TedsWoodworking gives you 16,000+ woodworking plans with cut lists, so you can practice rips, dadoes and miters on projects you will actually use.
- Boxes, shelves, tables and shop furniture
- Cut lists and materials lists with every plan
- Step-by-step diagrams for each build
- One-time $67 with a 60-day money-back guarantee
Not sure yet? Read our honest TedsWoodworking review first.
6. Cedar fence picket planter
Cedar fence pickets are light and rot-resistant, which makes them good practice stock. Rip them to consistent widths for slats, legs and trim. Pickets are often cupped or rough, so pick the flattest ones and keep the cupped side down on the table so the board cannot rock into the blade. If a picket will not sit flat, skip it.
Joinery cuts: grooves, dadoes and sheet goods
7. Wooden crate or tote
Cut a groove near the bottom edge of each side so a 1/4 in plywood panel slides in as the floor. A groove runs with the grain and does not go through the board, so you will set the blade low and make one or two passes against the fence.
8. Small bookshelf with dadoes
A dado is a flat-bottomed slot across the grain that a shelf sits in. You can cut it with several passes of a regular blade using the crosscut sled, or with a dado stack if your saw accepts one (many do not, so check the manual). Our easy bookshelf plans for beginners give you full dimensions to follow.
9. Plywood shop cabinet
A full 4x8 sheet of plywood is heavy and awkward on a small saw. Break it down into smaller pieces with a circular saw first, then use the table saw to cut each part to its exact size. Put the factory edge against the fence and support big panels with an outfeed stand.
A capstone project: the tapered-leg side table
10. Tapered-leg side table
Tapered legs only need a simple taper jig, a sled that holds the leg at a slight angle as it rides along the fence. Never try to cut a taper freehand. The rest of the table (aprons and a glued-up top) uses rips and crosscuts you already know, joined with pocket screws or simple glued joints. When this table is done, you have used every basic cut on this list.
Tips for getting good results from day one
- Measure from the blade, not the scale. Fence scales drift. Measure from a tooth to the fence with a tape or rule and make a test cut.
- Do not cut tiny parts. Cut small pieces from a longer board with the sled, not between the blade and the fence.
Still choosing a first saw? Our comparison of a circular saw vs table saw vs miter saw explains which one makes sense for your space.
Find your next table saw build
Search plans by project type inside TedsWoodworking and pick one that uses the cuts you just learned. One payment, lifetime access, no monthly fees.
One-time payment · Lifetime access · 60-day money-back guarantee
Save this for later
Pin this guide to your woodworking board on Pinterest so it is ready when you head to the shop.
FAQ
What is the first thing a beginner should make with a table saw?
Make push blocks and a crosscut sled. They are quick, they teach you basic rips and crosscuts, and they make every later project safer and more accurate.
Can I cut a dado without a dado stack?
Yes. Set the blade to the dado depth and make several side-by-side passes with a crosscut sled, then clean up the bottom with a chisel. It is slower but works on any saw.
Is a table saw safe for beginners?
It can be used safely if you keep the guard and riving knife on, use push sticks, never cut freehand, and never use the fence and miter gauge together. Take your time and read the manual first.


