
A good first-year woodworking project plan gives you one build per month, and each build teaches one new skill that the next project needs. Start in January with a workbench, move to boxes, shelves and outdoor projects in spring and summer, and finish the year with a piece of furniture and a batch of gifts. You buy tools only when a project calls for them.
Most beginners stall because they pick projects at random: a table in week one, then nothing for three months. A plan fixes that. If you have never touched a saw, read how to start woodworking with no experience first, then come back and pin this road map to your shop wall.
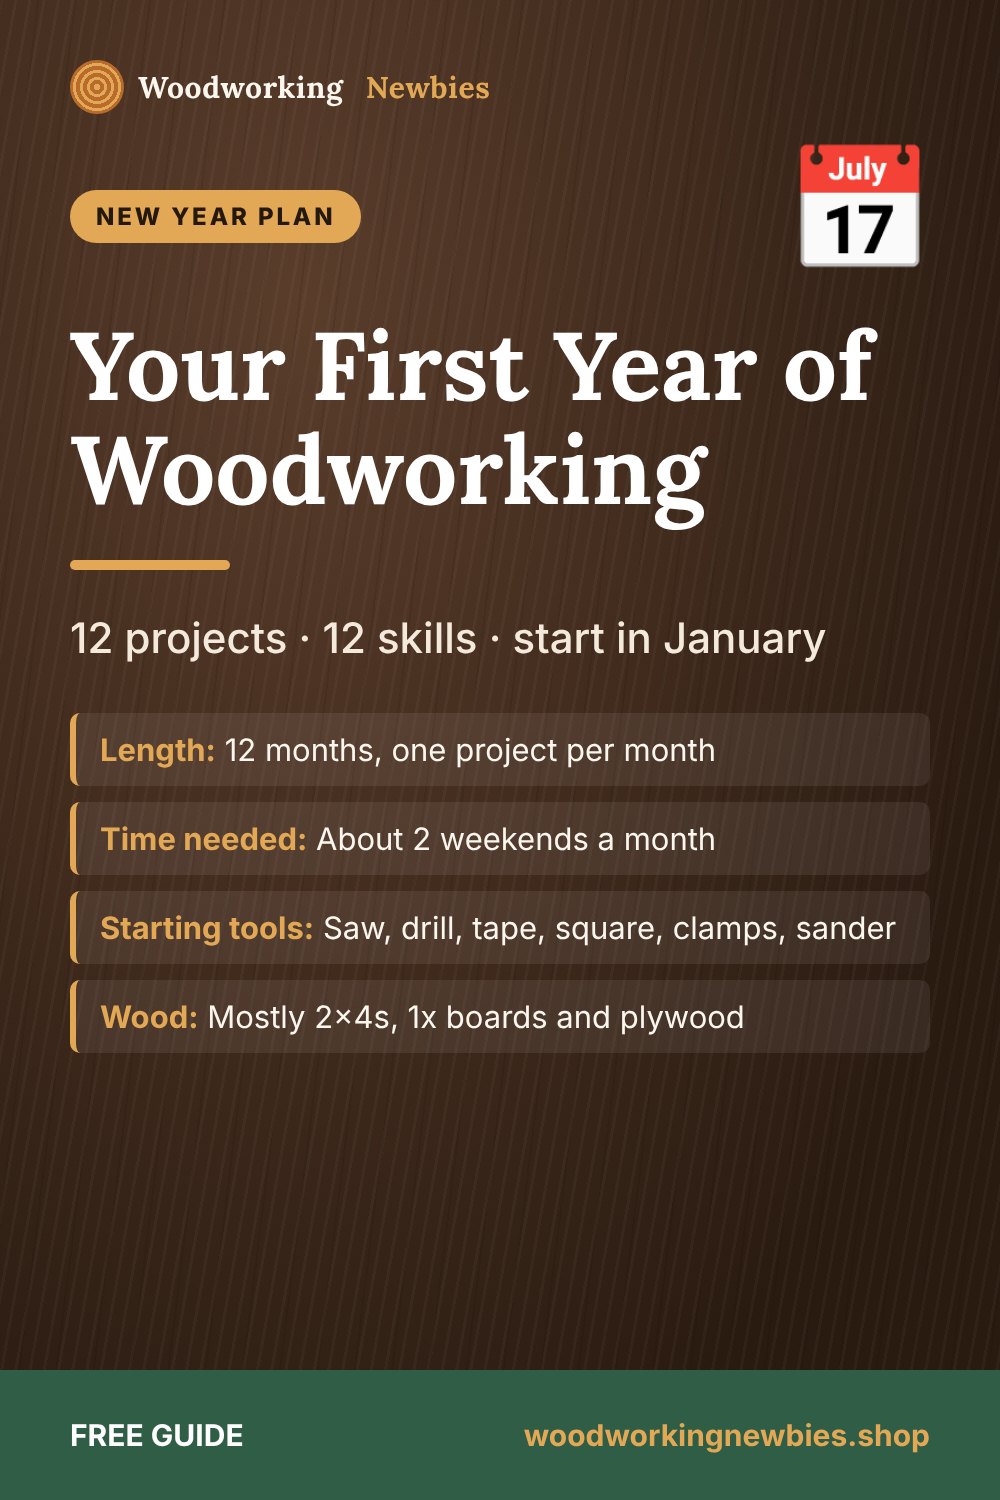
At a glance
- Length
- 12 months, one project per month
- Time needed
- About 2 weekends a month
- Starting tools
- Saw, drill, tape, square, clamps, sander
- Wood
- Mostly 2x4s, 1x boards and plywood
- Goal
- Build furniture with confidence by December
Beginner shortcut
Want a plan for every month and the months after? The TedsWoodworking plan library has thousands of projects with cut lists, so you never run out of next steps.
How this 12-month woodworking plan works
Each month has three parts: a project, a skill, and (sometimes) one new tool. The skills stack. The square cuts you learn on the workbench in January make the box in February possible. The glue-ups from the box make the bookshelf possible, and so on.
A few ground rules keep you moving:
- Finish before you start. Complete each project, even if it is ugly. A finished rough project teaches more than a perfect half-built one.
- Two weekends a month is enough. One weekend to build, one to finish and fix mistakes.
- Buy tools late. Only buy a tool when the current project needs it. You will buy smarter that way.
- Keep a shop notebook. Write down what went wrong and how you fixed it. By month 12 it is your own manual.
Your first-year woodworking project plan at a glance
| Month | Project | Main skill | Tool to add (if needed) |
|---|---|---|---|
| January | 2x4 workbench | Measuring, square crosscuts, screwing | Circular saw or miter saw, drill |
| February | Small keepsake box | Glue-ups, clamping, butt joints | A few bar clamps |
| March | Planter box | Outdoor wood, exterior screws | None |
| April | Small bookshelf | Squaring a cabinet, fixed shelves | Speed square, combination square |
| May | Outdoor bench | Longer parts, stable legs | None |
| June | Side table with pocket holes | Pocket-hole joinery | Pocket-hole jig |
| July | Cutting board and a stained shelf | Sanding and finishing | Random orbit sander |
| August | French cleat tool wall | Ripping strips, bevel cuts, wall mounting | Stud finder, level |
| September | Floating shelves | Hidden cleats, precise fitting | None |
| October | Coffee table with lower shelf | Panel glue-up, bigger furniture | More clamps |
| November | Batch of small gifts | Working efficiently, repeat cuts | Stop block for your saw |
| December | Your "graduation" project | Reading a full plan on your own | Your choice |
Quarter 1: Foundations (January to March)
January: Build a workbench
Your first project should be the table you build everything else on. A simple 2x4 workbench teaches you to measure, mark, make square crosscuts and drive screws without splitting wood. It does not need to look good. It needs to be flat, solid and the right height (roughly the height of your wrist when your arm hangs at your side).
February: A small keepsake box
A box is four sides, a bottom and maybe a lid. It sounds easy, but it teaches the big lesson of woodworking: small errors add up. If one side is 1/16 in too long, the corners will not close. You will learn to cut matching parts together and to clamp a glue-up square. It also makes a nice Valentine's gift.
March: A planter box
Spring is close, so build something for outside. A cedar fence picket planter is cheap, forgiving and teaches you how outdoor projects differ: exterior-rated screws, drainage holes, and wood that resists rot.
Quarter 2: Real furniture skills (April to June)
April: A small bookshelf
A bookshelf is your first "case": two sides, a top, a bottom and shelves. The skill here is keeping it square. Measure the diagonals; when both match, the case is square. Add a thin back panel and it will stay that way.
May: An outdoor bench
A bench teaches you to build something people sit on. That means solid joints, legs of equal length, and no wobble. If a leg rocks, you will learn to trim it, not shim it.
June: A side table with pocket holes
Now buy a pocket-hole jig. Pocket screws let you join face frames and table aprons with no visible screws on the outside. Our guide to pocket hole joinery for beginners walks you through your first joint.
Next month's project
Never get stuck choosing what to build
Each month in this plan has dozens of possible projects. TedsWoodworking gives you 16,000+ plans to pick from, sorted by category.
- Workbenches, boxes, shelves and outdoor furniture
- Cut lists and materials lists with each plan
- Step-by-step diagrams you can follow at the bench
- $67 one time, 60-day money-back guarantee
Not sure yet? Read our honest TedsWoodworking review first.
Quarter 3: Finishing and shop upgrades (July to September)
July: Finishing month
Most beginner projects look homemade because of the finish, not the joinery. Spend this month on sanding and finishing. Make a cutting board and a small pine shelf. Sand through the grits in order, use a pre-stain conditioner on pine, and use a food-safe finish on the cutting board.
August: A French cleat tool wall
By now your tools are piling up. A French cleat wall gets them off the bench. You will learn to rip long strips, cut 45-degree bevels and screw into wall studs safely.
September: Floating shelves
Floating shelves look simple, but the hidden cleat has to fit snugly. This is a lesson in precise measuring and test-fitting before you glue.
Quarter 4: Bigger builds and gifts (October to December)
October: A coffee table
This is your biggest project so far. You will glue several boards edge to edge into a flat top, build a base and add a lower shelf. Take your time, dry-fit everything, and let the glue cure overnight.
November: A batch of small gifts
Pick one small design (coasters, a phone stand, a key holder) and make six. Batch work teaches you to set up a stop block so every part is the same length without measuring each one.
December: Your graduation project
Choose a plan you have never built and follow it alone. If you can read the drawings, follow the cut list and fix your own mistakes, you are no longer a beginner. Look back at January's workbench. You will see how far you came.
Tips to stick with the plan all year
- Put shop time on the calendar like any other appointment.
- Swap projects, not skills. If you do not want a bench, build a different project that uses the same skill.
- Safety glasses and hearing protection every time, from day one. Make it a habit before you own bigger tools.
- Do not skip a month because it is cold. Plan indoor tasks such as finishing small parts, or warm a small area safely.
Twelve months of projects in one place
Find a workbench, box, bookshelf or coffee table plan for each month inside TedsWoodworking. One payment, lifetime access, and a 60-day refund through ClickBank.
One-time payment · Lifetime access · 60-day money-back guarantee
Save this for later
Pin this guide to your woodworking board on Pinterest so it is ready when you head to the shop.
FAQ
What should a beginner build first in woodworking?
A simple workbench. It teaches the core skills (measuring, square cuts, screwing) and gives you a solid surface for every project after it.
How many tools do I need to start this plan?
A saw, a drill/driver, a tape measure, a square, a few clamps and a sander cover the first few months. Add a pocket-hole jig and more clamps later.
What if I fall behind a month?
Just pick up where you stopped. The order matters more than the dates. Each project builds on the skill before it.
Can I start this plan in a month other than January?
Yes. Start with month one whenever you begin, and swap the outdoor projects to warmer months if you live somewhere with cold winters.


