
The best table saw tips for beginners are simple: tune the saw so the blade and fence are parallel, use the right blade for the cut, measure from the fence to a tooth, make test cuts on scrap, support long boards, and feed at a steady pace with a push stick. Do those well and your cuts get cleaner, straighter and safer.
This guide is about getting better results once you know the rules. If you have not read them yet, start with our table saw safety rules for beginners. Riving knife on, guard on, never freehand, push sticks near the blade, and stand out of the kickback line. Everything below assumes those habits. If you are still deciding which saw to buy, see our essential woodworking tools for beginners.
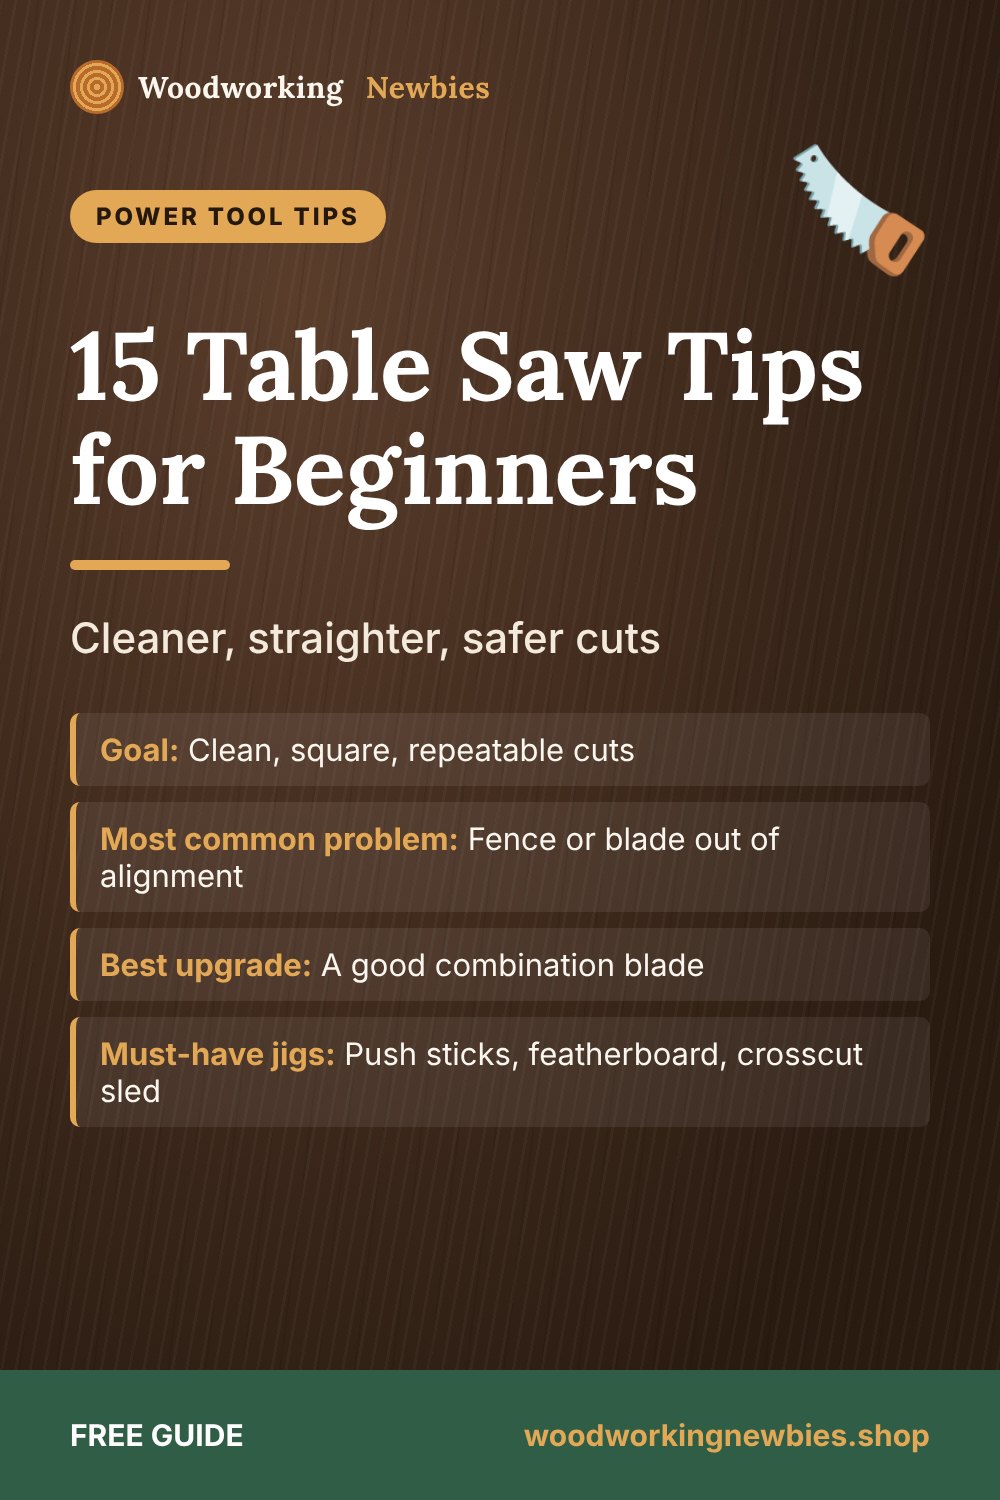
At a glance
- Goal
- Clean, square, repeatable cuts
- Most common problem
- Fence or blade out of alignment
- Best upgrade
- A good combination blade
- Must-have jigs
- Push sticks, featherboard, crosscut sled
- Always on
- Riving knife or splitter, blade guard
Beginner shortcut
Better cuts start before the saw is on. Every TedsWoodworking plan has a cut list, so you can work out your cut order and repeat cuts at the bench, not at the blade.
Part 1: Set up the saw
Most beginner frustrations with a table saw, such as burn marks, cuts that are not square and boards that bind, trace back to setup, not skill. A well-tuned budget saw cuts better than a badly tuned expensive one. Unplug the saw before every adjustment in this section.
1. Check that the blade is parallel to the miter slot, and the fence to the blade
Raise the blade fully. Mark one tooth, rotate it to the front, and measure from the miter slot to that tooth. Rotate the same tooth to the back and measure again. The two numbers should match. Then lock the fence and check that it is the same distance from the slot at the front and back.
Why this matters: if the back of the blade or the back of the fence is closer, the board gets squeezed as it passes. That causes burning, rough edges and binding, and it is a known cause of kickback. Your manual explains how to adjust your model. Some woodworkers set the back of the fence a hair wider, never narrower.
2. Square the blade to the table
With the blade raised, place a reliable square on the table against the blade plate (between the teeth, not touching them). If you see light at the top or bottom, adjust the 90 degree stop following your manual. Do the same at 45 degrees. Then check the result for real: crosscut a wide scrap, flip one piece over and push the cut edges together. Any gap shows double the error.
3. Use the right blade for the job
The blade that came with the saw is often a basic one. A better blade is the single biggest improvement in cut quality. Tooth count matters:
| Blade (10 in saw) | Typical teeth | Best for |
|---|---|---|
| Rip blade | About 24 | Long cuts along the grain, thick hardwood |
| General purpose | About 40 | Most cuts in solid wood and plywood |
| Combination | About 50 | Ripping and crosscutting without changing blades |
| Crosscut or plywood | 60 to 80 | Clean crosscuts, plywood, melamine |
For a beginner, one good 40 or 50 tooth blade covers almost everything. If you buy a thin-kerf blade, check your manual first. The riving knife must be thinner than the cut the blade makes, or the wood will hang up on it.
4. Keep the blade clean and sharp
Pitch and resin build up on the teeth, especially when cutting pine. A dirty blade cuts like a dull one: it burns, it needs more force to feed, and it leaves a rough edge. Unplug the saw, remove the blade, and soak it in a blade cleaner or a mild degreaser, then scrub with a nylon brush. If it still burns when clean, it needs sharpening or replacing.
5. Wax the table and fence
A thin coat of paste wax on the cast-iron or aluminum top and the fence face lets boards slide smoothly. That makes it much easier to keep steady pressure against the fence. Use a wax without silicone, because silicone on your wood can cause problems with finishes later.
Part 2: Measure and plan
6. Measure from the fence to a tooth, then trust your scale
Do not rely on the fence scale until you have checked it. Measure from the fence to a tooth that points toward the fence, set the width, then make a cut on scrap and measure the piece. If it is off, adjust the scale's cursor so it reads correctly. After that, measure your first cut each session anyway. Our guide on how to measure and mark wood accurately covers the tape and square habits that go with this.
7. Make test cuts on scrap
Keep a pile of offcuts by the saw. Before any important cut, especially an angled one or a groove, run a scrap through first. It takes thirty seconds and saves good boards. This is how you learn your saw's quirks without paying for them.
8. Plan your cut order
A table saw is happiest with manageable pieces. A good order for most projects:
- Crosscut long boards to rough length (a few inches over) with a miter saw or circular saw.
- Make sure each board has one straight edge to run against the fence. Never rip a board with a crooked edge on the fence.
- Rip the parts to width on the table saw.
- Crosscut to final length with a miter gauge or sled.
Full 4 x 8 sheets of plywood are heavy and hard to control on a small saw. Break them down with a circular saw and a straight guide first; our guide to cutting straight with a circular saw shows how.
Cut smarter
Plans that give you the numbers
Planning a cut order is easy when the plan lists every part. TedsWoodworking plans include cut lists, materials lists and step-by-step diagrams for thousands of projects.
- 16,000+ plans, many simple enough for a first table saw
- Cut lists and materials lists with every plan
- 150 woodworking videos as a bonus
- $67 one-time, 60-day money-back guarantee
Read our honest TedsWoodworking review first.
Part 3: Make the cut
9. Support long and wide boards
A board that tips off the back of the saw lifts the front end, twists, and can pinch the blade. Set up an outfeed table, a roller stand or a sturdy bench at, or just below, table height. For long rips, add support at the infeed side too. Never have a helper pull the board from the back; they cannot feel what the saw is doing, and it can pull your hands toward the blade.
10. Use a featherboard, in the right place
A featherboard has flexible fingers that press the board against the fence, so your cut stays straight without you pushing sideways. Clamp it or lock it in the miter slot so its fingers press on the board in front of the blade. Never place it beside or past the blade, because pressing there squeezes the cut closed and can pinch the blade.
11. Feed steadily with a good push stick
Feed at a smooth, even pace. Too slow and the wood burns, especially maple and cherry. Too fast and the motor bogs down and the edge gets rough. Listen to the saw: a steady, slightly lowered tone is right.
A long "shoe" style push stick, with a heel that hooks the back of the board and a long sole that holds it down, gives far more control than a simple notched stick. Keep a few by the saw and make spares from scrap plywood. Push the board all the way past the blade before you lift the push stick away.
If you must stop mid-cut, hold the board still, switch off the saw and wait for the blade to stop. Do not pull the board back toward you while the blade is spinning.
12. Install a zero-clearance insert
The stock throat plate has a wide slot around the blade. A zero-clearance insert has a slot exactly the width of your blade, which supports the wood fibers right at the cut. The result is cleaner bottom edges and no thin offcuts dropping into the saw. Buy one for your model, or make one following your manual, and be sure it has a slot for the riving knife so the knife stays on.
13. Stop tearout on plywood and crosscuts
A table saw blade cuts downward through the top face, so the bottom face is where splinters show. Put the good face up. For plywood and veneered boards, also:
- Use a high tooth count blade (60 or more teeth).
- Run painter's tape along the cut line on the bottom face.
- Use a zero-clearance insert.
- Back crosscuts with a sacrificial fence on the miter gauge or sled.
14. Crosscut with a miter gauge or sled, and use stop blocks correctly
For cuts across a board, use the miter gauge or a crosscut sled, never the rip fence alone and never freehand. Screw a longer wooden face to your miter gauge so it supports more of the board. A crosscut sled, a plywood platform that rides in both miter slots, is one of the best first jigs you can build. Our table saw projects for beginners include ideas for jigs like this.
For several parts of the same length, use a stop block, but set it up the right way:
- On a sled or miter gauge fence: clamp a stop block to the sled's own fence at your length. The part rides with the sled, so it cannot get trapped.
- On the rip fence: clamp a block to the fence near the front of the table, well before the blade. Butt the board against the block, then push it through with the miter gauge. The part leaves the block before it reaches the blade, so it is free when the cut happens.
Never butt the end of a board against the rip fence itself while crosscutting with the miter gauge. The cut-off piece gets trapped between the blade and the fence, twists, and kicks back.
15. Cut thin strips with a thin-rip jig
Ripping a narrow strip between the blade and the fence puts your push stick in a tight, risky space and traps the strip. A thin-rip jig sits in the miter slot on the side of the blade away from the fence. You set the board against the jig's guide, slide the fence over to hold it there, and cut. The thin strip falls free on the open side of the blade, away from the fence. Move the fence over and repeat for identical strips.
Table saw troubleshooting
| Problem | Likely cause | Fix |
|---|---|---|
| Burn marks on the edge | Dirty or dull blade, slow feed, fence pinching | Clean blade, steady feed, check fence alignment (tip 1) |
| Board binds or slows mid-cut | Fence toes in, wood moves as it is cut, no riving knife | Realign fence, keep riving knife on, switch off and reassess |
| Crosscuts not square | Miter gauge or blade not at 90 degrees | Square the blade (tip 2), check the gauge with the five-cut test or a square |
| Splintered bottom edge | Low tooth count, wide throat plate | Good face up, 60+ tooth blade, zero-clearance insert |
| Width changes along the board | Board drifting off the fence, crooked edge | Featherboard, straight reference edge, steady pressure |
| Rough, wavy edge | Feeding too fast, wrong blade, blade wobble | Slow down, check the blade and arbor nut |
Common mistakes beginners make at the table saw
- Skipping the tune-up. Factory settings are often slightly off. Check alignment when you set up the saw and after moving it.
- Removing the riving knife "just for this cut". Leave it on for every through cut.
- Trusting the fence scale blindly. Measure the first piece.
- Cutting small parts. Cut small parts from a longer board, or use a hand saw or a jig built for it.
- Standing directly behind the blade. Stand slightly to the side, out of the kickback line.
- Ripping lumber with a crooked edge. Straighten the edge first or pick better boards using our guide on how to pick straight lumber.
Not sure a table saw is the right tool for a given cut? Our circular saw vs table saw vs miter saw comparison helps you choose.
Put your new skills to work
Find furniture, shop jigs and gifts you can cut on your table saw inside TedsWoodworking, with a full cut list for each project.
One-time payment · Lifetime access · 60-day money-back guarantee
Save this for later
Pin this guide to your woodworking board on Pinterest so it is ready when you head to the shop.
FAQ
What is the best table saw blade for a beginner?
A good-quality 40 or 50 tooth general-purpose or combination blade. It rips and crosscuts well enough for most projects, so you rarely need to change it.
Why does my table saw burn the wood?
Usually a dirty or dull blade, feeding too slowly, or a fence that pinches toward the back of the blade. Clean the blade, check alignment and keep a steady feed rate.
How high should the blade be?
Follow your saw's manual. A common guideline is to raise the blade so the bottoms of the gullets just clear the top of the board, with the guard and riving knife in place.
Can I use the rip fence as a stop for crosscuts?
No. Trapping the cut-off piece between the blade and the fence can cause kickback. Use a stop block clamped to the fence ahead of the blade, or a stop on a crosscut sled.


